How to Create a Weekly Agenda Page in Brightspace: A Step-by-Step Guide
Step-by-step guide to creating a clear and organized weekly agenda page in Brightspace for better course navigation and student clarity.

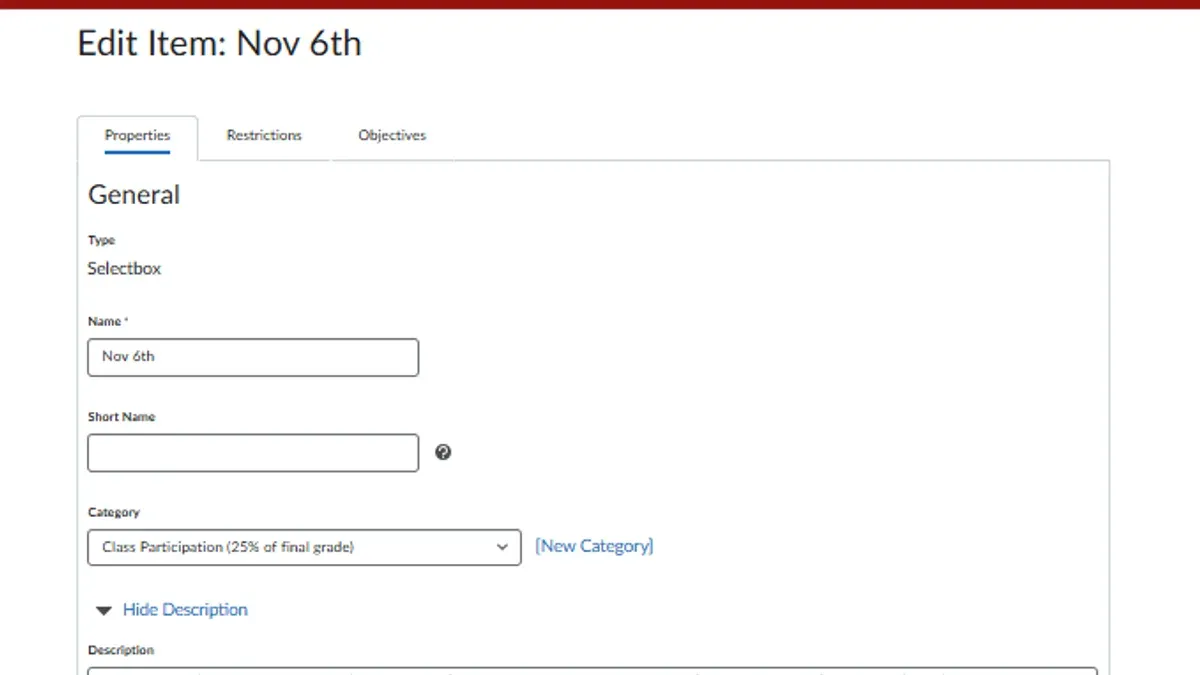
Short answer: To create a weekly agenda page in Brightspace, start by setting up a new content module dedicated to your weekly agendas. Use the HTML editor to build a clear, consistent layout with headings, dates, and links to resources. Organize content by week, add concise instructions, and update the page regularly for smooth course navigation.
This article walks you through how to create a weekly agenda page in Brightspace step-by-step. You'll learn what materials to prepare before starting, how to structure your agenda page using Brightspace's content tools, and best practices for formatting content to maximize student clarity. The guide also covers efficient methods to update and reuse weekly agendas, common pitfalls you should avoid, and tips to boost student interaction with your agenda page.
What do you need before creating your weekly agenda page?
Before you start, confirm you have editing permissions in your Brightspace course. Without these, you cannot create or modify content pages. Check your user role under Course Admin > Manage Users or confirm with your Brightspace administrator.
Prepare a clear weekly schedule or syllabus outline. This includes topics, assignments, deadlines, and any recurring activities you want to display. Having this roadmap prevents interruptions during setup.
Ensure you are familiar with the Content tool and the HTML editor within Brightspace. You will use these to create and format your agenda page. Basic knowledge of inserting links, images, and files is necessary to enhance clarity and navigation.
Optionally, gather any images, external links, or downloadable files you plan to include. Having these ready will speed up the creation process and ensure your agenda is comprehensive and engaging.
- Log in to Brightspace and open your course. You should see an Edit Course button or a similar interface confirming editing rights.
- Locate your syllabus or weekly schedule document. Confirm it contains all essential weekly details you want to publish.
- Open the Content tool and create a new module or folder to house your weekly agenda pages.
- Test inserting a simple text page using the HTML editor to verify your comfort with basic content creation.
- Collect any media or files intended for your agenda and store them in the course's Manage Files area for easy access.
How do you set up the weekly agenda page structure in Brightspace?
- Open the Brightspace course and navigate to the Content tool from the main course menu. You should see the list of existing modules or have the option to create a new one.
- Create or select a module dedicated to your weekly agendas, such as one named Weekly Agendas or Course Schedule. This keeps all weekly pages organized in one location.
- Within that module, click Add Existing Activities and choose Create a File or Create a Page. Name it clearly with the week number and purpose, for example, Week 1 Agenda. This title will appear in the module navigation.
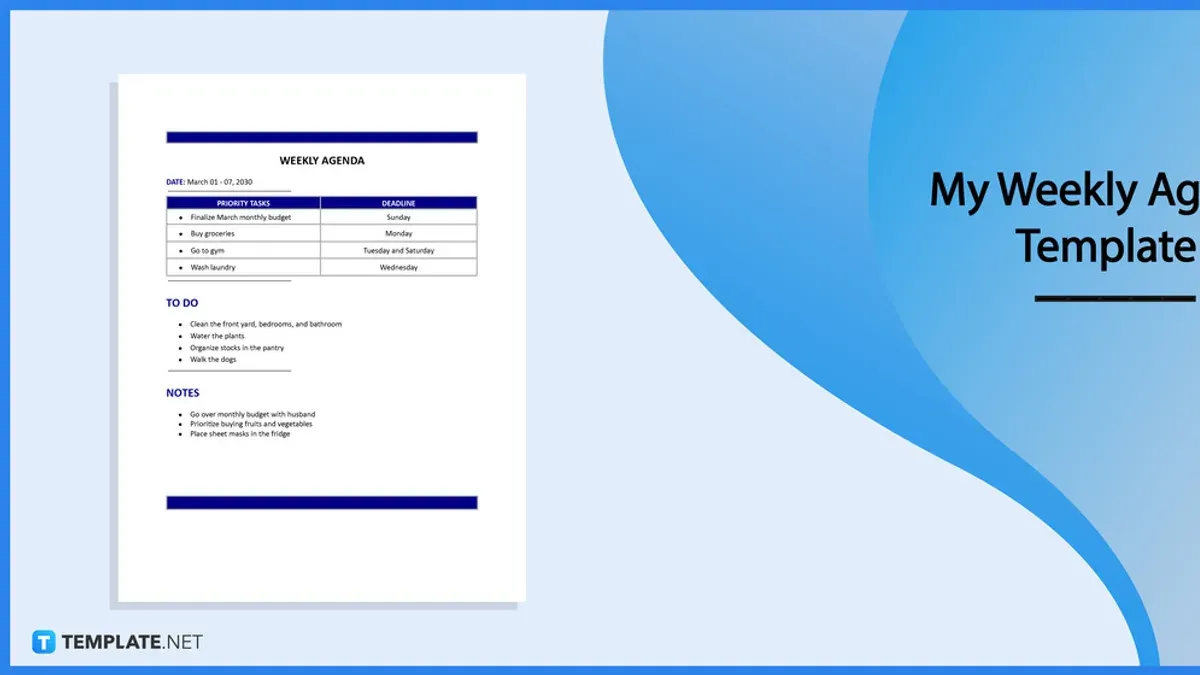
- In the content editor, use headings to separate key sections: Dates, Topics, and Tasks. Use bullet points or numbered lists to outline daily objectives or assignments under each heading for clarity.
- Insert a table if you want a grid layout showing dates alongside topics and tasks. For instance, three columns labeled Date, Topic, and Assignment provide a quick overview.
- At the bottom or top of the page, add navigation links labeled Previous Week and Next Week. Link these to the corresponding agenda pages to enable straightforward browsing through the weeks.
Sample page outline:
- Heading: Week 1 Agenda
- Section 1: Dates (e.g., October 1–7)
- Section 2: Topics (bullet list of lecture subjects)
- Section 3: Tasks (assignments, readings)
- Footer: Navigation links to Week 0 and Week 2 agendas
How do you add and format content effectively on the agenda page?
Use the Brightspace HTML editor to enter your weekly agenda content. Start by typing your text directly or pasting prepared material. Highlight key information like deadlines or important notes using bold or italics, but keep styling minimal to avoid clutter. Insert hyperlinks via the toolbar’s link icon to connect to relevant course materials or external resources. Embed PDFs or other files by selecting “Insert Quicklink” then “Course Offering Files” to make documents accessible without leaving the page.
Include multimedia such as images or videos by clicking the “Insert Stuff” button, which supports embedding from various sources. Position these elements where they enhance understanding without overwhelming the layout. Clearly list deadlines and reminders near the top or in a dedicated section for quick student reference.
Example: Your weekly agenda might feature a bolded heading “Assignments Due,” followed by a bulleted list with active links to assignment instructions and an embedded PDF rubric below. A reminder like “Quiz on Friday at 5 PM” stands out in italics near the top.
- Open the weekly agenda page in Brightspace and click “Edit HTML.” You should see the HTML editor interface.
- Type or paste your weekly content. Confirm the text appears correctly in the editor.
- Use the toolbar to highlight key details with bold or italics. Check that styled text stands out but remains readable.
- Click the link icon to insert URLs or internal course links. Verify the links open the correct pages.
- Choose “Insert Quicklink” > “Course Offering Files” to embed PDFs or documents. Confirm embedded files display as clickable icons.
- Use “Insert Stuff” to add multimedia like images or videos. Ensure media loads properly and fits the page layout.
- Save and preview the page to check content clarity, link functionality, and formatting consistency.
How do you update and reuse your weekly agenda pages efficiently?
Save time by duplicating the previous week’s agenda page instead of starting from scratch. Brightspace lets you copy content easily; after duplicating, update dates, assignments, and announcements to fit the new week. This reduces repetitive formatting and preserves your established layout.
Create a checklist template for weekly updates, including items like "Confirm assignment deadlines," "Update reading links," and "Add discussion prompts." Using this checklist consistently speeds revisions and ensures no critical details are missed.
Set calendar reminders or Brightspace alerts to update your agenda before each week begins. Timely updates prevent last-minute rushes and keep students informed promptly.
Use Brightspace’s version history to recover previous versions if needed. This feature is essential when accidental deletions or incorrect edits occur, letting you restore your page to a known good state without rebuilding.
- Navigate to the module containing your weekly agenda pages and select the latest agenda.
- Use the "Copy" or "Duplicate" option from the page settings; a new page with the same content appears in the module.
- Rename the duplicated page to the new week’s dates; open it to edit content for the upcoming week.
- Refer to your update checklist to revise key sections such as assignments and announcements.
- Save changes and preview the page to confirm all updates are correct and visible to students.
What common issues arise when creating weekly agenda pages and how do you fix them?
Content not displaying correctly often results from improper formatting or broken links. Check your HTML editor for unclosed tags or unsupported styles. Verify all links by clicking them in preview mode to ensure they lead to active resources. Use Brightspace’s link checker tool under the Content menu to identify broken URLs.
Missing or incorrect navigation links usually occur when URLs are copied incorrectly or linked to deleted items. Always link using Brightspace’s internal content selector rather than pasting raw URLs. Confirm links open the appropriate module or page in preview mode.
Permissions issues that prevent students from viewing the agenda stem from module or page visibility settings. Go to the module’s settings and confirm the “Visible to Users” option is enabled. Also, check any release conditions or date restrictions that might block access unintentionally.
Embedding multimedia or files can fail if the file type is unsupported or if the attachment exceeds size limits. Use Brightspace’s supported formats list and compress large media files before uploading. Embed videos with the Insert Stuff tool to ensure compatibility.
- Open your weekly agenda page in Brightspace’s HTML editor; fix any visible formatting errors or remove unsupported styles. Successful fix: content appears correctly formatted in preview mode.
- Use the Content link checker to scan for broken URLs; replace or remove any flagged links. Successful fix: no broken links reported.
- Check module and page visibility settings; enable "Visible to Users" and remove unintended release conditions. Successful fix: students can access the agenda without error.
- Upload media files using the Insert Stuff tool and confirm format and size compliance. Successful fix: multimedia displays and plays correctly.
For detailed troubleshooting, consult Brightspace Community resources or contact Brightspace Support for persistent issues.
How can you enhance your weekly agenda page for better student interaction?
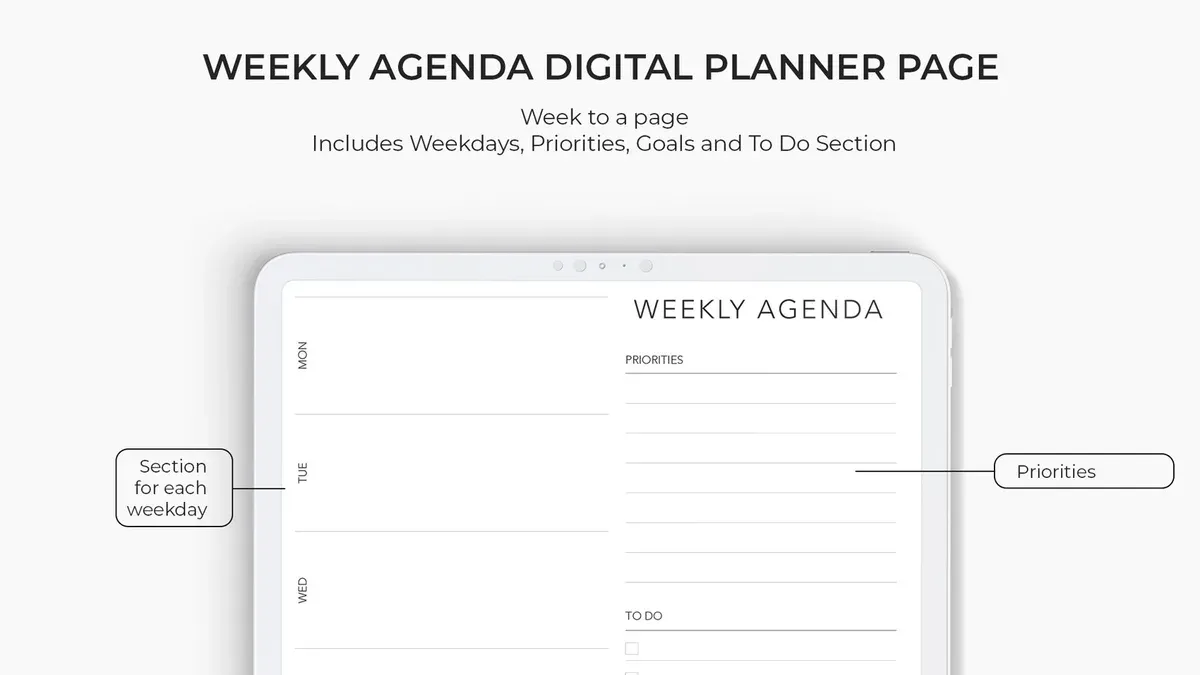
Boost student engagement by embedding interactive elements like quizzes or polls directly in your agenda. Use Brightspace’s Quiz Builder or integrate external tools via LTI links for seamless access. Clear, actionable language helps students understand exactly what to do each week, reducing confusion and increasing completion rates. Visual cues such as icons for assignments, color coding for deadlines, and priority labels help students quickly identify critical tasks.
Integrate calendar links or reminders using Brightspace’s Calendar tool or external calendar URLs so students can sync deadlines with their personal schedules. Example agenda pages that include polls and embedded quizzes have shown improved student participation and timely submissions compared to static agendas. These enhancements turn your agenda into an interactive, navigable hub for student activity.
- Add an interactive quiz or poll: Use Brightspace’s Quiz Builder and embed it via the Insert Quicklink menu; students can complete it without leaving the agenda page.
- Apply consistent visual cues: Use the HTML editor to insert icons next to deadlines and color code text for priorities; the page should visually differentiate task types.
- Use clear, directive language for tasks: Write each item as a command (e.g., “Complete Chapter 3 quiz by Friday”); students recognize required actions immediately.
- Insert calendar links: Use the Calendar tool to create event links or add external calendar URLs in the agenda; students should be able to add events to their calendars directly from the page.
Frequently asked questions
Can I create one weekly agenda page that updates automatically for all weeks?
No, Brightspace does not support a single agenda page that dynamically updates content for all weeks. You need to create individual weekly agenda pages or use a template page you duplicate and update manually each week. Automating content updates requires external tools or custom scripts, which are not standard in Brightspace.
How do I ensure students see the most current version of the agenda?
To ensure students access the latest agenda, publish the page and avoid saving as draft. Use Brightspace’s “Release Conditions” to restrict access to outdated agendas if needed. Clear the course cache periodically under Course Admin > Manage Files to prevent old versions from displaying.
Can I restrict access to certain weekly agenda pages to specific student groups?
Yes, use Brightspace’s Groups feature: assign students to groups, then set Release Conditions on agenda pages based on group membership. Navigate to the agenda page settings, select Restrictions > Release Conditions, and add a condition for Group enrollment to control access precisely.
What file types are best to embed within the agenda pages?
Embed common, widely supported files like PDFs and images (JPEG, PNG) for consistency and accessibility. Avoid large video files directly embedded; instead, link to streaming platforms or Brightspace’s Video Note tool. Documents such as Word or PowerPoint files should be converted to PDFs to ensure formatting remains intact across devices.
What this advice does not cover
This guide does not cover automating agenda creation with third-party tools or advanced scripting; it assumes manual setup within Brightspace’s native content tools. If you need dynamic content generation or integration with external calendars, consider exploring Brightspace’s API options or third-party plugins. This approach focuses on straightforward, reliable methods accessible to all educators without specialized technical skills.
Quick checklist
- Gather all weekly content, including readings, assignments, and announcements.
- Create a new Content Module or Folder in Brightspace for your weekly agenda.
- Use the HTML editor to build a clear structure with headings for each week.
- Format content with consistent fonts, bullet points, and links to resources.
- Save a template agenda page for reuse in future weeks.
- Update the agenda weekly by duplicating the template and adjusting dates and tasks.
- Test all links and embedded media before publishing.
- Use Brightspace’s preview feature to check student view.
- Address broken links promptly and keep content concise.
- Enhance engagement with embedded videos, discussion prompts, or quick polls.
Start by creating a simple agenda page template within Brightspace’s Content tool. This single step lays the foundation for consistent weekly updates, saving you time and improving student clarity across your course.
See also: How to Assign Work to Small Groups in Brightspace: A Step-by-Step Guide