How to Add Students to a Class in Blackboard: Step-by-Step Guide
Step-by-step guide to adding students to a class in Blackboard, covering enrollment methods and role assignments for instructors.

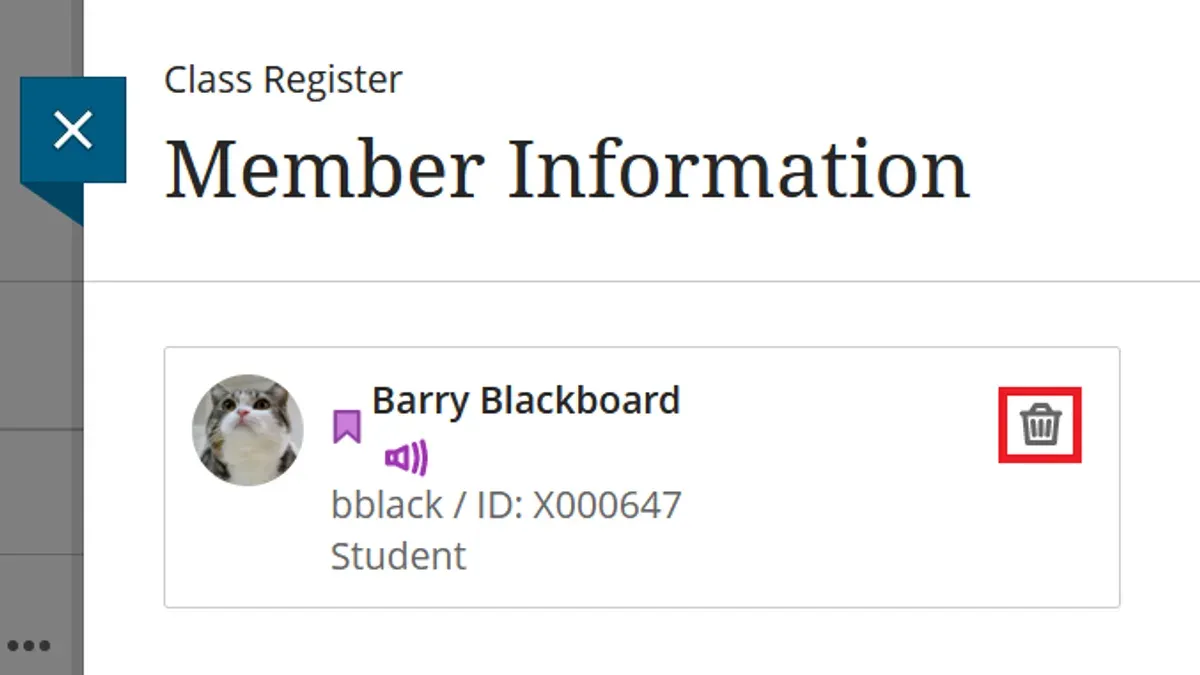
Short answer: To add students to a class in Blackboard, access the course Control Panel, navigate to "Users and Groups," then select "Users." Use the "Enroll Users" option to add students by entering their usernames or email addresses. Assign the "Student" role to ensure proper course access.
This guide walks you through the exact process of how to add students to a class in Blackboard, focusing on the instructor's workflow. You'll learn how to manage enrollment methods, assign roles accurately, and troubleshoot common issues that may block student access. Practical tips and lesser-known steps are included to help you avoid pitfalls that generic guides often miss.
Before you start: What you need to add students in Blackboard
Confirm you have instructor or administrator access to the Blackboard course before attempting to add students. Without the correct role, enrollment options will be limited or unavailable. Ensure students possess institution accounts or know the process to create them; Blackboard requires valid user accounts for enrollment.
Understand the enrollment methods: manual enrollment, batch upload, and self-enrollment. Manual enrollment offers precise control but requires individual student usernames or IDs. Batch upload is efficient for large groups but needs a properly formatted file. Self-enrollment allows students to join using an access code but requires setup beforehand.
| Enrollment Method | Ease | Control | Typical Use Case |
|---|---|---|---|
| Manual Enrollment | Moderate | High | Small classes or adding individual students |
| Batch Upload | High | Medium | Large classes or bulk updates |
| Self-Enrollment | Easy | Low | Open courses or optional sessions |
Have a list of student usernames or IDs ready when enrolling manually to avoid delays. This list should match institution account credentials exactly.
- Verify your Blackboard role is Instructor or Administrator. You should see course management options like 'Users and Groups'.
- Confirm students have institution accounts. Check with your IT or registrar if unsure.
- Choose the enrollment method that fits your class size and control needs.
- If enrolling manually, prepare a list of exact student usernames or IDs.
- Familiarize yourself with the course’s enrollment settings under 'Users and Groups' > 'Enroll Users'.
How to create a class in Blackboard
Log into Blackboard using your instructor or admin credentials. Once inside, locate the Admin Panel or Instructor Panel on your dashboard. This panel grants access to course management tools.
Navigate to the section labeled 'Courses' or 'Course Management.' Here, select the option named 'Create Course', 'Add New Course', or similar, depending on your institution’s Blackboard setup. This opens the course creation form.
Fill in the required course details: enter a clear course name, such as "Biology 101 - Fall Semester"; provide a unique course ID or code that aligns with your institution's system; add a concise course description to inform students about the class content. Set the course availability to "Yes" or "Open" to allow student access immediately or choose "No" to restrict access until ready.
Adjust additional course settings affecting student participation. These may include enrollment options, grading schema, and tool availability. Confirm these settings match your course goals and institutional policies.
After completing the form, submit or save the new course. You should see a confirmation message indicating the course was successfully created. The course will now appear in your course list, ready for student enrollment.
- Log into Blackboard and open Admin or Instructor Panel.
- Go to 'Courses' > 'Create Course' or equivalent.
- Enter course name, ID, description, and availability.
- Set enrollment and participation options as needed.
- Save the course and verify creation confirmation.
How to add a course in Blackboard
To add an existing course to your Blackboard teaching dashboard, start by logging into your Blackboard account. Navigate to the Courses tab or use the search bar to find courses you are assigned to or have access to. If the course appears in the search results, select it to add it to your view. This action does not create a new course but simply makes the course visible in your dashboard.
If you cannot find the course you need, you must request course creation from your institution’s Blackboard administrator. Course creation requires higher permissions than course access, typically reserved for administrators or designated instructional designers. In contrast, instructors and teaching assistants usually have access rights to existing courses but cannot create new course shells themselves.
Remember, adding a course to your view is different from creating a new course shell. The former allows you to manage and teach in an existing course environment, while the latter involves setting up a new course structure which only authorized roles can perform. Always check your user role and permissions if you encounter restrictions.
- Log in to Blackboard and click on the Courses tab; you should see courses assigned to you.
- Use the search bar to find a course by its name or ID; if found, click to add it to your dashboard.
- If the course is not listed, contact your Blackboard administrator to request course creation.
- Confirm your user role and permissions if you are unable to add or create courses; roles like Instructor allow access, while Administrator roles allow creation.
How to add students to a class in Blackboard
To enroll students manually, start by accessing your course's Control Panel. Navigate to Users and Groups and then select Users. Click Enroll Users to open the enrollment window, where you can search for students by their username or student ID. Select the students you want to add, assign them the Student role or another appropriate role such as Teaching Assistant, then confirm the enrollment. You should see a confirmation message indicating successful enrollment.

For large groups, use batch enrollment. Prepare a CSV file with a simple format: include columns for Username and Role. Example rows might be:
| Username | Role |
|---|---|
| jsmith | Student |
| adoe | Student |
Go to the Control Panel, choose Users and Groups > Users, then select Batch Edit or Upload Users. Upload your CSV file and map the columns as needed. After processing, Blackboard will confirm the number of users successfully enrolled.
- Access the course Control Panel and select Users and Groups > Users.
- Click Enroll Users to add individuals by username or ID; assign roles and confirm enrollment.
- For batch enrollment, create a CSV with usernames and roles as columns.
- Upload the CSV via Batch Edit or Upload Users and map fields accordingly.
- Review the confirmation message to ensure all students are enrolled.
Following these steps ensures students are properly added with correct roles, streamlining course access management.
How to add instructor to Blackboard course
Assign co-instructors or teaching assistants to your course through the Users and Groups menu. This lets you delegate course management tasks while controlling access levels precisely. You can add instructors by their usernames and assign them the appropriate role to define their permissions.
- Go to the course Control Panel and select Users and Groups, then click Users. You will see a list of users already enrolled in the course.
- Click Find Users to Enroll at the top of the page. A search box will appear for you to enter the username of the instructor or assistant you want to add.
- Enter the exact username and click Go. The user’s details will display if found.
- Under Role, select either Instructor or Teaching Assistant depending on the permission level you want them to have.
- Click Submit. The user will be added to the course with the selected role and permissions.
Use the correct role to avoid permission issues. Instructors have full control, including content creation and grade management. Teaching Assistants can assist with grading and content but cannot change course settings or manage enrollments.
| Role | Course Content Management | Grade Center Access | Course Settings Access | Enrollment Management |
|---|---|---|---|---|
| Instructor | Full access | Full access | Full access | Full access |
| Teaching Assistant | Limited access | Can grade and manage assignments | No access | No access |
How to customize Blackboard as a student
You can tailor your Blackboard experience to fit your learning style and keep up with course updates efficiently. Start by setting your notification preferences under the "Notifications" menu in your profile. Choose which alerts you want to receive, such as new grades, announcements, or discussion posts, and how you want to receive them: email, SMS, or push notifications.
Organize your courses by marking favorites to appear at the top of your course list. This simplifies navigation when you are juggling multiple classes. Access the "Courses" menu, select "My Courses," and click the star icon next to courses you want to prioritize.
Adjust display and accessibility settings for better readability and usability. In the "Settings" section of your profile, find options to change the color scheme, font size, and enable screen reader support or keyboard navigation. These adjustments help reduce eye strain and improve focus.
The student settings screen highlights these key options clearly: Notifications, Course Favorites, and Accessibility Settings, all accessible from your profile dropdown menu.
- Click your name in the top right corner and select "Settings." You will see a menu with customization options.
- Go to "Notifications" and toggle your preferred alerts and delivery methods. A confirmation message appears when saved.
- Navigate to "Courses," click "My Courses," and use the star icon to favorite courses. Favorited courses move to the top immediately.
- Return to "Settings" and select "Accessibility" to adjust display preferences. Changes apply instantly, visible on all pages.
How to use Blackboard for online classes
Blackboard offers core features that support comprehensive online learning beyond enrollment. You can access all course materials, including lecture notes, readings, and multimedia files, directly within the course content areas. Assignments are submitted through the Assignments tool, which also allows you to view deadlines and submission status. Discussion boards facilitate asynchronous communication, enabling you to engage with peers and instructors on course topics.
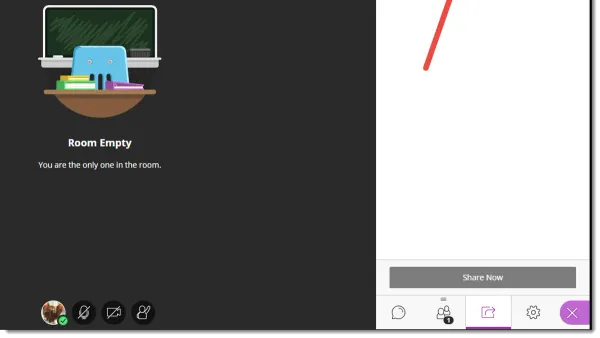
For live sessions, Blackboard Collaborate provides integrated video conferencing. Launch sessions from the Collaborate menu within your course to join real-time classes, office hours, or group meetings. Video tools often include screen sharing and chat features to enhance interaction.
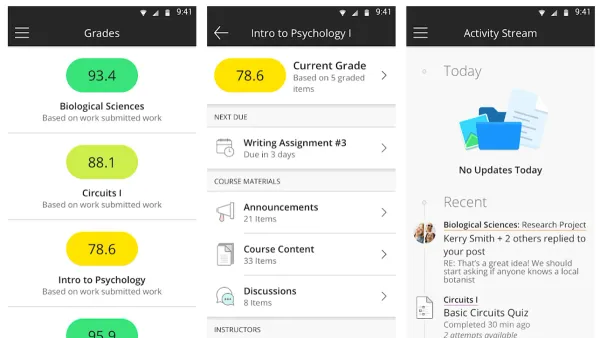
Tracking your progress is straightforward with the Grades section, where you can review scores and instructor feedback on submitted work. Communication is streamlined via Announcements, which deliver important updates, and Messages, allowing direct contact with instructors and classmates.
These features combine to create a structured and interactive online learning environment, helping you stay organized and connected throughout the course.
How to leave a class on Blackboard
If you want to leave a class on Blackboard, understand that you typically cannot unenroll yourself directly. Only instructors or administrators have the ability to remove your enrollment. To be fully removed from a course, you must contact your instructor or the Blackboard administrator and request unenrollment.
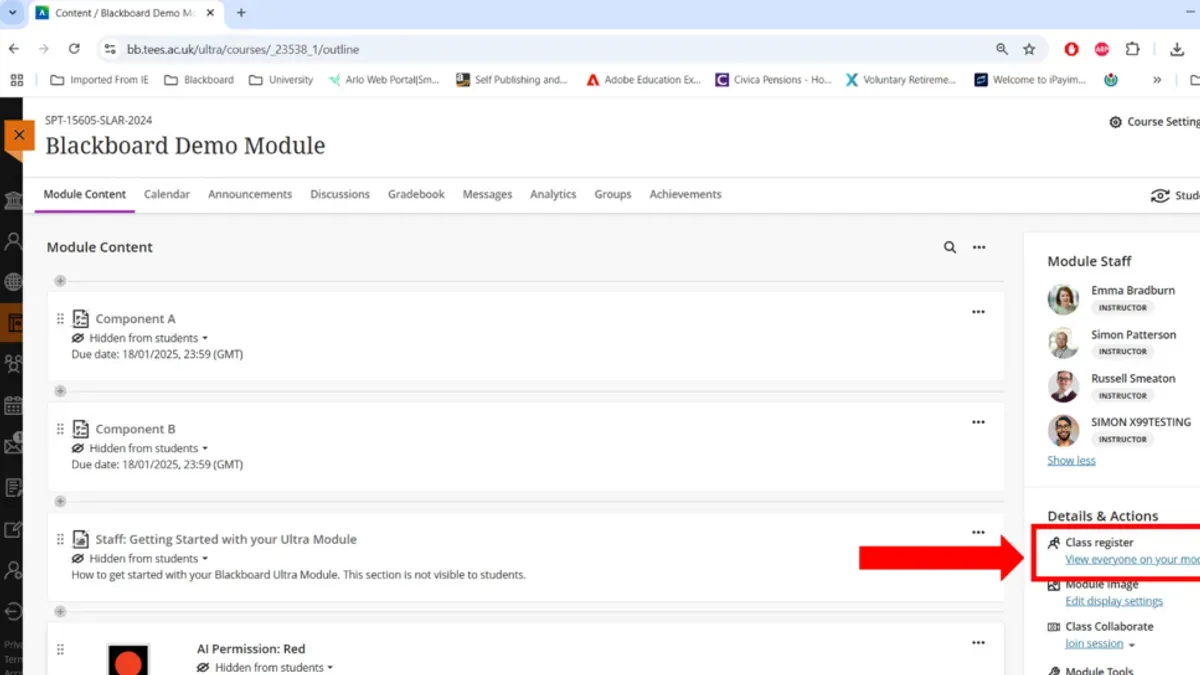
However, you can hide a course from your dashboard to declutter your course list. This does not remove you from the course but makes it easier to focus on active classes.
- Log in to Blackboard and go to the My Courses module on your dashboard. You will see a list of all courses you are enrolled in.
- Click the gear icon or the three-dot menu next to the course you want to hide. A menu with options appears.
- Select Hide Course from the menu. The course will immediately disappear from your My Courses list.
- To confirm, refresh your dashboard or navigate away and return. The hidden course should no longer appear in your active course list.
- To request full unenrollment, send an email to your instructor or Blackboard administrator. Include the course name and your full name for clarity.
Hiding courses cleans your view but does not affect enrollment status. Always request removal if you need to be officially unenrolled.
Troubleshooting: Common issues when adding students in Blackboard
If students do not appear after manual enrollment, first verify their role assignment. Navigate to Users and Groups > Users, confirm each student is assigned the "Student" role. Also, check the course availability under Course Management > Customization > Properties to ensure the course is set to "Available to Users."
Batch upload errors often stem from incorrect CSV formatting. Ensure the CSV uses the exact user IDs registered in Blackboard and follow the required format: one user ID per line, no extra columns. A common error message is "Invalid User ID" or "Upload failed." Correct these and re-upload.
Permission denied errors occur if you lack instructor or admin rights. Confirm your role in the course by checking your permissions under Users and Groups > Users. If you see "You do not have permission to perform this action," contact your Blackboard administrator to adjust your role.
If students report they cannot access the course after enrollment, verify the course is available to users and their Blackboard accounts are active and not expired or disabled. Inactive accounts prevent login and course visibility.
- Check Users and Groups > Users for correct role assignment; students should have the "Student" role. Successful check shows correct roles listed.
- Verify course availability under Course Management > Customization > Properties; the course must be "Available to Users." Confirm availability status displays "Yes."
- For batch uploads, open your CSV in a text editor, confirm only user IDs are listed without extra columns. Upload through Control Panel > Users and Groups > Batch Enroll Users. Success message will confirm enrollment.
- If "Permission denied" appears, review your course role under Users and Groups > Users. If not an instructor, request role update. Successful update allows enrollment actions.
- Confirm student accounts are active by checking their user profile status in the Admin panel. Active accounts show "Enabled."
Frequently asked questions
How to add a course on blackboard?
To add a course on Blackboard, you typically need administrative privileges or request course creation through your institution’s Blackboard administrator. If you have the rights, go to the Admin Panel, select "Courses," then "Create Course" or "Add Course." Fill in the required fields like course ID, name, and availability, then save your settings. Without admin rights, contact your IT or Blackboard support team to set up the course.
How to create a course in blackboard?
Creating a course requires access to the Blackboard Admin Panel. Navigate to "Courses," then click "Create Course." Enter course details, including the course name, ID, term, and description. Set availability dates and enrollment options before saving. Once created, instructors can add content and enroll students or co-instructors.
How to use blackboard for students?
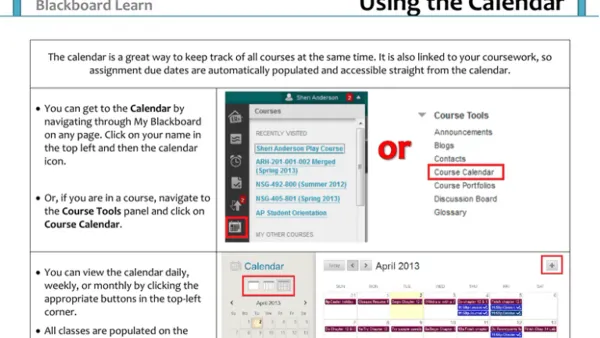
Students use Blackboard to access course materials, submit assignments, participate in discussions, and check grades. Log in with your institutional credentials, select your course from the dashboard, and navigate the course menu to find content, announcements, and assessments. Use the notifications and calendar features to stay updated on deadlines and events.
How to build a course in blackboard?
Building a course involves organizing content and tools within the course shell. Start by uploading syllabus and materials under "Content" or "Course Documents." Use the "Assignments" tool to create graded tasks, and set up discussion boards under "Discussions." Arrange modules logically and use the "Course Tools" menu to add quizzes, grade center columns, and communication tools.
How to create a course in Blackboard?
This is the same as the previous creation steps: access the Admin Panel, go to "Courses," then "Create Course." Input all necessary course information, set enrollment and availability options, and save. If you can’t access these options, contact your Blackboard administrator.
Quick checklist
- Confirm you have instructor or admin access to the Blackboard course.
- Ensure students have valid institutional accounts before enrolling.
- Use the "Users and Groups" menu, then "Users" to add students manually.
- Assign appropriate roles (e.g., Student) when adding users.
- Check enrollment availability settings to control student access.
- Use batch enrollment only if your institution supports CSV uploads or SIS integration.
- Verify changes by reviewing the course roster after enrollment.
What this advice does not cover
This guide does not cover institution-specific enrollment automation tools or integration with external student information systems, which may require IT support. If your institution uses custom scripts, APIs, or third-party enrollment management platforms, refer to your IT department or Blackboard administrator. This guide also does not address student self-enrollment settings that might be configured by your institution.
The most useful next step is to practice adding a test student to your course using the "Users and Groups" panel. This hands-on step confirms your permissions, familiarizes you with Blackboard’s interface, and ensures you understand role assignments and enrollment settings before working with actual students.
See also: How to Use the Brightspace Mobile App with Students: A Step-by-Step Guide · How to Grade Student Work in Brightspace: A Clear Step-by-Step Guide