SMART Board Rollout Plan for After-School Programs: A Practical Expert Guide
Learn how to create a tailored SMART Board rollout plan for after-school programs to enhance engagement and learning effectively.

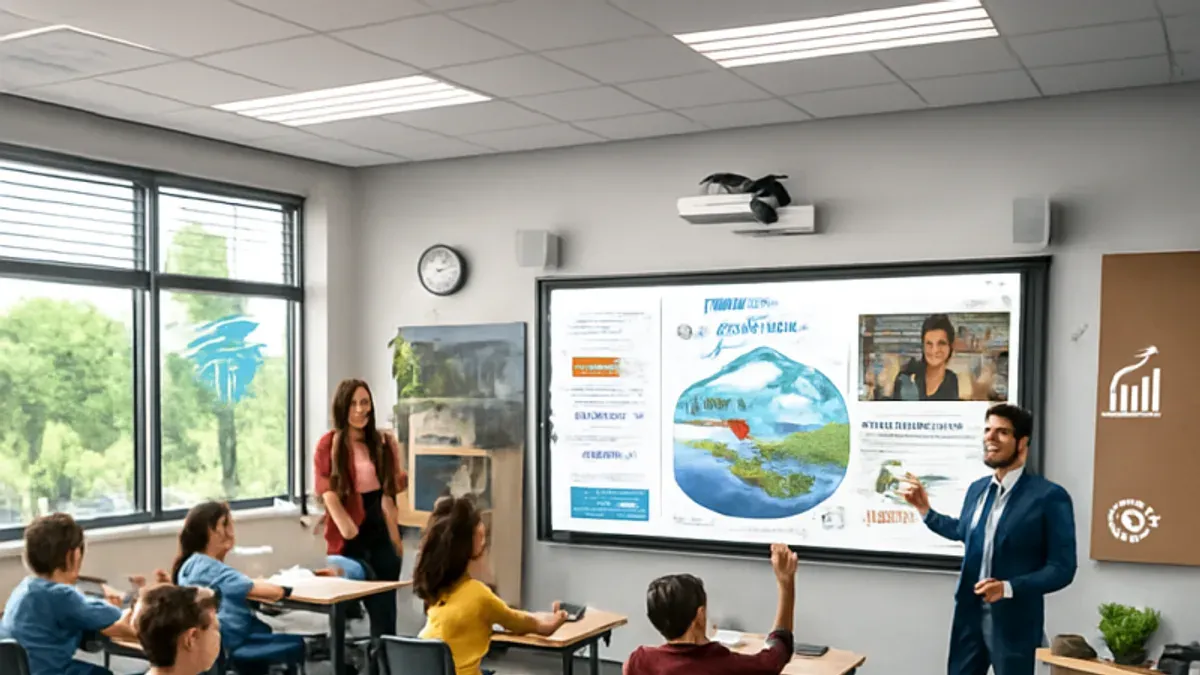
Short answer: A SMART Board rollout plan for after-school programs requires tailoring the deployment to the unique environment and goals of these programs. You must address specific challenges like varied schedules, limited budgets, and diverse user tech skills to ensure effective engagement and learning enhancement.
This guide covers how to assess your program’s needs, select appropriate SMART Board models, plan installation and setup with resource constraints in mind, train staff and students efficiently, and continuously monitor usage to maximize impact. It also highlights common pitfalls to avoid, helping you implement your SMART Boards smoothly and sustainably in after-school settings rather than relying on generic classroom rollout strategies.
Understand Why SMART Boards Matter for After-School Programs
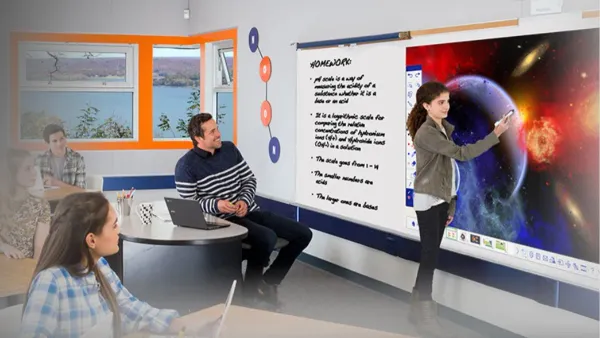
SMART Boards offer interactive learning advantages that are particularly effective in after-school environments, where activities range widely from homework help to creative clubs. Unlike traditional classrooms, after-school programs often serve diverse age groups and learning styles, making the adaptability of SMART Boards essential for engagement.
These boards boost motivation by allowing hands-on participation through touch, digital drawing, and multimedia presentations. For example, a STEM club can use a SMART Board to collaboratively solve math problems, while an art group might create digital collages together, fostering peer interaction and deeper involvement.
Additionally, SMART Boards support differentiated instruction by enabling facilitators to easily switch between lesson formats or tailor content to individual needs without requiring multiple devices. A reading program can display interactive stories that adjust to different reading levels, helping all learners stay engaged.
Programs that have implemented SMART Boards report noticeable increases in student focus and participation. This technology transforms after-school sessions into dynamic, collaborative learning spaces that traditional whiteboards or projectors cannot match.
Assess Your After-School Program’s Needs and Constraints
Begin by evaluating the physical space where the SMART Board will be installed. Room size affects screen size choice and placement; a cramped room with 10 participants requires a smaller board than a large multipurpose room hosting 30 students. Assess existing technology, such as available Wi-Fi strength, power outlets, and device compatibility, to ensure smooth integration.
Consider scheduling constraints unique to after-school programs. Sessions are often shorter and occur when staff availability varies, so plan for installation and training during off-hours or staggered times to avoid disrupting program flow.
Budget planning must cover hardware costs, software licenses, and ongoing maintenance. For example, a small program with one SMART Board and basic software licenses might allocate a modest budget, while a larger program serving multiple rooms will face higher cumulative expenses. Factor in potential savings by choosing models with integrated features to reduce peripheral purchases.
Imagine a small program with 12 students in a 15x20 ft room and limited tech infrastructure. A single 65-inch SMART Board with wireless capabilities suits the space and budget. In contrast, a larger program serving 40 students across two rooms must budget for two 75-inch boards, enhanced network support, and additional staff training hours.
- Measure room dimensions and assess participant count
- Inventory current technology and infrastructure
- Account for after-hours installation and training needs
- Plan budget for hardware, software, and maintenance
- Match SMART Board size and features to program scale and space
Choose the Right SMART Board Model and Supporting Technology
Selecting the right SMART Board hinges on balancing size, features, and durability to suit the after-school environment. For example, a 65-inch interactive flat panel offers ample space for group activities without overwhelming smaller rooms, while a 75-inch model suits larger spaces or higher participant numbers.
| Model | Size | Features | Durability | Pros | Cons |
|---|---|---|---|---|---|
| SMART Board MX Series | 65"-75" | Multi-touch, integrated iQ platform | High, commercial-grade glass | Robust, easy software integration | Higher cost |
| SMART Board 6000S | 65" | 20-point touch, Pen ID | Scratch-resistant surface | Precise touch, good for handwriting | Less integrated software |
| SMART Board 4000S | 55"-65" | 10-point touch, basic software | Moderate durability | Cost-effective, compact | Limited features |
Software compatibility is crucial. SMART Notebook and the SMART Learning Suite integrate well with popular after-school curricula like STEM and language learning apps. Confirm the software supports offline use where Wi-Fi may be inconsistent.
Accessories such as wireless keyboards, mice, and robust wall mounts enhance usability and flexibility. For connectivity, prioritize models with HDMI, USB-C, and wireless casting to accommodate laptops, tablets, and mobile devices commonly used in after-school settings.
Picture a STEM-focused program using a 65-inch MX Series board with wireless casting. Staff can easily switch between coding exercises on laptops and interactive group problem-solving on the board, maximizing engagement without tech delays.
- Match board size to room and participant count
- Check software compatibility with your curricula
- Choose durable models to withstand frequent use
- Invest in essential accessories for ease of use
- Ensure versatile connectivity options
Develop a Step-by-Step Installation and Setup Plan
Begin by preparing the physical space where the SMART Board will be installed. Confirm that power outlets are within three feet of the mounting location and that the circuit can handle the board's power needs. Ensure reliable internet access is available, either via Wi-Fi or Ethernet, to support software updates and interactive features.
Next, coordinate roles and timelines. Assign a facilities staff member to handle mounting the board securely on a reinforced wall or mobile stand. An IT specialist should oversee connecting the SMART Board to the network and installing necessary drivers and software. Plan for this phase to take about two days: one day for physical installation and one for software setup and initial testing.
Before launching, conduct thorough testing. Check touch responsiveness, projector alignment if applicable, and software functionality. Troubleshoot common issues such as driver conflicts or network connectivity. For example, during a rollout at a community center, delays occurred when the mounting wall needed reinforcement, highlighting the value of a pre-installation assessment.
- Verify power, internet, and mounting readiness
- Assign clear roles: facilities for mounting, IT for setup
- Schedule installation over two days with milestones
- Test all hardware and software features thoroughly
- Address issues immediately to avoid launch delays
Train Staff and Engage Students for Maximum Impact
Tailor training sessions to focus on your after-school program's specific goals, such as fostering collaboration or supporting project-based learning. For example, train staff on using the SMART Board's collaborative tools like the Interactive Pen and Screen Capture features to enhance group activities. Emphasize practical exercises that reflect typical program scenarios rather than generic classroom usage.

Introduce SMART Boards to students by demonstrating interactive activities that relate directly to their interests, such as digital storytelling or interactive quizzes. Encourage facilitators to involve students in setting up activities on the SMART Board to build familiarity and excitement.
Establish ongoing support by creating feedback loops where staff can share challenges and solutions during weekly check-ins or via a dedicated communication channel. This continuous dialogue helps identify training gaps and encourages peer learning.
Programs that implemented targeted training reported noticeable improvements in staff confidence and student participation. For instance, a regional after-school STEM program saw facilitators quickly adopt SMART Board features after a hands-on workshop focused on science simulations.
- Design training around your program’s unique activities and goals
- Use student-centered demonstrations to build engagement
- Set up regular support and feedback opportunities for staff
Monitor Usage and Evaluate Success Regularly
Set clear, measurable goals tied to your after-school program’s objectives before deployment. For example, if your goal is to increase student interaction during sessions, define a target such as 75% of sessions using interactive SMART Board activities.
Use the SMART Board’s built-in usage analytics to track frequency, duration, and feature use. Complement this data with direct observation during sessions to understand engagement nuances not captured by software. For instance, you might notice students struggling with certain interactive tools despite high usage statistics.
After one term, an after-school program observed that while SMART Boards were used in nearly 90% of sessions, interactive features like digital whiteboarding were utilized less than expected. Staff feedback revealed a need for refresher training on these features. The program then scheduled targeted training workshops and updated user guides, leading to a noticeable increase in active participation the following term.
Regular review cycles let you adjust training, technology settings, or support materials based on real-world data and feedback, ensuring your SMART Board investment continues to meet your program’s evolving needs.
- Define specific usage and engagement goals aligned with program outcomes
- Collect and analyze SMART Board usage data via analytics tools
- Conduct direct observations to capture qualitative insights
- Gather staff and student feedback on SMART Board interaction
- Adjust training and resources based on findings
- Repeat evaluation regularly to refine implementation
Avoid Common Mistakes in SMART Board Rollouts for After-School Programs
One frequent pitfall is ignoring the distinct scheduling and staffing realities of after-school programs. For example, a community center installed SMART Boards without accounting for part-time staff availability, leading to inconsistent usage and technical issues left unresolved. This caused frustration and underutilization.
Another common error is neglecting ongoing training and technical support. Staff unfamiliar with updates or troubleshooting quickly lose confidence, reducing the technology’s impact. A middle school after-school program saw its SMART Board idle for weeks after a software update because no one knew how to navigate the new interface.
Finally, failing to align technology use with program content and participant needs dilutes effectiveness. Installing a SMART Board without tailoring activities or software to the specific interests and skill levels of participants results in disengagement. For instance, a STEM-focused club struggled when the SMART Board was primarily used for generic presentations rather than interactive science simulations.
- Plan for staffing schedules and availability in rollout timelines
- Provide continuous training and accessible technical support
- Customize technology use to fit your program’s content and participant profiles
Read next
- SMART Board Implementation Timeline: A Step-by-Step Guide for Educators
- Moving from Promethean Board to SMART Board: Your Complete Checklist Guide
Frequently asked questions
What technical requirements should I consider before installing SMART Boards in after-school programs?
Check the room’s electrical capacity to ensure it can handle the SMART Board and any connected devices. Verify Wi-Fi coverage and speed to support interactive features and software updates. Consider mounting options that suit your space, such as wall brackets compatible with the board’s size and weight, and ensure the display is visible from all seating areas.
How can I train after-school staff who are not tech-savvy to use SMART Boards effectively?
Start with hands-on, simple demonstrations focusing on essential functions like touch interaction, saving work, and basic software navigation. Provide step-by-step guides with screenshots and schedule short refresher sessions. Pair less confident staff with tech-savvy peers for informal support during early use.
What budget factors are often overlooked in SMART Board rollouts for after-school settings?
Ongoing costs like software licenses, maintenance, and replacement accessories often exceed initial purchase price estimates. Budget for staff training time and potential tech support contracts. Don’t forget installation expenses, including professional mounting and network configuration if your IT team isn’t handling setup.
How do I measure if the SMART Board rollout is improving student engagement and learning?
Use attendance and participation records during sessions involving the SMART Board as initial indicators. Collect feedback from both staff and students about ease of use and interactivity. Track improvements in related learning activities through assessments or project completion rates linked to board use.
Quick checklist
- Evaluate your program’s space and electrical capacity before selecting a SMART Board.
- Choose a model that supports multi-touch and wireless connectivity for flexible use.
- Create a clear installation timeline with designated responsibilities.
- Schedule hands-on staff training sessions focusing on the board’s educational features.
- Develop student engagement strategies aligned with your program’s goals.
- Set up a system to track board usage and collect user feedback regularly.
- Identify common pitfalls such as inadequate training and lack of technical support to avoid them.
This guide’s scope and limitations
This guide focuses on after-school programs and does not cover SMART Board rollouts in traditional classroom settings or large-scale district deployments. If you are managing a district-wide technology integration or a K-12 classroom rollout, specialized resources tailored to those environments will better address your needs. Additionally, this guide does not delve into detailed technical troubleshooting or network configuration, which should be handled by qualified IT professionals.
To move forward confidently, start by conducting a thorough needs assessment with your team and stakeholders. This foundational step will clarify your program’s unique requirements and guide every decision—from device selection to training—ensuring your SMART Board rollout enhances engagement and learning effectively.