Moving from Promethean Board to SMART Board: Your Complete Checklist Guide
This checklist guides you through moving from Promethean board to SMART Board, covering equipment, content migration, and staff training for seamless adoption.

Short answer: Moving from Promethean board to SMART Board checklist involves assessing your current equipment, preparing your classroom infrastructure, migrating lesson content, and training staff on new software and interaction techniques. This ensures a seamless transition that leverages SMART Board features for enhanced pedagogical outcomes rather than just swapping hardware.
This article covers the critical steps you need to take, from understanding the technological differences between the two interactive boards to adapting your classroom workflows and lesson plans. You'll find actionable advice on preparing your network and physical setup, transferring and optimizing digital content using SMART Notebook software, and empowering educators with best practices for effective SMART Board use. The guide also highlights common challenges and how to avoid them to keep your upgrade efficient and classroom-ready.
Understand the Key Differences Between Promethean and SMART Boards
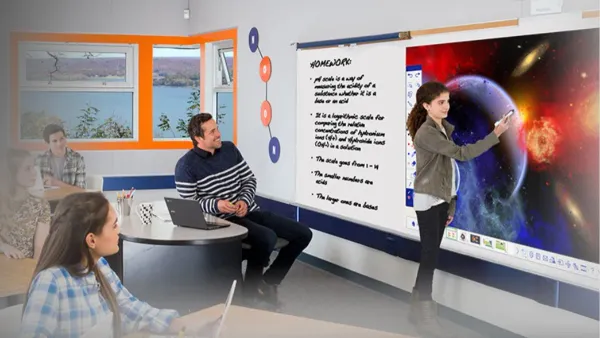
When moving from a Promethean Board to a SMART Board, the changes go beyond swapping hardware. Promethean boards typically use proprietary ActivPanel interfaces and rely on ActivInspire software, while SMART Boards operate with SMART Ink and SMART Notebook software, offering broader third-party integration. Connectivity varies as well: Promethean often depends on USB and HDMI inputs with limited wireless options, whereas SMART Boards support multiple wireless protocols like Wi-Fi and Bluetooth, enhancing device pairing and screen sharing.
This divergence in software ecosystems can create compatibility challenges. For example, lesson files created in ActivInspire (.flipchart) do not open natively in SMART Notebook, requiring educators to convert or rebuild content, which impacts lesson preparation time. SMART Boards also include more advanced interactive features such as multi-user touch recognition and seamless integration with cloud platforms like Google Drive and Microsoft OneDrive, which Promethean lacks.
| Feature | Promethean Board | SMART Board |
|---|---|---|
| Primary Software | ActivInspire | SMART Notebook |
| Connectivity | USB, HDMI, limited wireless | USB, HDMI, Wi-Fi, Bluetooth |
| Interactive Features | Single-user touch, basic pen tools | Multi-user touch, advanced gestures, cloud integration |
| File Compatibility | .flipchart format | .notebook format, cloud-ready |
For example, when a middle school science teacher tried loading a Promethean lesson on the SMART Board, the lack of direct file compatibility required re-creating interactive quizzes in SMART Notebook. This delay emphasized the importance of planning content adaptation as part of the transition.
- Compare hardware interfaces and connectivity options carefully before installation
- Review and plan for software ecosystem differences, including file formats
- Prepare to adapt or convert lesson content for seamless classroom delivery
- Leverage SMART Board’s enhanced interactive features to enrich teaching methods
Assess Your Current Setup and Requirements
Begin by conducting a thorough inventory of your existing classroom technology. Note the model and condition of your current Promethean boards, connected devices like computers and document cameras, and your network infrastructure, including Wi-Fi strength and Ethernet availability. This baseline helps you understand compatibility needs and potential upgrades.
Next, identify all software licenses and digital content tied to your Promethean system. Check for proprietary apps, interactive lesson files, and subscriptions that may not transfer directly to SMART Board platforms. For example, a school discovered that its ActivInspire licenses did not cover SMART Notebook software, prompting a budget revision.
Finally, set clear goals for the transition. These might include improving multi-device connectivity, integrating cloud-based lesson sharing, or enhancing student interaction through SMART’s collaborative tools. A real-world goal could be enabling simultaneous input from multiple students, which some Promethean boards do not support.
- Document existing hardware models, network setup, and peripheral devices
- List all Promethean-linked software licenses and content formats
- Define specific functional improvements desired, like cloud integration or multi-touch support
- Assess network capacity to handle SMART Board requirements
Prepare Your Classroom and Network for SMART Board Installation
Begin by assessing the physical setup: confirm that the wall where you plan to mount the SMART Board supports the device's weight, typically around 30 to 40 pounds, and ensure you have a stable mounting bracket compatible with the board model. Verify that there is a dedicated power outlet within close proximity to avoid unsightly extension cords or power strips, and confirm the outlet provides stable voltage to prevent interruptions during use.
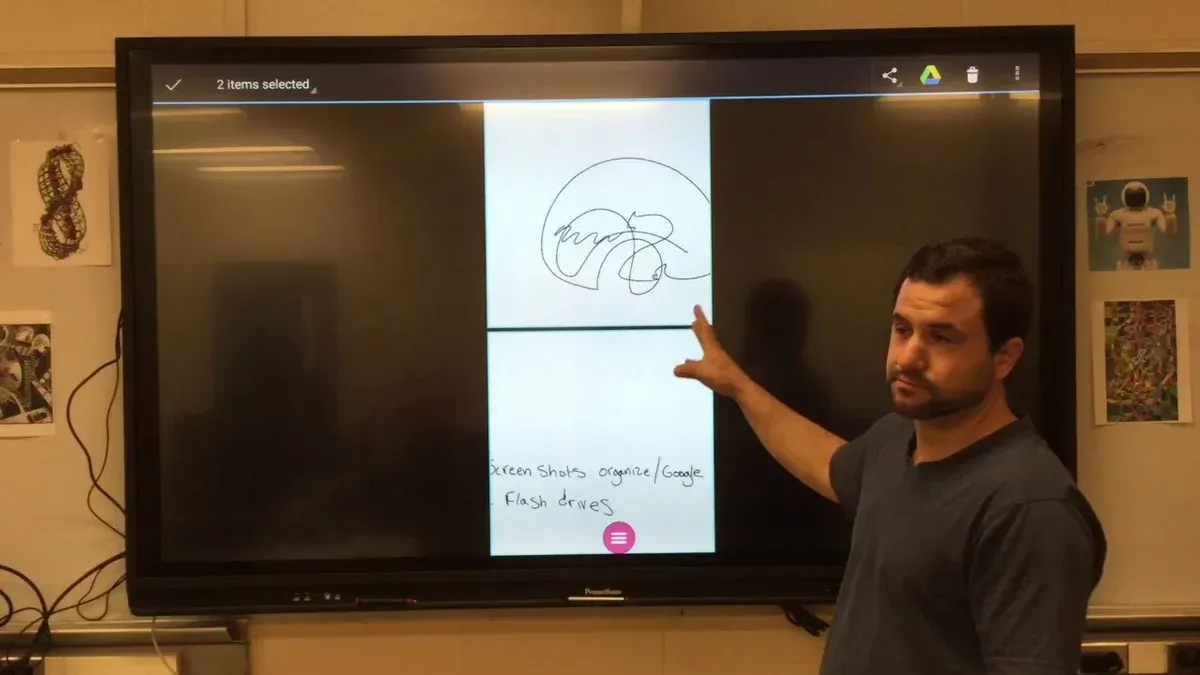
Next, evaluate your network capabilities. SMART Boards demand consistent, high-speed connectivity to support features like real-time collaboration and cloud integration. Aim for a minimum bandwidth of 100 Mbps on the classroom Wi-Fi or wired connection. Check that your network supports the necessary protocols (e.g., 802.11ac or better for Wi-Fi) and that firewall settings allow communication with SMART’s cloud services. Confirm compatibility of connected devices, such as teacher laptops or tablets, ensuring they meet SMART software requirements.
Plan ahead for software deployment by preparing user accounts with appropriate permissions. Install the SMART Notebook software and any required drivers on all devices that will interact with the board, ideally before installation day to avoid downtime. This preparation prevents last-minute technical issues and supports a smooth transition.
- Confirm wall strength and mounting hardware compatibility
- Ensure a dedicated, stable power source near the installation site
- Verify network speed of at least 100 Mbps and protocol compatibility
- Check firewall and security settings to permit SMART Board communication
- Prepare and test user accounts and software installations in advance
Transfer and Adapt Your Lesson Content and Software Tools
Moving your lesson content from Promethean's ActivInspire to SMART Notebook requires both technical steps and pedagogical adjustments. Start by exporting your ActivInspire flipcharts as PDF files via File > Export > PDF. Then, import these PDFs into SMART Notebook using Insert > File. While this preserves static content, interactive elements like flip animations or embedded quizzes need manual recreation within SMART Notebook's tools.
For example, a science lesson with drag-and-drop labeling activities in ActivInspire must be rebuilt using SMART Notebook’s Interactive Widgets and Lesson Activity Toolkit. This process also offers a chance to refine lesson flow, leveraging SMART Board’s enhanced ink tools and customizable backgrounds for clearer visual cues.
Teachers often note a learning curve adapting to SMART software’s interface, especially regarding widget configuration and screen recording features. Providing focused training sessions on SMART Notebook's Gallery and Lesson Activity Toolkit can accelerate competence and confidence.
- Export flipcharts from ActivInspire as PDFs
- Import PDFs into SMART Notebook
- Rebuild interactive elements using SMART Notebook widgets
- Adjust lesson pacing and layout to exploit SMART features
- Schedule training on SMART Notebook’s advanced tools
Train Educators and Support Staff on SMART Board Best Practices
You need to organize hands-on training sessions that immerse educators and support staff in SMART Board's unique interactive features, such as the SMART Ink toolbar, collaborative tools, and the Lesson Activity Toolkit. These sessions should focus on practical classroom applications, like using the Screen Shade to reveal content gradually or employing the SMART Recorder to capture lessons.
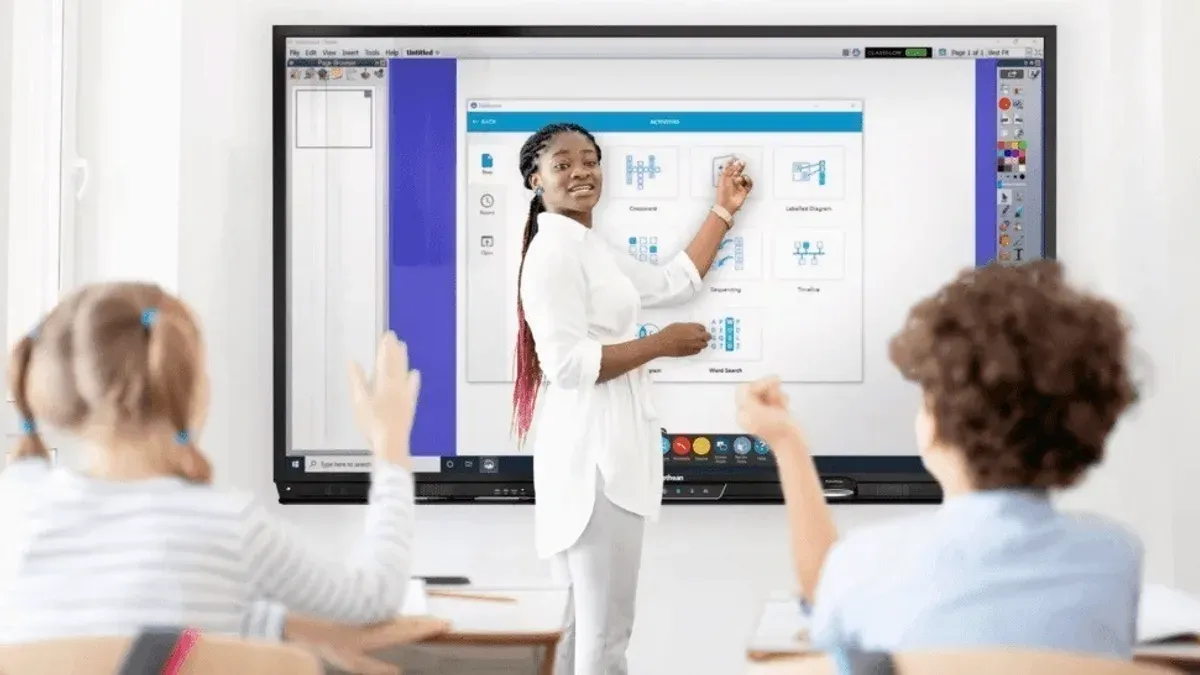
Develop concise quick reference guides that detail common tasks, including connecting the board via the SMART Notebook software, calibrating the touch interface through the Settings menu, and resolving frequent connectivity issues. Establish clear troubleshooting protocols so support staff can efficiently address problems without disrupting class flow.
Encourage a culture of sharing tips and classroom success stories through regular team meetings or an internal forum. For example, one educator might share how using SMART Lab activities increased student engagement in math, inspiring others to adopt similar strategies.
- Schedule hands-on workshops highlighting key SMART Board tools and workflows
- Create and distribute quick reference guides with step-by-step instructions and troubleshooting tips
- Set up regular forums for staff to exchange practical ideas and success stories
Avoid Common Pitfalls During the Transition
Overlooking software license renewals or skipping compatibility checks often causes unexpected downtime. For example, a district that proceeded without verifying SMART Notebook license statuses faced immediate access blocks on key lesson files, stalling classes for days.
Underestimating the time required for user training can also backfire. While you might schedule a single training session, educators typically need multiple hands-on opportunities to master SMART Board features, or else they revert to old routines, wasting the technology’s potential.
Finally, failing to communicate changes clearly to all stakeholders—teachers, IT staff, and administrators—creates confusion and delays. A timeline review from a mid-sized school showed a two-week installation delay directly linked to unclear notification about network adjustments and classroom readiness requirements.
To avoid these issues, verify software licenses early, allocate sufficient training periods, and provide clear, timely updates to everyone involved.
- Check SMART Notebook licenses and renewals before installation.
- Plan multiple training sessions with practical exercises.
- Communicate installation schedules and requirements to all stakeholders well in advance.
Read next
- Promethean Board Rollout Plan for After-School Programs: A Practical Guide
- Promethean Board Implementation Timeline: A Step-by-Step Guide
Frequently asked questions
Can I use Promethean lesson files directly on a SMART Board?
Promethean lesson files use proprietary formats that SMART Boards cannot open natively. You will need to export your Promethean ActivInspire files to a compatible format like PDF or convert interactive elements manually using SMART Notebook. This extra step ensures all content and interactivity works smoothly on the SMART platform.
What are the main software differences I should expect?
Promethean ActivInspire and SMART Notebook differ significantly in interface and available tools. SMART Notebook emphasizes seamless integration with SMART Ink and collaboration features while ActivInspire focuses on flipchart-based lessons. Expect to relearn tool locations, annotation methods, and content sharing workflows.
How long does it usually take to complete the transition?
The timeframe depends on the scale of deployment and staff familiarity but generally ranges from a few days for basic hardware swaps to several weeks for full software adaptation and training. Allow extra time for lesson content conversion and educator upskilling to avoid workflow disruption.
What support resources does SMART provide for new users?
SMART offers extensive online resources including interactive tutorials, user forums, and a comprehensive knowledge base accessible through their website. Additionally, SMART provides live webinars and localized technical support to assist with installation, software training, and troubleshooting.
Quick checklist
- Review compatibility of existing lesson content with SMART Notebook software and convert files as needed.
- Verify network settings to support SMART Board updates and cloud integrations.
- Schedule hands-on training sessions focusing on SMART Board gestures and embedded tools.
- Test interactive features like object recognition and multi-touch before classroom deployment.
- Prepare backup plans for lesson delivery during transition days.
- Communicate changes clearly with all educators and IT staff involved.
- Document any hardware or software issues encountered during initial use for timely support.
What this guide does not cover
This guide does not cover transitioning from SMART Board to other interactive whiteboard brands, nor does it address budgetary or procurement processes in detail. If your focus involves those areas, consulting dedicated procurement specialists or vendor-specific transition guides is advisable.
The single most useful next step is to organize a pilot classroom session with your SMART Board setup. This hands-on trial will reveal practical challenges and help tailor training and technical adjustments before full rollout, ensuring a smoother transition overall.