How to Build a Clever Implementation Timeline That Works
Learn how to build a clever implementation timeline that breaks your rollout into clear phases with realistic deadlines to ensure a smooth launch.

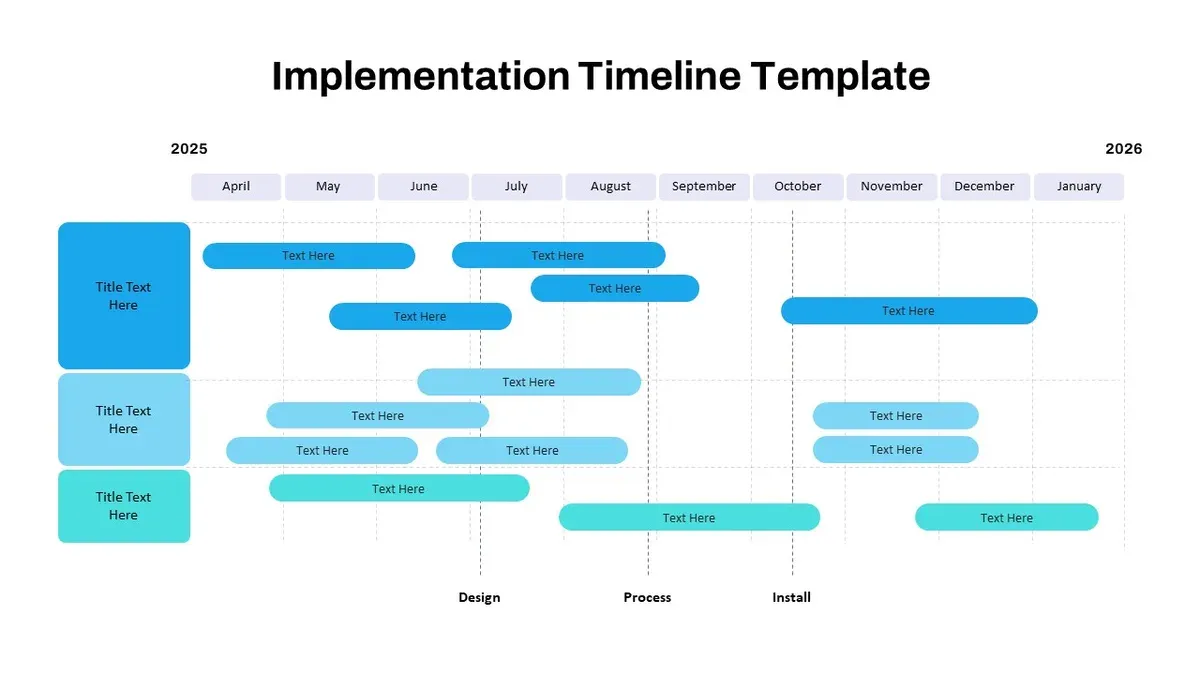
Short answer: A Clever implementation timeline breaks your rollout into clear, manageable phases with realistic deadlines. It aligns tasks like account setup, staff training, and data integration so you avoid bottlenecks and launch on schedule. This timeline focuses on practical steps, not vague goals.
This article covers why a timeline matters, how to build one step-by-step, and what a typical rollout schedule looks like. You’ll also get a brief history of Clever’s origins to understand its evolution and why its workflows matter. Finally, you’ll find common pitfalls to dodge when planning your implementation.
Why is creating a timeline significant?
A structured timeline sets clear expectations and deadlines for everyone involved in an implementation project. Without it, stakeholders often face confusion about responsibilities and progress, which leads to missed deadlines and wasted resources. For example, a school district rolling out Clever without a timeline might delay training until after the platform goes live, causing frustration and underuse.
Timelines improve resource allocation and risk management by identifying when key tasks must be completed and who is responsible. This prevents last-minute scrambles and allows adjustments if risks materialize. Clear milestones also facilitate communication and accountability by providing checkpoints for progress updates and issue resolution.
Projects with defined timelines consistently outperform those without, often finishing on schedule and within budget. They prevent scope creep and delays by breaking the rollout into manageable phases and keeping teams focused on priority tasks. Without a timeline, projects tend to drift, causing confusion and extended timelines.
How to create an implementation timeline
Start by defining the project scope and key deliverables. For a Clever rollout, this might include system integration, staff training, and data migration. Next, identify all stakeholders—IT staff, educators, administrators—and clarify each role to avoid confusion during execution.
Break down the project into distinct phases such as initial setup, pilot testing, full deployment, and post-launch review. Assign clear milestones for each phase, like completing user account creation or finishing the first training session. Estimate realistic timeframes based on your team's capacity; for example, allocate two weeks for data migration if your IT team handles other priorities simultaneously.
Use visual tools like Microsoft Project or online Gantt chart software such as Smartsheet to map these phases and milestones. Building in contingencies is crucial—reserve buffer days for common delays like unexpected software glitches or scheduling conflicts during training. Finally, communicate the timeline clearly via shared digital calendars or project management platforms and update it regularly to reflect progress or changes.
For example, a typical Clever implementation timeline might start with a 1-week planning phase, followed by 3 weeks of technical setup, 2 weeks for staff training, 1 week for pilot testing, then a full rollout phase lasting 2 weeks, and a 1-week post-launch evaluation. This structured approach keeps your rollout on track and transparent.
- Define scope and deliverables
- Identify stakeholders and roles
- Break project into phases with milestones
- Estimate realistic timeframes
- Use visual timeline tools
- Build in contingency buffers
- Communicate and update timeline regularly
When was Clever created?
Clever was founded in 2012 with the goal of simplifying and securing student data integration between schools and educational applications. Before Clever, schools faced complex, manual processes to connect multiple educational tools with student information systems, often risking data privacy and accuracy. Clever introduced a centralized platform that automates data syncing, reducing errors and administrative workload.
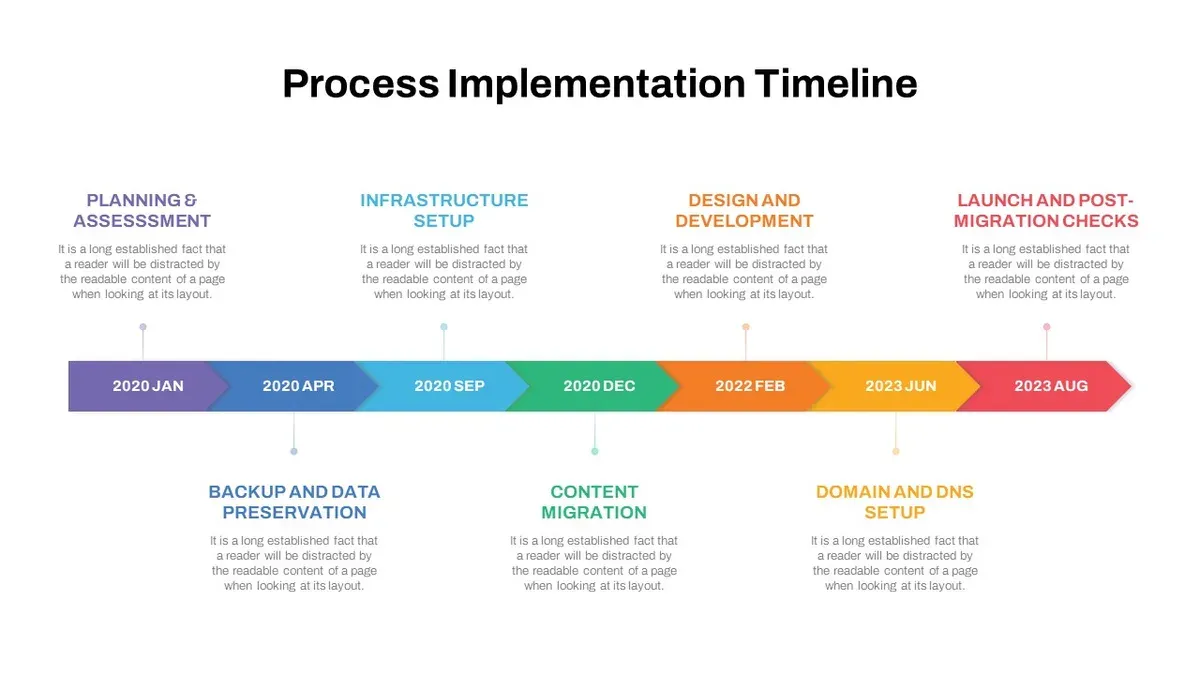
Since its founding, Clever has grown steadily, now serving millions of students across thousands of school districts. For example, by streamlining login and data sharing across popular educational apps, Clever enables teachers to focus on instruction rather than managing multiple accounts. This broad adoption underscores Clever's role in transforming how educational technology integrates with school systems.
Key milestones include securing initial funding shortly after 2012, expanding partnerships with major edtech providers within a few years, and continuous enhancements to data security and user experience. The company's growth reflects the increasing demand for secure, efficient digital learning environments.
When did Clever come out and when was Clever made?
Clever was founded in 2012, and its initial product launch to schools happened within the same year. Early adopters, primarily school districts seeking simpler student data integration, began using the platform shortly after launch, providing crucial feedback that shaped subsequent updates. For example, a California school district implemented Clever in late 2012 and reported improved data synchronization by early 2013, highlighting the platform's early practical benefits.
The product was not a finished package at launch; it evolved through iterative updates addressing user needs and technical challenges. Major updates rolled out over the following years refined single sign-on capabilities, data privacy controls, and integration ease. Recognizing this timeline helps you understand the complexity of implementation—expect some adjustment as the platform adapts to your specific environment.
Knowing the difference between founding, initial availability, and ongoing evolution sets realistic expectations for your rollout. The first version was functional but improved continuously, meaning your implementation timeline should include phases for testing, feedback, and adjustment rather than assuming a plug-and-play deployment.
What does a timeline for change implementation look like? (Implementation plan timeline example)
Implementing Clever or a similar platform typically unfolds in four clear phases. First, spend 2 to 4 weeks on planning and stakeholder engagement. During this phase, gather input from IT staff, educators, and administrators to define objectives and address concerns early. Next, allocate 3 to 6 weeks for technical setup and integration testing. This involves configuring the platform, connecting to existing student information systems, and running test syncs to ensure data flows smoothly.
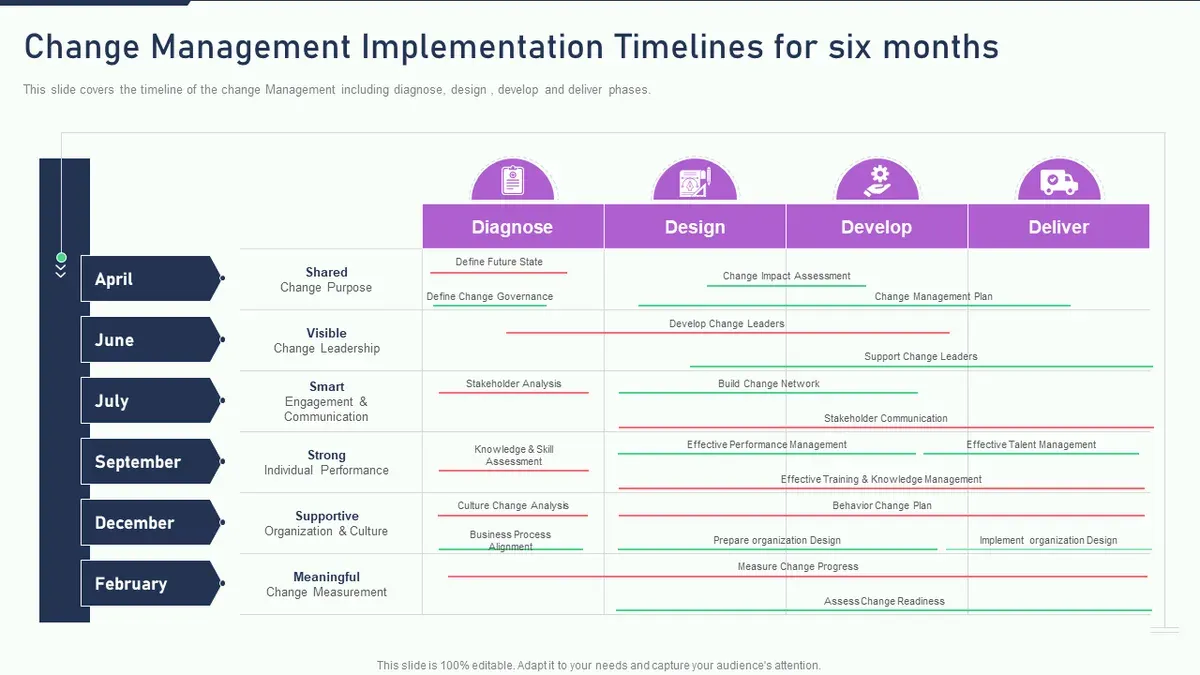
The third phase lasts 2 to 3 weeks and focuses on training selected users and conducting pilot testing. Choose a small group of teachers or administrators to trial the system, provide feedback, and resolve issues before full deployment. Finally, dedicate at least 4 weeks to full rollout and ongoing support, monitoring adoption, troubleshooting problems, and adjusting training materials.
Adjust these timelines based on your school or district size and readiness. Larger districts may require more time for integration testing and training. The key milestones include stakeholder sign-off after planning, successful test syncs, pilot completion with feedback incorporated, and full user adoption.
| Phase | Duration | Milestones |
|---|---|---|
| Planning & Stakeholder Engagement | 2-4 weeks | Objectives defined, stakeholder buy-in |
| Technical Setup & Integration Testing | 3-6 weeks | System configured, test syncs successful |
| Training & Pilot Testing | 2-3 weeks | Pilot group trained, feedback collected |
| Full Rollout & Ongoing Support | 4+ weeks | System live, support active |
Compared to similar education technology implementations, this phased timeline balances thorough testing with timely rollout. It allows you to manage risks without unnecessary delays, ensuring a smooth transition.
- Engage all stakeholders early and confirm objectives
- Plan for multiple test syncs during technical setup
- Choose a representative pilot group for training
- Schedule ongoing support after rollout
- Adjust phase lengths based on local context
Common mistakes to avoid when creating your implementation timeline
Underestimating the time needed for training and change management is a frequent cause of delays. For example, a district rushed through staff training, assuming familiarity with similar platforms, only to face widespread confusion and low adoption during rollout. Failing to engage key stakeholders early and often leads to misaligned priorities and resistance. Without input from IT, educators, and administrators, critical concerns go unaddressed until late stages.
Ignoring technical dependencies and integration challenges causes unexpected roadblocks. A school that didn’t account for outdated SIS software compatibility had to halt implementation for urgent system upgrades. Not building in buffer time for unforeseen issues leaves no room to recover when problems arise. Overloading phases with too many simultaneous tasks strains resources and reduces focus, as seen when pilot testing and full deployment were scheduled back-to-back without pause.
- Allocate ample time specifically for comprehensive training and change support.
- Involve all key stakeholders from planning through deployment.
- Map out technical dependencies and verify integration points early.
- Include buffer periods in the timeline to handle unexpected setbacks.
- Limit concurrent tasks within each phase to maintain team focus.
Frequently asked questions
How to create an implementation timeline?
Start by defining your project goals and key milestones. Break the rollout into phases such as preparation, configuration, training, and launch. Assign realistic deadlines for each phase, considering resource availability and potential delays. Regularly update the timeline to reflect progress and changes.
When was Clever created?
Clever was created in 2012 to simplify the integration of educational software with school information systems. Its founding focused on streamlining data access and management for educators and administrators.
Why is creating a timeline significant?
A timeline provides structure, helping you manage tasks, allocate resources, and anticipate challenges. It keeps the project on track and ensures stakeholders know what to expect and when. Without a clear timeline, implementations risk delays and miscommunication.
When did Clever come out?
Clever’s platform officially launched to schools and districts in 2013, following its creation the previous year. This release made it easier for educators to connect multiple digital tools through a single sign-on system.
Quick checklist
- Define clear milestones tied to key platform features like roster sync and single sign-on setup.
- Assign specific deadlines and responsible team members for each task.
- Schedule buffer time for unexpected technical issues during integration.
- Plan training sessions after core features are tested and stable.
- Regularly review progress and adjust the timeline based on feedback and technical readiness.
What this advice does not cover
This guide focuses on the timeline for Clever or similar educational technology implementations and may not cover broader organizational change management complexities. Timeline durations and phases should be adapted to your specific context; one size does not fit all. For comprehensive change management, including stakeholder engagement beyond IT and instructional teams, consult specialized resources.
The single most useful next step is to draft your timeline starting with critical integration points—like SIS connection and user authentication—and build backward to your current date. This approach ensures you prioritize tasks that unblock others and avoid last-minute delays.
See also: Moving from ClassLink to Clever Checklist: A Practical Guide · ClassLink Implementation Timeline: What You Need to Know to Get Started · Switching from Apple School Manager to Clever: A Clear How-To Guide · Apple School Manager Implementation Timeline: Step-by-Step Guide for Education IT Leaders