ClassLink Implementation Timeline: What You Need to Know to Get Started
Discover the ClassLink implementation timeline with clear stages and tips to ensure a smooth rollout without disrupting school operations.

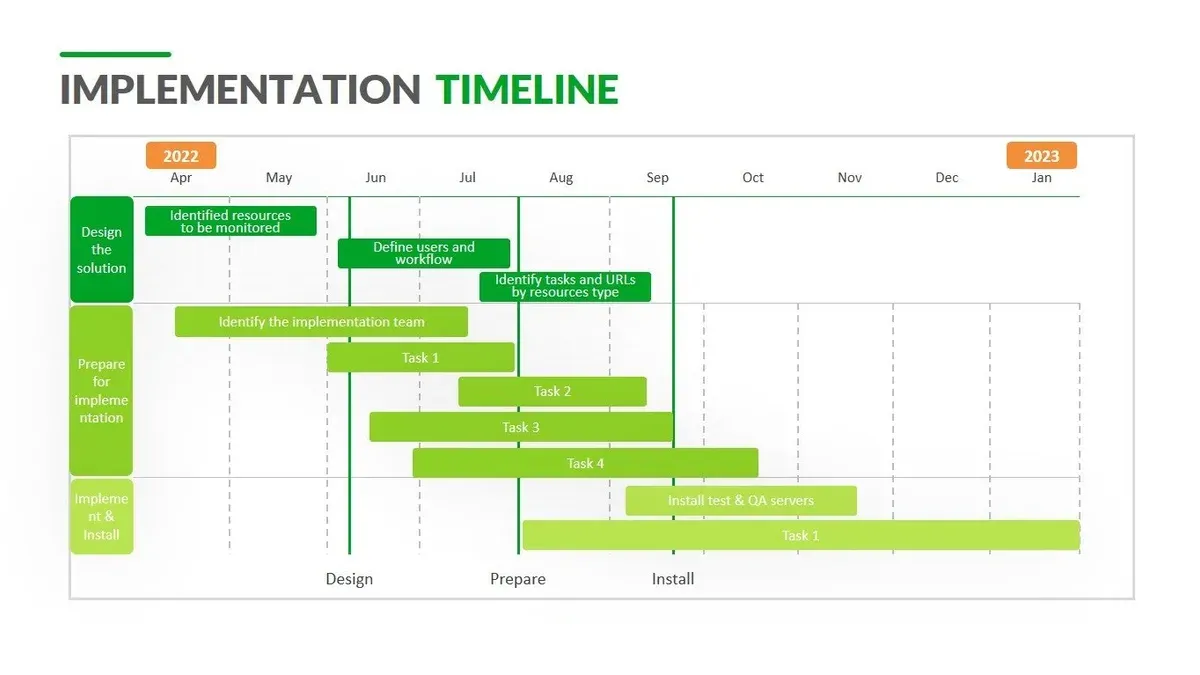
Short answer: The ClassLink implementation timeline typically spans 8 to 12 weeks, covering planning, setup, integration, testing, and training. This timeline ensures you address technical configuration, data synchronization, and user onboarding without disrupting school operations.
This article breaks down the ClassLink implementation timeline with clear stages and actionable checkpoints from a school IT leader’s perspective. You will get a practical guide to each phase, common pitfalls to avoid, and how to keep your team on track for a smooth rollout. Understanding these steps helps you prepare strategically and manage resources effectively when adopting ClassLink in your district or school.
What is ClassLink for schools and why does it matter?
ClassLink serves as an identity and access management platform designed specifically for schools. Its core function is to provide single sign-on (SSO) and rostering solutions that allow students, teachers, and staff to access all their digital learning resources through one secure portal. This eliminates the need to remember multiple passwords or navigate various login pages, streamlining daily workflows.
For IT administrators, ClassLink reduces the time spent on password resets and user provisioning. Educators benefit from quicker access to lesson materials and apps, while students avoid login delays that can disrupt learning. Schools see improved security because ClassLink enforces consistent authentication standards and integrates with existing systems, reducing vulnerabilities caused by weak or reused passwords.
Consider a middle school where students typically log into five different educational apps each day. Without ClassLink, this might mean 15 to 20 minutes spent entering credentials and troubleshooting login issues. With ClassLink, students sign in once and access all apps instantly, saving valuable class time and increasing productivity. This convenience also encourages greater use of digital resources, supporting personalized learning strategies.
When was ClassLink made and what happened to it since launch?
ClassLink was founded and first released in 2012, entering the market as a single sign-on and rostering solution designed specifically for K-12 schools. From the start, it aimed to simplify access to digital resources for students and educators while reducing IT workload. Early adoption grew steadily as districts sought to manage increasing numbers of online tools efficiently.
Since launch, ClassLink has undergone major updates expanding its capabilities. Notable enhancements include the introduction of analytics dashboards that provide usage insights, integration with cloud storage platforms like Google Drive and Microsoft OneDrive, and mobile app releases that improve access on the go. Customer growth has been strong, with millions of users across thousands of districts, reflecting its widespread acceptance and maturity.
ClassLink adapted to shifts in education technology, such as the surge in remote learning needs during the late 2010s and early 2020s. For example, it enhanced its rostering and provisioning features to handle rapid onboarding of remote students and staff. This flexibility demonstrates how the platform has evolved to meet real-world school IT demands beyond its original scope.
How does ClassLink work to streamline school IT workflows?
ClassLink operates primarily through a single sign-on (SSO) mechanism that simplifies access to multiple digital resources with one set of credentials. When a user logs in via ClassLink, the system authenticates their identity and instantly provides access to all assigned applications and files without additional logins. This reduces password fatigue and support tickets related to credential management.
Integration with Student Information Systems (SIS) like PowerSchool, Infinite Campus, or Skyward is central to ClassLink's workflow. ClassLink syncs rostering data daily from the SIS, automatically updating user lists, class schedules, and permissions. This ensures that teachers, students, and staff have the correct app access aligned with their current roles and courses without manual intervention.
User access management in ClassLink is role-based and hierarchical. IT administrators configure permissions through the ClassLink Admin Console by assigning roles such as student, teacher, or admin, each with specific access rights. For example, a teacher can access grading tools and attendance apps, while students get learning management systems and resources tailored to their classes.
Consider a middle school teacher logging in on Monday morning: after authenticating via ClassLink SSO, she immediately sees her daily schedule, class rosters, and approved apps like Google Classroom and assessment tools. Behind the scenes, ClassLink has synced overnight with the SIS to update any student transfers or schedule changes, ensuring seamless day-to-day workflow.
How to log in to ClassLink and start using it quickly
Access ClassLink by opening any modern browser and navigating to your district’s ClassLink portal URL, typically formatted as districtname.classlink.com. Enter your assigned username and password; these credentials often match your school email login, but verify with your IT department if unsure. For students, this might be a student ID plus a password set by the district. For teachers and staff, it’s usually your network credentials.
Once logged in, you land on the ClassLink dashboard, a customizable interface displaying your apps, resources, and folders. The dashboard organizes tools by categories like "Assignments," "Resources," and "Favorites." Key features include single sign-on tiles for apps and a search bar to locate resources quickly. The left sidebar provides access to your profile settings and help resources.
First-time users should start by pinning frequently used apps to the dashboard for easy access. Navigate to the app launcher via the top menu to add or remove tiles. If you face login issues, check caps lock, browser compatibility, and internet connection, then contact your IT support if problems persist.
- Go to your district’s ClassLink URL in a browser
- Enter your school-provided username and password
- Explore the dashboard: locate apps, folders, and search
- Pin favorite apps for faster access
- Contact IT if login fails after basics check
ClassLink implementation timeline template: key stages and checklist
Implementing ClassLink requires a structured timeline with clear milestones to avoid delays and technical pitfalls. Begin with pre-implementation preparation by aligning stakeholders—IT staff, administrators, and educators—to confirm goals and allocate resources like SIS access and app credentials. This phase usually takes 1-2 weeks.
Next, move to technical setup. Integrate your Student Information System by configuring the SIS connector under the ClassLink Management Console’s Data Integration tab. Set up app configurations by adding and testing each application’s single sign-on parameters in the App Library. Expect this phase to last 3-4 weeks depending on app complexity.
Pilot testing follows, involving a small group of users across roles. Use the Launchpad to verify app access and role-based permissions, collecting feedback to adjust settings. This phased onboarding typically requires 2 weeks.
Full rollout starts when pilot users report stable access. Communicate launch dates, provide quick-reference guides, and assign help desk roles. Post-launch support should include weekly check-ins for the first month to resolve issues and optimize configurations.
| Stage | Duration | Key Tasks |
|---|---|---|
| Pre-Implementation | 1-2 weeks | Stakeholder alignment, resource assessment, goal setting |
| Technical Setup | 3-4 weeks | SIS integration, app configuration, SSO testing |
| Pilot Testing | 2 weeks | User testing, feedback collection, settings adjustment |
| Full Rollout & Support | Ongoing | Communication, training, help desk support, optimization |
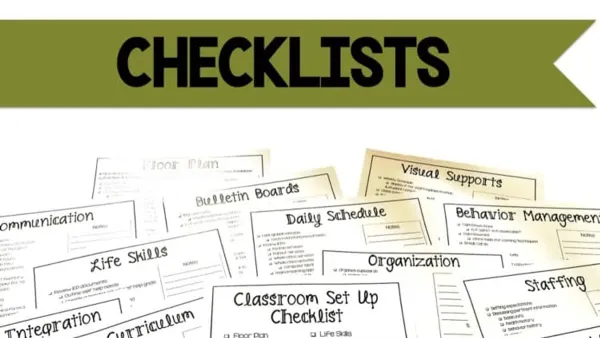
Checklist:
- Confirm SIS access and data formats before setup
- Document each app’s login requirements and test SSO individually
- Engage a diverse pilot user group covering admins, teachers, and students
- Schedule regular status meetings during rollout to track issues
- Prepare quick guides focusing on common user tasks and troubleshooting
Why is ClassLink not working or down? Troubleshooting common issues
ClassLink may fail to work or go down due to several frequent causes. Login failures often stem from expired or incorrectly entered credentials, network connectivity issues, or synchronization problems with the Student Information System (SIS). System-wide outages can result from server maintenance or unexpected downtime on ClassLink’s end, though these are relatively rare.
Start troubleshooting by confirming your network connection and ensuring you can access other web services. Check ClassLink’s status page or your district’s IT alerts for any reported outages. Verify that your account credentials are current and not locked out due to multiple failed attempts. For example, a common scenario is a user unable to log in because their password reset was not completed, causing an authentication block.
If local checks pass but problems persist, gather details such as error messages, affected users, and timeframes before contacting your district’s IT help desk. They can liaise with ClassLink support directly. ClassLink’s support portal and phone line provide tiered assistance, with response times depending on issue severity.
- Confirm stable network access and firewall settings
- Check ClassLink status page or district IT alerts for outages
- Verify user credentials and reset passwords if needed
- Document error messages and affected users
- Contact district IT help desk for escalation to ClassLink support
How to successfully manage ClassLink after implementation and avoid pitfalls
Maintaining ClassLink requires regular updates and continuous monitoring. Access the Admin Portal regularly to review user activity and sync errors under the "Dashboard" and "Reports" tabs. Schedule monthly audits of role assignments in "User Management" to prevent unauthorized access. Skipping these steps often leads to security gaps or login failures.
Ongoing training is essential. Conduct refresher sessions each semester using ClassLink’s built-in training materials found in the "Resources" section. Keep communication open with educators and students via newsletters or briefings to share tips and troubleshoot common issues. For example, one district avoided a surge of support tickets by briefing teachers on app pin customization and password reset procedures after rollout.
Configuration errors are a frequent pitfall. Avoid making bulk changes to settings without testing them in a sandbox environment. For instance, one IT team mistakenly disabled automatic SIS syncs, causing widespread access problems until corrected. Always back up configuration settings before changes and document adjustments clearly.
- Review Admin Portal dashboards and reports monthly
- Audit user roles and permissions regularly
- Offer scheduled training and update communications
- Test configuration changes in a sandbox before production
- Back up settings and document all changes
How to use ClassLink beyond login: maximizing its features in schools
ClassLink offers robust features that extend past basic login functions, helping you optimize school operations and improve learning outcomes. Start by accessing the Analytics & Reports section under the Admin Console. Here, you can generate detailed usage reports showing app adoption rates, peak login times, and user activity patterns. These insights help identify underutilized resources and inform training priorities.
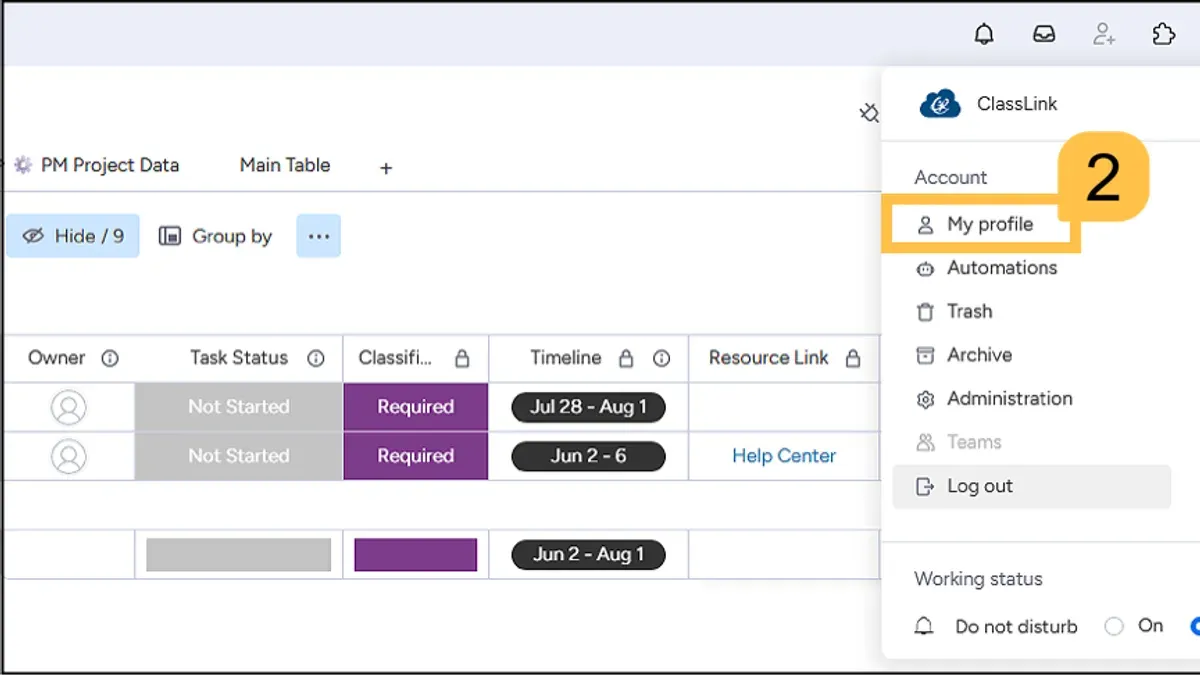
Next, leverage rostering automation through the ClassLink Rostering Connector. It syncs your Student Information System (SIS) data daily, automatically updating class rosters and user roles in integrated learning tools like Google Classroom or Canvas. This reduces manual entry errors and ensures students and teachers always have accurate access.
Customizing user portals is another powerful feature. In the Admin Dashboard, navigate to Portal Settings > Role-Based Views to create tailored dashboards for different user groups. For example, configure a custom teacher dashboard featuring quick links to gradebooks, attendance tools, and professional development resources, while a student dashboard emphasizes homework apps and library access. This focused design improves usability and engagement.
Consider a middle school that set up two distinct portals: one for teachers with embedded access to assessment tools and another for students highlighting core subject resources. This customization led to smoother daily workflows and reduced IT help requests.
Frequently asked questions
What happened to classlink?
ClassLink has evolved from a simple single sign-on tool to a comprehensive platform that integrates rostering, resource management, and analytics for schools. Since its initial release, it has expanded features and partnerships to better support K-12 IT environments. Updates have focused on improving security, user experience, and scalability.
Why is classlink down?
ClassLink may be down due to scheduled maintenance, server outages, or network issues. Check ClassLink’s status page or your district’s IT notifications for updates. If the problem persists, verify your internet connection and contact your IT administrator to troubleshoot further.
How to log into classlink?
To log into ClassLink, go to your school’s ClassLink portal URL, enter your assigned username and password, and click the Sign In button. Many districts use QR code or single sign-on options linked to your school credentials. If you’re unsure of the portal URL, ask your IT administrator.
What happened to ClassLink after its initial release?
After its initial release, ClassLink integrated rostering automation, launched OneRoster compliance, and added analytics dashboards to provide deeper insights. It also expanded app and resource integrations, making it a broader digital learning platform beyond single sign-on. These developments addressed common IT challenges in K-12 schools.
How to log into ClassLink if I forgot my password?
If you forgot your password, use the “Forgot Password” link on the ClassLink login page. You’ll be prompted to enter your username or email, then follow the instructions sent to your registered email to reset your password. If this option isn’t available, contact your school’s IT support for assistance.
Quick checklist
- Confirm stakeholder alignment and secure district-level buy-in early.
- Complete SIS integration using ClassLink's dashboard under Settings > SIS Sync.
- Assign roles and permissions via Admin Console before pilot launch.
- Run a small-scale pilot with IT staff and selected educators to catch configuration issues.
- Schedule training sessions using ClassLink’s built-in training resources found under Help > Training Center.
- Set up monitoring alerts for login failures and sync errors in Admin Console.
- Communicate clear login instructions and support contacts to end users before rollout.
- Plan regular maintenance windows for updates and data sync verification.
What this advice does not cover
This guide does not cover detailed code-level SIS integration or custom development scenarios. If your implementation requires API customization, custom app development, or advanced data workflows, consult ClassLink’s vendor resources or engage integration specialists. This ensures compliance with district-specific security and data privacy policies.
Your next step is to draft your implementation timeline using the key stages outlined, focusing first on SIS data synchronization and pilot testing. Getting these foundational steps right minimizes disruption and accelerates adoption across your school or district.
See also: How to Switch from Apple School Manager to ClassLink: A Practical Guide · Apple School Manager Implementation Timeline: Step-by-Step Guide for Education IT Leaders · Switching from Apple School Manager to Clever: A Clear How-To Guide