Switching from Apple School Manager to Clever: A Clear How-To Guide
This guide explains how to switch from Apple School Manager to Clever, covering user migration, SIS sync, and avoiding common pitfalls.

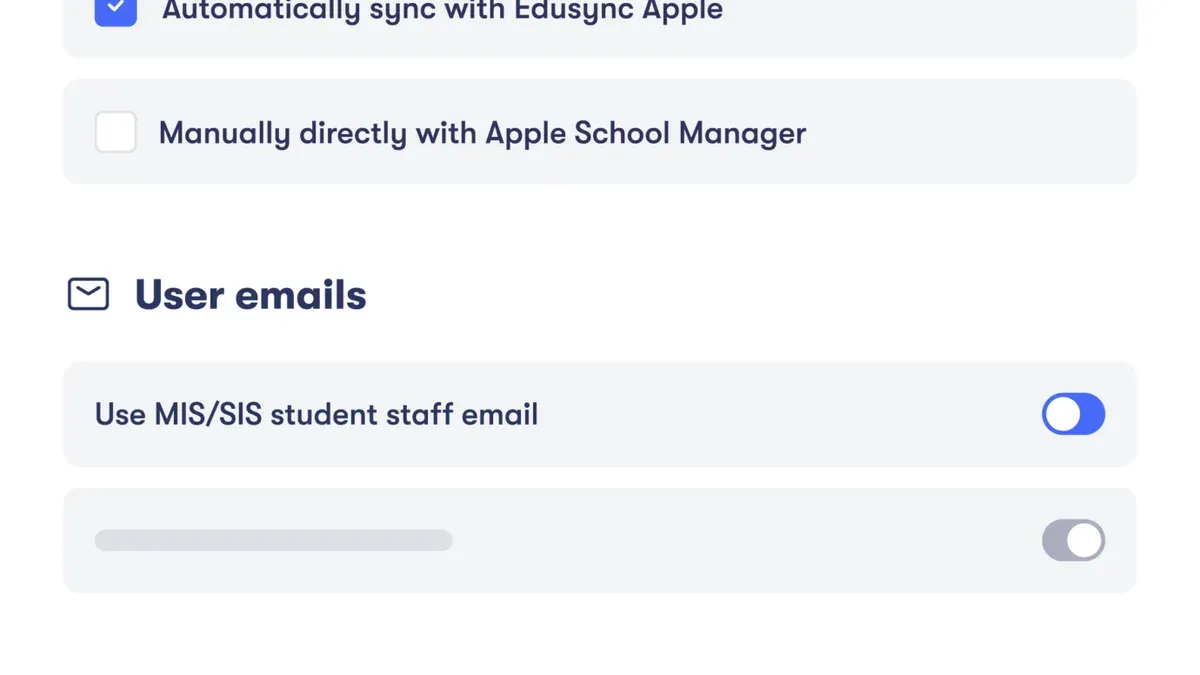
Short answer: Switching from Apple School Manager to Clever requires careful coordination of your student information system (SIS) sync, user account migration, and app provisioning. Clever offers more flexible rostering options and integration capabilities, but you must plan for differences in administrative controls and data management.
This guide covers what Apple School Manager does, how to maximize its use before switching, the key reasons schools move to Clever, step-by-step setup for Clever after transition, common pitfalls to avoid, and where to find support during the process. You will get a clear picture of the technical and procedural nuances unique to switching from Apple School Manager to Clever, helping you make a confident, informed decision and execute the migration with minimal disruption.
What is Apple School Manager and how does it work?
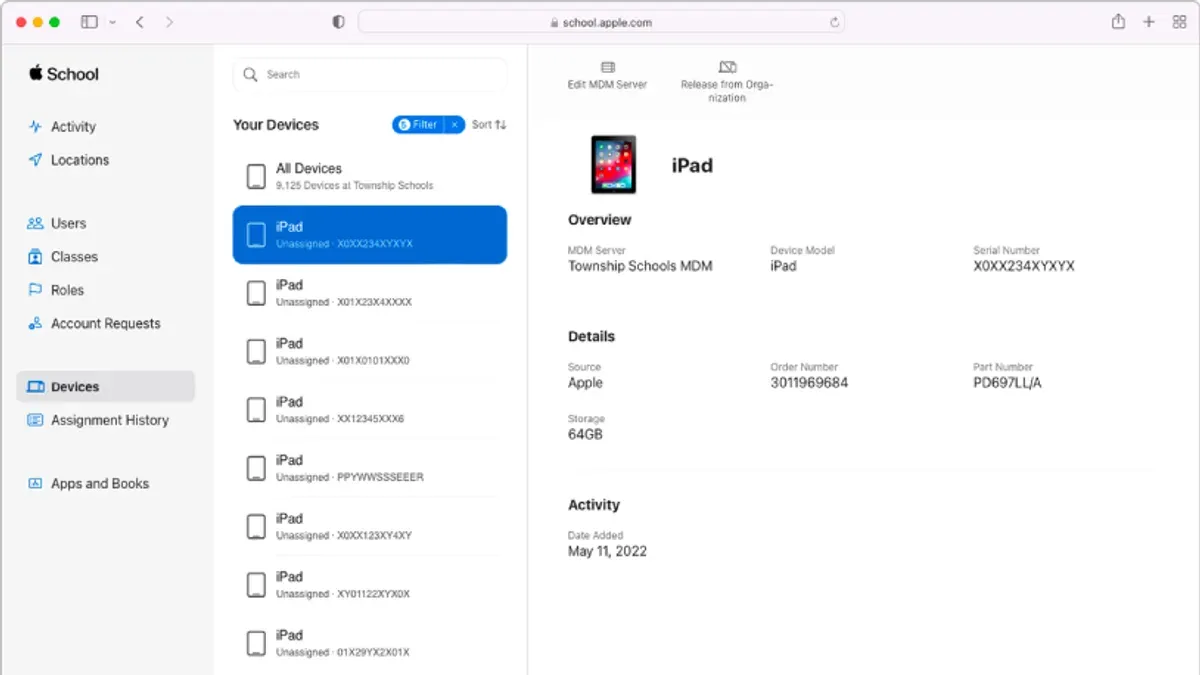
Apple School Manager is a centralized web-based platform designed for educational institutions to manage Apple devices, apps, and user accounts efficiently. It enables IT administrators to automate device enrollment, distribute apps and books, and create managed Apple IDs for students and staff. The system integrates tightly with Apple hardware, allowing devices like iPads and Macs to be configured remotely via Mobile Device Management (MDM) solutions linked through Apple School Manager.
Typical workflows include enrolling devices through Automated Device Enrollment, assigning apps purchased via Apple School Manager to groups or individuals, and managing user roles and permissions within the institution. For example, a school with 500 iPads might use Apple School Manager to enroll all devices at deployment, assign apps like educational software to specific grade levels, and create managed Apple IDs that control access to shared content and services.
This centralized control reduces manual setup and ensures consistent configurations across the school. However, it requires precise coordination between Apple School Manager and the chosen MDM to function smoothly, which is a key consideration before switching to alternative platforms.
How to use Apple School Manager effectively before switching
Start by completing the initial setup in Apple School Manager under Settings > Enrollment Information. Verify your institution’s details and configure federated authentication by linking your Microsoft Azure AD or other supported identity providers. This step ensures smooth user synchronization later. Next, create user accounts via the Accounts > Users page; assign roles carefully to limit administrative privileges to necessary personnel only.
For device assignment, navigate to Devices > Assignments. Select the devices enrolled through your Mobile Device Management (MDM) solution, and assign them to specific users or groups. This maintains clear device ownership essential for orderly migration. Manage apps via Apps > Content, distributing licenses and assigning apps to users or devices as needed.
Maintain data hygiene by regularly auditing user accounts to remove duplicates and inactive profiles. Export user and device lists through the Reports section in CSV format to prepare for migration. For example, a school may export a clean user list with role assignments to import into Clever, reducing errors during onboarding.
- Complete enrollment setup and federated authentication
- Create users with role-based permissions
- Assign devices through the Devices > Assignments menu
- Manage app licenses in the Apps > Content section
- Audit and clean user data regularly
- Export user and device reports for migration
Why consider switching from Apple School Manager to Clever?
Apple School Manager excels in managing Apple devices and distributing apps but offers limited administrative control over non-Apple platforms. Clever provides broader interoperability, supporting a wide range of devices and applications beyond the Apple ecosystem. Its rostering synchronization and single sign-on (SSO) streamline user access, reducing password fatigue and administrative overhead.
Consider a school district with a mix of MacBooks, Windows PCs, and Chromebooks. Apple School Manager manages the MacBooks effectively but struggles with Windows and Chromebook integration, requiring separate management tools. Switching to Clever centralizes user data across all devices, enabling one login per student or teacher to access multiple apps regardless of the hardware they use.
| Feature | Apple School Manager | Clever |
|---|---|---|
| Device Management | Apple devices only | Cross-platform support |
| Single Sign-On (SSO) | Limited, Apple ID based | Robust SSO for multiple apps |
| Rostering | Basic, Apple-specific | Automated syncing with SIS |
| App Integration | Apple App Store apps | Wide range of third-party apps |
| Administrative Control | Apple ecosystem focused | Broader control across platforms |
User feedback often points to password management and cross-platform access as pain points with Apple School Manager. Clever addresses these by simplifying authentication and integrating seamlessly with student information systems (SIS), reducing manual account setups. This makes Clever a strong candidate for schools aiming to unify device and app management across diverse technology environments.
How to set up Clever after switching from Apple School Manager
Begin by creating a Clever district account via the Clever District Portal. Assign administrative roles under Settings > Admin Management to ensure clear responsibilities. Use role-based access control to limit permissions appropriately.
Next, import your user and device data exported from Apple School Manager. Navigate to Settings > District Sync > Import Data. Upload your CSV files, checking for common errors like mismatched email formats or missing unique IDs. The system generates an import log highlighting successes and failures—address any failures before proceeding.
Configure rostering by linking your Student Information System (SIS) in Settings > SIS Integrations. Enable Clever’s Single Sign-On (SSO) under Settings > Authentication to streamline teacher and student access. Finally, set up app access by selecting applications from the Clever App Library and managing permissions in Apps > Manage Apps.
For example, after importing, verify the user count matches your Apple School Manager export. Check the import log for zero errors and confirm that SSO login redirects function correctly by testing with a teacher account. Screenshots of the District Sync page and SSO settings provide visual confirmation of setup completion.
- Create Clever district account and assign admin roles
- Import user and device data, review import logs for errors
- Link SIS for rostering synchronization
- Enable Single Sign-On for unified access
- Configure app access and permissions
- Verify import accuracy and test login flows
What mistakes to avoid when switching from Apple School Manager to Clever
Failing to back up your Apple School Manager data before migration is a critical error. If data is lost or corrupted during import, recovery becomes difficult. Always export user lists, device inventories, and app licenses to secure CSV or XML files prior to starting the switch.
Differences in user role permissions often disrupt workflows post-migration. Apple School Manager’s built-in roles don’t map exactly to Clever’s system. For example, an Apple School Manager "Device Manager" role may lack equivalent privileges in Clever, causing delays in device or app management. Review and adjust roles carefully after import to maintain operational continuity.
Ignoring app licensing and deployment nuances can stall rollouts. Clever handles app assignments and licenses differently; some apps require manual reassignment or reactivation. For instance, a school that neglected to check license compatibility found apps inaccessible to students for weeks, delaying classes significantly.
Underestimating staff training needs on Clever leads to confusion and support overload. A district that skipped comprehensive training faced repeated helpdesk tickets on rostering and single sign-on setup. Allocate time and resources to train administrators and teachers on Clever’s interface and features before going live.
In one case, a mid-sized high school failed to back up data and overlooked role mapping. They lost partial user data and staff couldn’t manage devices during the first week. By restoring backups and conducting targeted role audits, they resolved issues within days but experienced avoidable disruption.
- Always export and securely store Apple School Manager data before migration.
- Audit and adjust user roles to fit Clever’s permission model.
- Verify app licenses and reassign them as needed in Clever.
- Provide thorough training for staff on Clever’s system.
- Plan for a transition period with support to handle unexpected issues.
How to get support and training during the switch
Apple School Manager offers official support through its dedicated support page at https://support.apple.com/apple-school-manager. Here, you can access guides, troubleshooting articles, and video tutorials under the “Resources” tab. For direct assistance, use the “Contact Apple Support” link to reach specialists via chat or phone. Take advantage of Apple’s scheduled webinars found in the “Training” section to familiarize your team with key features and migration tips.
Clever provides comprehensive onboarding resources through https://support.clever.com. Their Help Center includes step-by-step articles and a frequently updated knowledge base. You can submit support tickets or use live chat during business hours for real-time help. Additionally, Clever offers customized training sessions; coordinate with your account manager to schedule remote or on-site workshops aimed at your school’s specific workflows.
Internally, plan change management with structured training sessions focusing on role-specific tasks. Example agenda: (1) Overview of Clever’s dashboard, (2) Managing rostering and SSO, (3) Handling app assignments, (4) Troubleshooting common issues. Use recorded sessions and quick-reference guides for ongoing support. Encourage feedback loops to catch pain points early and adjust training accordingly.
- Visit Apple’s official support page and register for webinars
- Access Clever’s Help Center and request personalized training
- Schedule internal role-based training with clear agendas
- Use feedback from users to refine support and training
Frequently asked questions
How to setup apple school manager?
To set up Apple School Manager, start by visiting the Apple School Manager website and signing up with your institution’s details. You’ll need your institution’s D-U-N-S number to verify your organization. After verification, configure your user roles and connect your Student Information System (SIS) for automated rostering. Lastly, set up device enrollment and assign apps or content to users.
How to setup Apple School Manager?
Setting up Apple School Manager involves enrolling your institution, verifying your organization's identity with a D-U-N-S number, and adding administrators. Next, link your Student Information System for syncing classes and groups. Lastly, configure device enrollment settings and assign Managed Apple IDs to staff and students.
How to use Apple School Manager?
Use Apple School Manager to centralize device enrollment, distribute apps, and manage Managed Apple IDs for staff and students. Navigate the portal to assign roles, sync your SIS data, and configure Shared iPad settings. Regularly review device inventory and app licenses to maintain control over your deployment.
How do I log into Apple School Manager?
Access Apple School Manager by going to school.apple.com. Use your Managed Apple ID credentials assigned by your institution. If you don’t have an account, contact your school’s Apple School Manager administrator to get access.
What is the Apple School Manager support contact number?
Apple does not provide a direct public support number exclusively for Apple School Manager. Instead, use the Apple Support website or contact Apple Education Support through your institution’s Apple account representative or local Apple Education reseller for assistance.
What this guide does not cover
This guide does not cover switching from Apple School Manager to other platforms besides Clever, nor does it address integration with third-party identity providers beyond Clever’s scope. If your organization uses complex identity federation setups or plans to migrate to another provider, consult specialized resources or vendors. Additionally, deep custom scripting or automation beyond standard Clever and Apple School Manager features is outside this guide’s remit.
Quick checklist
- Confirm your Apple School Manager account is fully updated and all user data is accurate before export.
- Map your existing roles and permissions in Apple School Manager to equivalent ones in Clever.
- Export necessary CSV files or use Clever’s API to import user and device data.
- Set up Clever’s roster sync with your SIS (Student Information System) and verify data integrity.
- Test the Clever dashboard with a small user group before full rollout.
- Train your IT team and administrators on Clever’s interface and key management tasks.
- Schedule a cutover date minimizing disruption, and communicate clearly with end users.
The single most useful next step is to initiate a pilot migration with a subset of users. This reveals any data mismatches or permission gaps early, allowing you to adjust configurations before full deployment. Start this process by exporting your Apple School Manager user list and importing it into Clever’s sandbox environment to verify your setup is sound.
See also: Apple School Manager Rollout Plan for Private Schools: A Practical Guide