Moving from Blooket to Nearpod Checklist: A Clear-Cut Transition Guide
Navigate your transition from Blooket to Nearpod with a clear checklist to maintain engagement and manage lessons effectively.

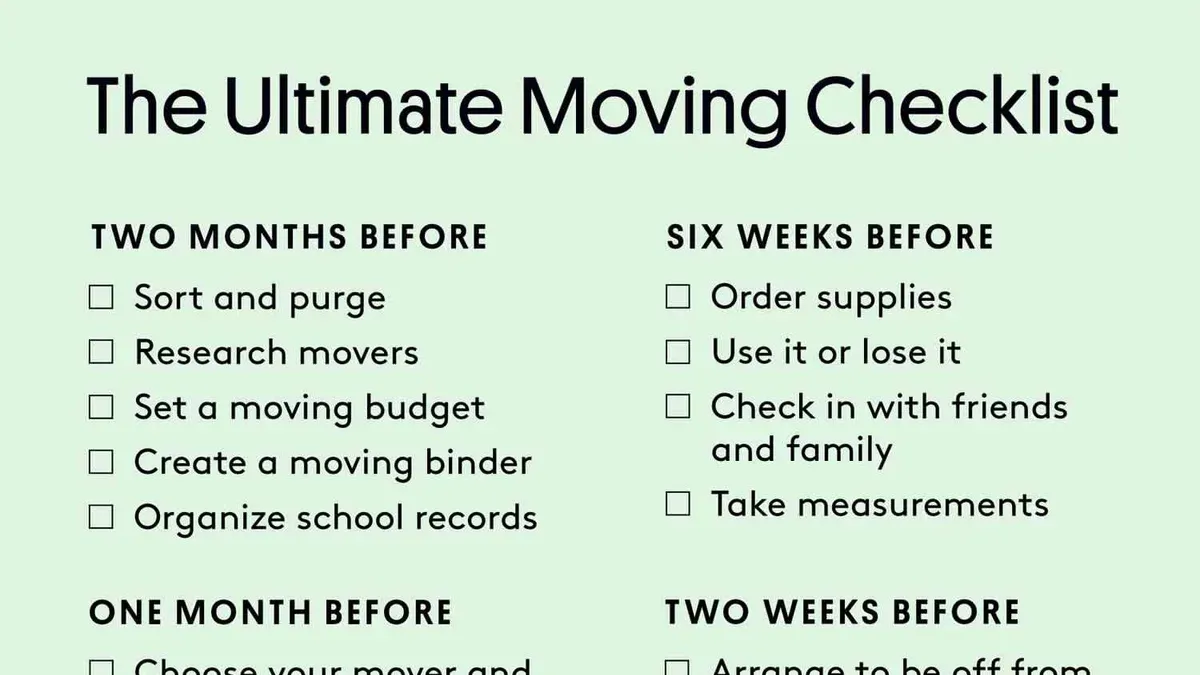
Short answer: Moving from Blooket to Nearpod requires understanding the distinct submission processes and interactive features that Nearpod offers. The moving from Blooket to Nearpod checklist helps you navigate pod transfers, setup, and managing student interactions smoothly without losing engagement.
This guide covers what Nearpod is and why it’s a practical choice over Blooket, how to submit and organize content within Nearpod, and strategies for effective use after the switch. You’ll find a detailed pod mover’s checklist to track every operational step and common pitfalls to avoid. Follow this no-nonsense explainer to make your transition efficient and keep your lessons interactive and seamless.
What is Nearpod and why switch from Blooket?
Nearpod is an interactive learning platform designed for real-time formative assessment and multimedia lesson delivery. Unlike Blooket, which focuses primarily on gamified quizzes, Nearpod offers tools to create comprehensive lessons that incorporate slides, videos, polls, quizzes, and virtual field trips. This variety supports diverse teaching methods beyond just game-based learning.
One key advantage of Nearpod is its detailed submission tracking feature. Educators can see individual student responses instantly during live sessions or review completed assignments, which is not as robust in Blooket. Nearpod also integrates with major LMS platforms like Google Classroom and Canvas, allowing smoother workflow and grade synchronization.
Consider a science teacher transitioning from Blooket’s quiz rounds to Nearpod’s multimedia lessons with embedded quizzes and open-ended questions. They gain the ability to present a video on photosynthesis, pause for a quiz, and immediately assess student understanding. This richer content delivery and live feedback enhance engagement and learning outcomes.
| Feature | Blooket | Nearpod |
|---|---|---|
| Lesson Types | Quiz games only | Slides, videos, polls, quizzes, VR |
| Submission Tracking | Basic | Detailed, real-time |
| Integration | Limited | Google Classroom, Canvas, others |
| Teaching Styles Supported | Game-based only | Game-based, direct instruction, flipped classroom |
Surveys indicate educators notice improved student engagement and easier progress monitoring with Nearpod’s tools compared to Blooket’s quiz-centric model, making the platform a suitable upgrade for varied instructional needs.
How to submit a Nearpod: Step-by-step instructions
Submitting a Nearpod lesson involves creating, sharing, and collecting student responses within the platform. Start by logging into your Nearpod dashboard and selecting "Create" to build a new lesson or import content. To upload Blooket materials, convert quiz questions into Nearpod slides manually, as there is no direct import feature. Use the "Add Slide" function to enter questions, polls, or interactive elements replicating your Blooket activities.
Once your lesson is ready, click "Share" and choose "Live Participation" to launch a session. Provide students with the join code or link. During the session, students submit answers directly on their devices as they progress through slides. Their responses are sent instantly to your dashboard for real-time review.
After the session, access the "Reports" tab to review submitted data. Here, you can view individual and aggregate results, export data as CSV, and assign grades if applicable. This organized submission workflow ensures smooth lesson delivery and efficient assessment.
Example: You create a Nearpod quiz with five questions converted from Blooket. You share the join code, students answer live, and then you download the response report for grading and feedback.
- Log into Nearpod and create or import content slide-by-slide.
- Share the lesson via "Live Participation" and distribute the join code.
- Students submit answers during the live session on their devices.
- Review submissions in the "Reports" tab and export data as needed.
How to use Nearpod effectively after moving from Blooket
After transitioning from Blooket, focus on crafting interactive lessons using Nearpod’s multimedia options. Incorporate images, videos, and polls directly into your slides to engage students beyond simple quizzes. For example, convert a Blooket quiz question into a Nearpod poll slide, adding a quick video explanation beforehand to set context. This approach keeps students active and deepens understanding.
Decide between live participation and self-paced modes based on your class needs. Live sessions allow you to manage pacing and address misunderstandings immediately, while self-paced lessons let students progress individually. For instance, when reviewing a challenging math concept, run a live session with formative assessment slides to gauge real-time comprehension.
Use Nearpod’s reports feature to track student responses and identify learning gaps. Review the “Student Participation” and “Quiz Results” tabs after sessions to adjust instruction. Classroom management improves by setting clear expectations for device use and using Nearpod’s “Attention” tool to monitor student focus during lessons.
One user converted a Blooket review quiz on ecosystems into a Nearpod lesson with embedded videos, 3 polls, and an open-ended question. They reported smoother transitions between content and better insight into student understanding, enhancing class discussions and pacing.
What does an experienced pod mover’s checklist look like?
Think of each “pod” as a self-contained lesson module or content packet you’re transferring from Blooket to Nearpod. Organizing these pods before migration is like packing labeled boxes for a digital move. Start by listing all lesson components—questions, multimedia, interactive elements—and back them up locally or on cloud storage. This prevents data loss and ensures you have quick access during setup.
Next, review each pod’s content for relevance and alignment with your learning goals. Remove outdated or redundant materials. Then, test the pods by importing a sample lesson into Nearpod. Use the "Add Content" and "Upload" menu options to replicate the module. Run through interactive slides in preview mode to check functionality and submission capture.
Unloading your pods in Nearpod requires attention to detail: assign clear titles, tags, and descriptions so you can find lessons easily later. Troubleshoot issues like missing media or broken links immediately. Compare workflows before and after migration—before, you managed quizzes in Blooket’s dashboard; after, you’ll rely on Nearpod’s "Student Participation" reports for submission tracking.
Sample checklist:
- Inventory lesson pods and back up all content (30–45 minutes)
- Review and update content for relevance (20–40 minutes per pod)
- Import a test pod into Nearpod, check all interactions and submissions (15–30 minutes)
- Label and organize pods with metadata in Nearpod (10–15 minutes)
- Run a pilot session with a small group to catch issues (variable, 30–60 minutes)
- Document troubleshooting steps for common errors
Common mistakes to avoid when moving from Blooket to Nearpod
One frequent error is rushing the migration without conducting a thorough content audit. Educators who skip reviewing their existing Blooket quizzes often find irrelevant or outdated questions transferred into Nearpod, causing confusion during lessons. For example, a teacher imported multiple Blooket sets without checking for alignment, leading to mismatched lesson flow and wasted class time.
Many also neglect tracking student submissions effectively. Nearpod’s submission tracking is more detailed than Blooket’s, but failing to set up proper report views or notification settings can result in missed responses or incomplete data collection.
Another common pitfall is underestimating the learning curve. Nearpod offers many new tools, and users who dive in without exploring features like the Collaborate Board or VR field trips often underutilize the platform’s potential, limiting interactivity.
Overloading Nearpod lessons with unnecessary multimedia or activities can slow performance and overwhelm students. Keeping lessons focused and paced improves engagement and avoids technical glitches.
Lastly, ignoring backup and version control risks losing progress. Nearpod lacks automatic version history, so failing to export or duplicate lessons before edits can lead to irreversible content loss.
- Audit all Blooket content before migration
- Set up and monitor student submission reports in Nearpod
- Invest time learning new features before fully switching
- Keep lessons streamlined to avoid overload
- Regularly back up and duplicate lessons to preserve versions
Frequently asked questions
how to use nearpod
To use Nearpod, start by logging into your account and creating or importing a lesson. Navigate to the “My Library” section, select your lesson, and click “Live Lesson” or “Student-Paced” mode depending on your delivery preference. Use the menu to add interactive elements like quizzes, polls, and VR experiences. Monitor student responses in real time through the dashboard to adjust pacing or provide targeted assistance.
how to submit a nearpod
Submitting a Nearpod typically means sharing your lesson with students or colleagues. After finalizing your content, click the “Share” button on the lesson page. Choose to generate a join code, share a link, or assign it directly to students via LMS integration. Ensure you set appropriate permissions under “Settings” for access and submission deadlines if applicable.
pod long distance moving checklist
When moving a pod long distance, prioritize secure packing and clear labeling. Disassemble all components carefully, wrap fragile items with protective materials, and pack electronics separately with original or cushioned boxes. Create an inventory list including serial numbers and condition notes to track everything during transit. Confirm transportation arrangements that ensure climate control and minimal handling.
best pod move moving checklist
The best pod move checklist includes pre-move planning, packing, transportation, and post-move setup steps. Start by documenting pod contents and backing up any digital data. Label all containers by pod section, secure all loose parts, and prepare tools for reassembly. Coordinate timing with movers, verify insurance coverage, and inspect the pod thoroughly upon arrival.
Quick checklist
- Export Blooket data and identify content to recreate manually.
- Create your Nearpod lesson using the Upload PDF or Build Lesson option.
- Use the Nearpod Content Library to find interactive slides and add quiz questions matching your original Blooket set.
- Submit your Nearpod via the dashboard, ensuring you select the correct class and schedule settings.
- Test the pod in student view to confirm all interactive elements work as intended.
- Communicate schedule and access instructions clearly to students.
- Backup your Nearpod content in your account for easy future edits or reuse.
What this guide does not cover
This guide does not cover integration with third-party LMS platforms which may require separate technical setup. If your institution uses platforms like Canvas or Blackboard, consult their specific guidelines to connect Nearpod effectively. Not all Blooket content formats can be directly imported into Nearpod; expect to manually recreate some game or quiz elements when transferring content.
The single most useful next step is to start building a Nearpod lesson with a simple Blooket quiz you already have. Focus on recreating the core questions and test the student experience before moving on to more complex content. This hands-on approach will clarify the operational differences and help you adapt your workflow efficiently.
See also: Moving from Blooket to Microsoft Forms: Your Step-by-Step Checklist · Moving from Blooket to Kahoot Checklist: How to Transition Smoothly · Moving from Blooket to Google Forms Checklist: A Practical Guide · Moving from Blooket to Edpuzzle: Your Complete Checklist