How to Share Files with Students in Blackboard: A Clear Step-by-Step Guide
Discover easy, practical steps to share files with students in Blackboard, ensuring smooth access and organization of your course materials.

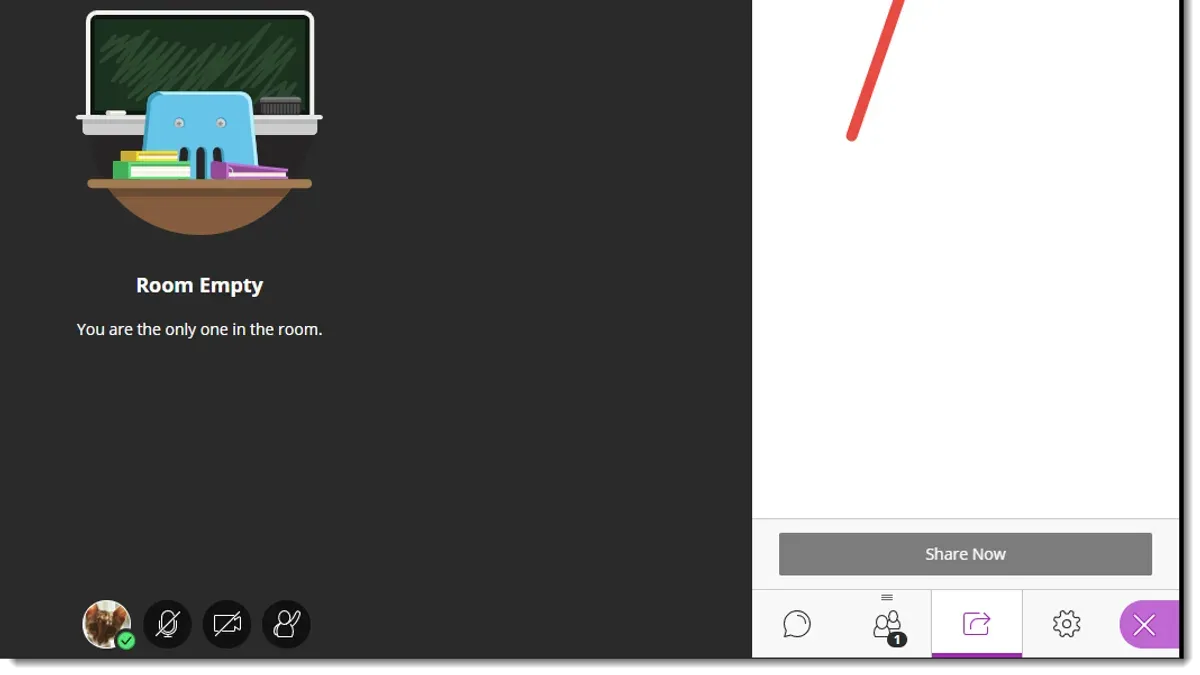
Short answer: You share files with students in Blackboard by uploading them directly into course content areas like the Content Area or Course Materials folder, attaching files to announcements or emails, or using the Blackboard Content Collection. Each method ensures files are accessible and organized, but the best choice depends on how you want students to access the materials and how many files you need to share.
This guide covers practical steps for how to share files with students in Blackboard, focusing on quick, reliable methods tailored for educators managing multiple courses. You'll learn how to upload files directly, use the Course Materials folder, distribute files via announcements or email, and leverage the Content Collection. The article also highlights common issues encountered when sharing files and how to fix them, helping you avoid delays or confusion in your courses.
Before You Start: What You Need to Share Files in Blackboard
You must have an active Blackboard instructor account with access to your course. Without proper permissions, file upload options will not be available. Prepare your files in supported formats such as PDF, Microsoft Word (.doc,.docx), PowerPoint (.ppt,.pptx), Excel (.xls,.xlsx), and common image types like JPEG and PNG. Avoid unsupported or proprietary formats to prevent upload errors.
Check your course's file size limits, typically ranging from 10 MB to 2 GB per file depending on your institution's settings. Exceeding these limits will cause uploads to fail. Review your institution’s storage policies to ensure you do not exceed overall quota limits for your course, which can affect your ability to add new files.
Familiarize yourself with basic Blackboard navigation: accessing the course menu, opening the Content Collection or Course Files area, and using the Build Content options. This foundation will enable you to add files quickly without confusion.
Supported file formats include PDF, DOC/DOCX, PPT/PPTX, XLS/XLSX, JPEG, PNG, and TXT. Maximum file size depends on your institution but generally falls between 10 MB and 2 GB.
- Log in to Blackboard and enter your course. You should see the course menu on the left.
- Locate the Content Area or Course Files section; it is usually labeled clearly in the course menu.
- Confirm you can access the "Build Content" button or similar upload options within these areas.
- Verify your files are ready and meet size and format requirements before proceeding.
How Do You Upload Files Directly to Course Content?
Start by logging into your Blackboard course and navigating to the specific content area or module where you want students to access the file. This could be a folder within Course Content or any other designated section.
Click the Build Content button at the top of the page, then select File from the dropdown menu. This opens a dialog where you can upload your file directly from your computer.
Use the Browse My Computer button to locate your file. After selecting it, provide a clear and descriptive title that students will recognize immediately. Avoid vague names like "Document1".
Before submitting, adjust availability options as needed—set date restrictions or permit tracking to monitor student access. Click Submit to finish uploading.
Once uploaded, Blackboard displays a confirmation message and the file link appears in the chosen content area. Students will see the file title and can click it to download or view the file seamlessly.
- Navigate to the target content folder or module in your course. You should see the folder contents or an empty list if new.
- Click Build Content and select File. A file upload dialog appears.
- Use Browse My Computer to find your file. After selection, enter a descriptive title in the provided field.
- Set availability and tracking options if desired, like date restrictions or permit tracking.
- Click Submit. Blackboard confirms upload and the file link is visible in the content area.
How Can You Share Files Using the Course Materials Folder?
Access the Course Materials folder from your course menu or the Content Area to manage bulk or recurring file sharing efficiently. This folder supports uploading multiple files simultaneously, either by dragging and dropping them directly or using the file selector. Once uploaded, organize your files into subfolders by topic, week, or assignment to simplify navigation for students and keep the course structured.
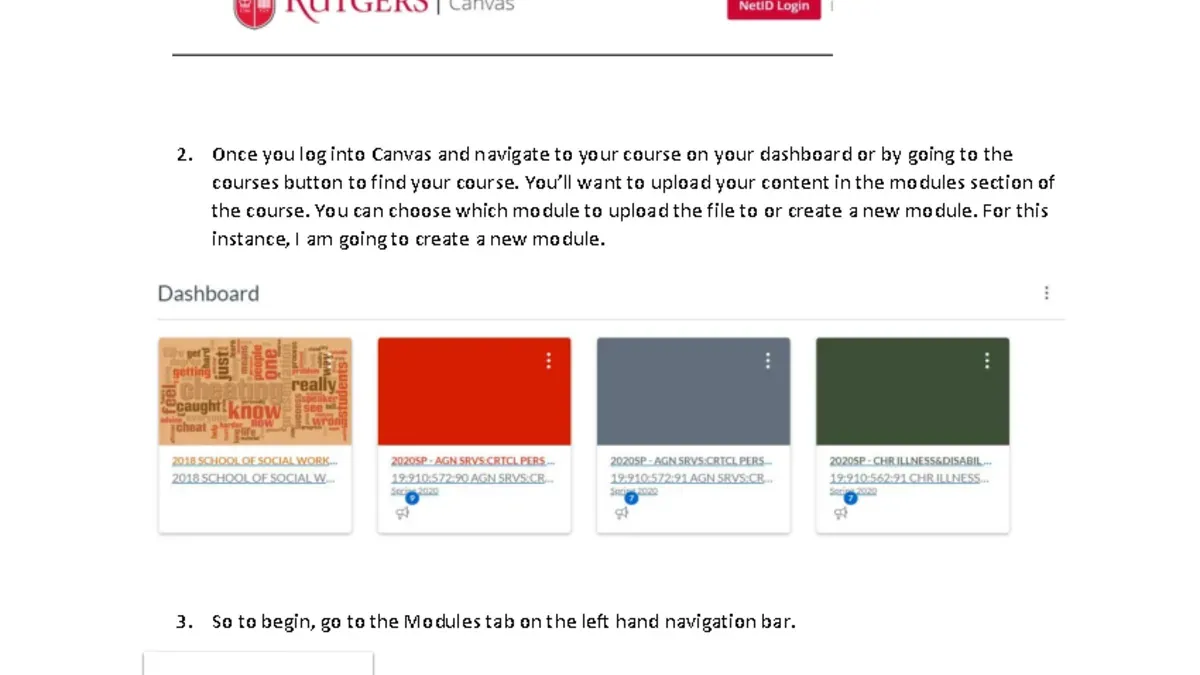
Students access the Course Materials folder through the course menu link, which provides a centralized location for all shared files. Clear, consistent naming conventions—such as "Week3_Readings.pdf" or "Assignment2_Instructions.docx"—help students find files quickly and reduce confusion. Comparison of file organization shows that courses using subfolders receive fewer student inquiries about missing files, indicating better accessibility.
When deciding how to organize, consider limiting subfolder depth to two levels to avoid overwhelming students. Use descriptive names rather than generic terms like "Documents". This approach balances comprehensive file sharing with ease of student access.
- Navigate to the Course Materials folder from your course menu or Content Area; the folder's contents appear on screen.
- Click "Add Files" or drag files into the folder area; uploaded files will list after completion.
- Create subfolders using "Create Folder" and name them logically; verify they appear in the folder list.
- Move or upload files into appropriate subfolders for organization; confirm file placement by browsing the folder structure.
- Inform students to access the Course Materials link on the course menu for all shared files.
How to Share Files via Announcements or Email in Blackboard
Use Announcements to notify students immediately by attaching files or linking to course content. Start by going to the Announcements section, click Create Announcement, add a clear subject and message, then use the Attach File button or insert a link to existing course materials. Students receive notifications based on their settings, ensuring prompt awareness. An example announcement might say: "New reading material uploaded—see attached PDF or access it in Course Materials." Engagement tends to be higher with attachments included directly.
Alternatively, send files through Blackboard’s email tool for targeted communication. Navigate to Course Tools > Send Email, select recipients, attach files, write instructions, and send. This method guarantees delivery to student inboxes but may bypass the organized course structure.
Announcements shine for quick, visible alerts tied to course content, while direct uploads keep files centrally located. Emails ensure personal reach but can fragment file access. Choose based on your need for immediacy versus organization.
- Go to Announcements in your course menu. You should see the announcement list with an option to create new.
- Click Create Announcement. A new form opens for your message.
- Enter a descriptive subject and message. Use language like "Attached is the updated syllabus."
- Click Browse My Computer under Attachments to upload a file or use the Insert Content Link to add a course file link. The attachment or link appears below the message box.
- Set the duration for the announcement visibility if required. After submitting, the announcement appears top of the list, and students receive notifications.
- To email, go to Course Tools > Send Email. Choose recipients and add a subject.
- Attach the file using Browse My Computer, add instructions in the message, then send. Confirmation appears once sent.
How Do You Use the Blackboard Content Collection for File Sharing?
The Blackboard Content Collection is a centralized repository for managing and sharing files across multiple courses. Access it from the course menu under "Content Collection" or via the global menu for institution-wide resources. This setup lets you upload files once and reuse them without repeated uploads.
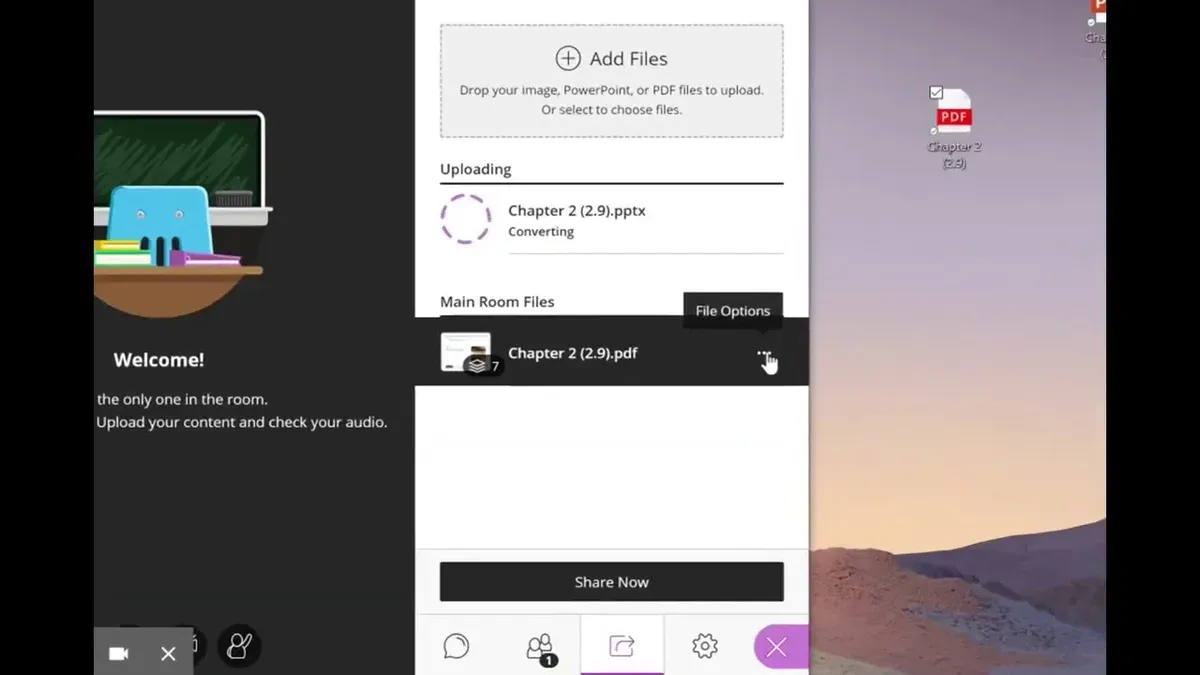
To upload, navigate to your desired folder or create a new one, then select "Upload". Organize files logically with folders and subfolders for easy retrieval. Set permissions by selecting a file, clicking "Set Availability", and choosing whether students can view or download it. Controlling access prevents premature viewing or unauthorized distribution.
Link files from the Content Collection back into your course content areas by choosing "Build Content" > "Content Collection" > "Browse Content Collection". Select the file and add it to the course. Students see the file link without you needing to upload it again.
- Open "Content Collection" from your course menu; a file browser interface appears confirming access.
- Click "Upload" and select files; uploaded files appear in the folder list.
- Choose a file, click "Set Availability", and set student access to "Yes" or "No"; the status updates accordingly.
- In a course content area, click "Build Content" > "Content Collection" > "Browse Content Collection"; the file browser opens.
- Select the file and click "Submit"; the file link appears in the content area for students to access.
Compared to direct uploads, the Content Collection saves time by centralizing files for all courses. It reduces duplication and eases permission management. However, linking requires careful permission settings to avoid access issues.
What Are Common Issues When Sharing Files and How Do You Fix Them?
Files not visible to students often result from incorrect availability settings. Check the item's availability by editing the file’s options and ensuring “Make Item Available” is set to Yes. If students report a "This content is unavailable" message, this is usually the cause.
File size limits are strict in Blackboard. If you see an error like "File exceeds maximum upload size," reduce the file size or split it into smaller parts. Blackboard typically limits uploads to a few hundred megabytes depending on your institution.
Unsupported file formats cause upload failures with errors such as "File type not supported." Confirm your file type is allowed, usually common formats like PDF, DOCX, PPTX, and standard image files. Convert or compress unsupported files before uploading.
Broken links happen when files are moved or deleted after sharing. Students may see "Link is broken" messages. Avoid moving files after linking; if you must, update all links to reflect new paths.
Permission issues in the Content Collection block access. If students get "Access Denied," check the file’s permissions under Content Collection settings and ensure student roles have read access.
- Edit the file or link settings to verify "Make Item Available" is set to Yes; students should now access the file.
- If upload fails due to size, compress or split the file and re-upload; the system will accept it.
- Convert unsupported files to allowed formats and upload again; the error will clear.
- Avoid moving files; if moved, update all course links accordingly to eliminate broken link errors.
- Adjust permissions in Content Collection to grant students read access; students will no longer see access denied errors.
Frequently asked questions
Can I share large video files with students through Blackboard?
Blackboard has file size limits that vary by institution but generally range between 2 GB and 4 GB. For large video files, uploading directly might be slow or fail. Use external platforms like YouTube or Vimeo and share the links within Blackboard for reliable access without size restrictions.
How do I update a file after it has been shared with students?
Locate the file in your course content or Content Collection, then upload the new version with the same file name to overwrite it. Ensure you clear the cache or instruct students to refresh if they report seeing the old version. If linked via a URL, update the target file there to reflect changes immediately.
What file formats are best to share for accessibility?
Use widely supported formats like PDF, DOCX, and PPTX with accessible features enabled (e.g., tagged PDFs). These formats work across devices and screen readers. Avoid uncommon or proprietary file types that may require special software or hinder accessibility.
Can students download files or only view them online?
By default, students can download files you upload unless you specifically restrict download permissions in the Content Collection. When sharing via Course Content or announcements, files are usually downloadable. To limit downloads, use links to view-only documents hosted on external services with controlled sharing settings.
What this guide does not cover
This guide does not cover file sharing via third-party integrations or external cloud storage links, which may have different workflows and security considerations. If you plan to use platforms like Google Drive, Dropbox, or OneDrive integrated with Blackboard, consult specific resources for those tools. Additionally, this guide focuses on sharing files directly within Blackboard courses, not on collaborative document editing or version control features.
Quick checklist
- Confirm file types are supported by Blackboard (PDF, DOCX, PPTX, etc.).
- Use the Content area to upload files directly for easy student access.
- Organize files within the Course Materials folder for consistent structure across courses.
- Leverage Announcements or Course Email selectively for urgent or time-sensitive file sharing.
- Utilize the Content Collection for managing files across multiple courses with proper permissions.
- Check file size limits and student access permissions before publishing.
- Test links and downloads from a student view to avoid broken or inaccessible files.
To get started immediately, upload your files directly into the relevant Content area of your course and organize them logically. This ensures students find what they need fast and reduces confusion. Prioritize clear file naming and folder structure to keep your courses manageable as they grow.
See also: How to Create Assignments in Blackboard: A Step-by-Step Guide · How to Grade Student Work Efficiently in Blackboard · How to Leave Clear, Actionable Feedback on Student Work in Blackboard · How to Set Up Rubrics in Blackboard: A Step-by-Step Guide for Educators