How to Set Up Rubrics in Blackboard: A Step-by-Step Guide for Educators
Discover how to create, customize, and apply rubrics in Blackboard to enhance grading consistency and student feedback.

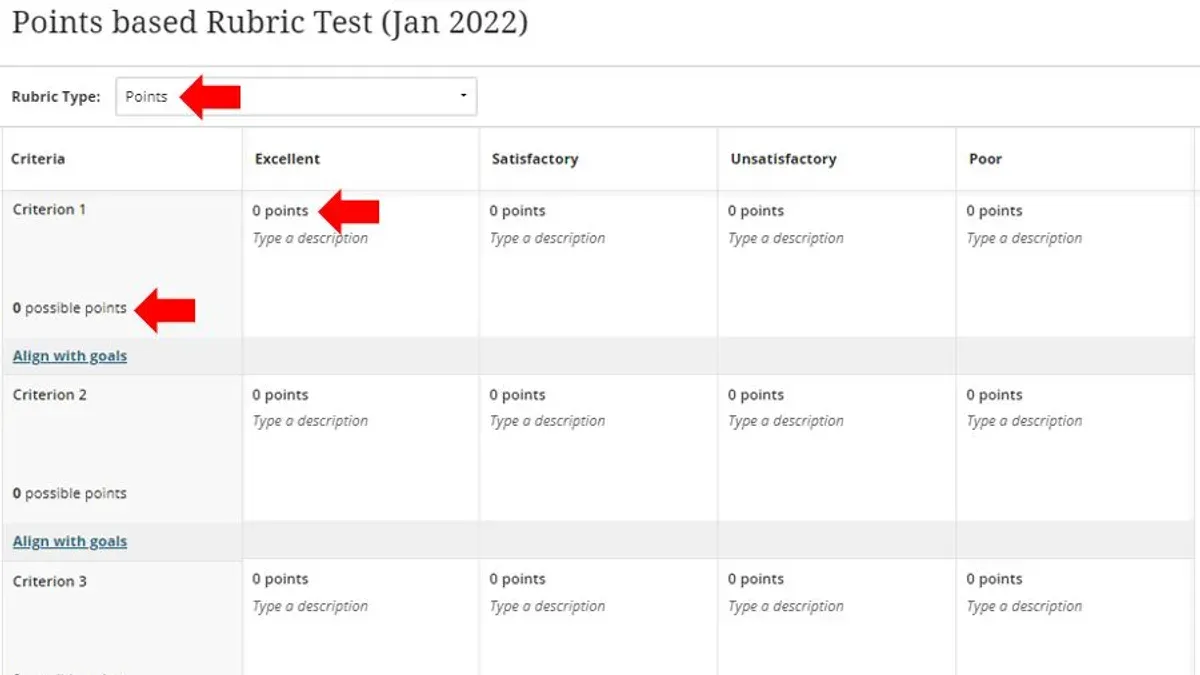
Short answer: To set up rubrics in Blackboard Ultra, you start by navigating to the Course Tools menu, select Rubrics, and create a new rubric by defining criteria, levels, and point values. You can then customize, copy, and export rubrics to streamline grading and provide consistent student feedback.
This article covers how to set up rubrics in Blackboard with a step-by-step approach. You’ll learn to create and edit rubrics, reuse them by copying, apply them efficiently to assignments, and export or print them for record-keeping. It also explains how students can view rubrics and feedback, and addresses common setup issues, ensuring you maximize rubric utility beyond just the basics.
Before you start: What you need to set up rubrics in Blackboard
To create rubrics in Blackboard Ultra, you must have instructor access to a Blackboard Ultra course. Without the instructor role, rubric creation and management options won’t be available. You should be comfortable navigating Blackboard’s Ultra interface, particularly the Course Content area and the Assignment tool, since rubrics are often attached to assignments.
Understand the basic rubric components before you begin: criteria (the categories you assess), levels (performance tiers such as Excellent, Satisfactory, Needs Improvement), and points (the scores assigned to each level). This foundational knowledge helps you design clear, actionable rubrics that align with your course goals.
Having a sample rubric template or a set of standards to align with is helpful but not mandatory. Many educators start with existing templates or frameworks and customize them in Blackboard to fit their needs. Compared to common rubric tools or static templates, Blackboard’s rubric interface allows you to create, edit, copy, and reuse rubrics within the platform, streamlining grading and feedback in one environment.
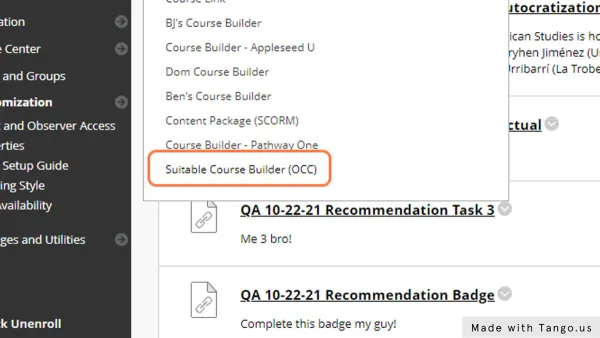
Familiarize yourself with Blackboard’s rubric management interface, accessed via the Course Tools menu under Evaluation. This area lets you manage all rubric-related tasks centrally, offering more flexibility than standalone rubric templates or external tools.
- Log into Blackboard and enter your Ultra course; you should see the course navigation panel.
- Confirm your instructor role by checking if you can access the Course Tools menu under Evaluation.
- Navigate to Assignment creation or existing assignment settings to locate the Rubric section.
- Review any sample rubrics available in your course or institution’s shared content for reference.
How to create rubrics in Blackboard Ultra
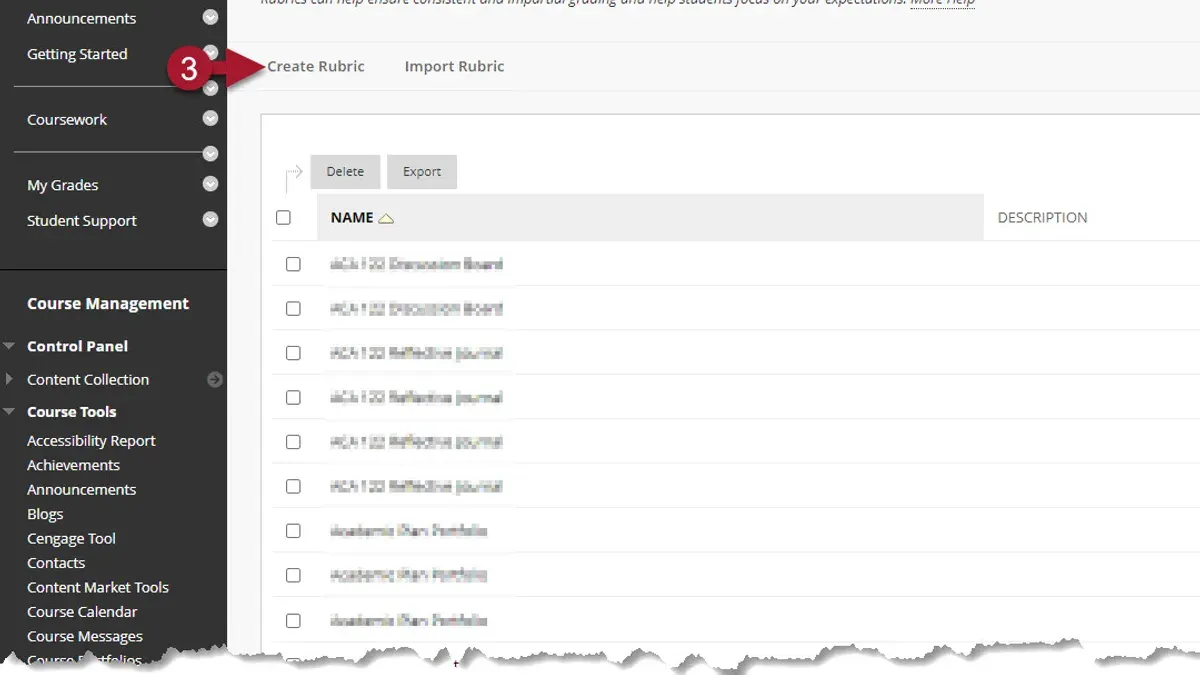
- Open your course and locate the course menu. Click on the Rubrics tool to access the rubric management area. You should see the list of existing rubrics or an empty screen if none exist yet.
- Click Create Rubric. Enter a clear, descriptive title for your rubric, such as "Writing Assignment Rubric," and provide a concise description to explain its purpose. After saving, the rubric editing interface will appear.
- Begin defining rubric criteria. For each criterion, enter a specific performance dimension, e.g., "Thesis clarity" or "Grammar and mechanics." Set the number of performance levels, typically 3 to 5, and assign point values to each level. For example, "Excellent" might be worth 5 points, "Good" 3 points, and "Needs Improvement" 1 point.
- Craft clear, objective descriptions for each performance level under every criterion. For instance, for "Thesis clarity," the highest level could say, "Thesis is clear, specific, and well-articulated," while the lowest level might say, "Thesis is vague or missing." These descriptions guide consistent grading and student understanding.
- After completing all criteria and performance levels, save the rubric. Then link it to an assignment or test by selecting the assignment, choosing to add a rubric, and picking your newly created rubric from the list. Confirm the link to enable grading with the rubric.
How to edit a rubric in Blackboard after creation
To update an existing rubric, first locate it through the Rubrics tool in the course control panel or access it via the linked assignment's grading options. Once you open the rubric, select the Edit icon to modify criteria, point values, or descriptions. Changes can include adjusting point scales, refining descriptions for clarity, or adding new criteria to better align with assessment goals.
After making edits, save your changes. Blackboard will apply these updates automatically to the rubric across all linked assessments. However, note that if students have already been graded using the original rubric, editing criteria or points might alter their scores. Blackboard typically recalculates grades based on the revised rubric, which can increase or decrease overall grades depending on the changes.
Compare the rubric before and after editing to understand the impact. For example, increasing the maximum points on a criterion will raise total possible points, affecting grade distribution. Always verify updates by previewing the rubric in the assignment's grading interface and checking the gradebook to confirm that changes reflect accurately.
- Navigate to the Rubrics tool or the linked assignment's grading panel; the rubric list or assignment grading screen appears.
- Click the Edit icon next to the rubric you want to modify; the rubric editing interface opens.
- Change criteria, point values, or descriptions as needed; the interface updates in real time.
- Save changes; a confirmation message appears, and the rubric updates across linked assignments.
- Review the rubric in the grading interface and check the gradebook to confirm that all edits have been applied correctly.
How to copy a rubric in Blackboard for reuse
Copying rubrics saves you time by letting you reuse existing grading criteria across courses or semesters without rebuilding from scratch. Start by opening the Rubrics tool in your course management menu. Locate the rubric you want to duplicate, then select the dropdown arrow next to its title to reveal options.
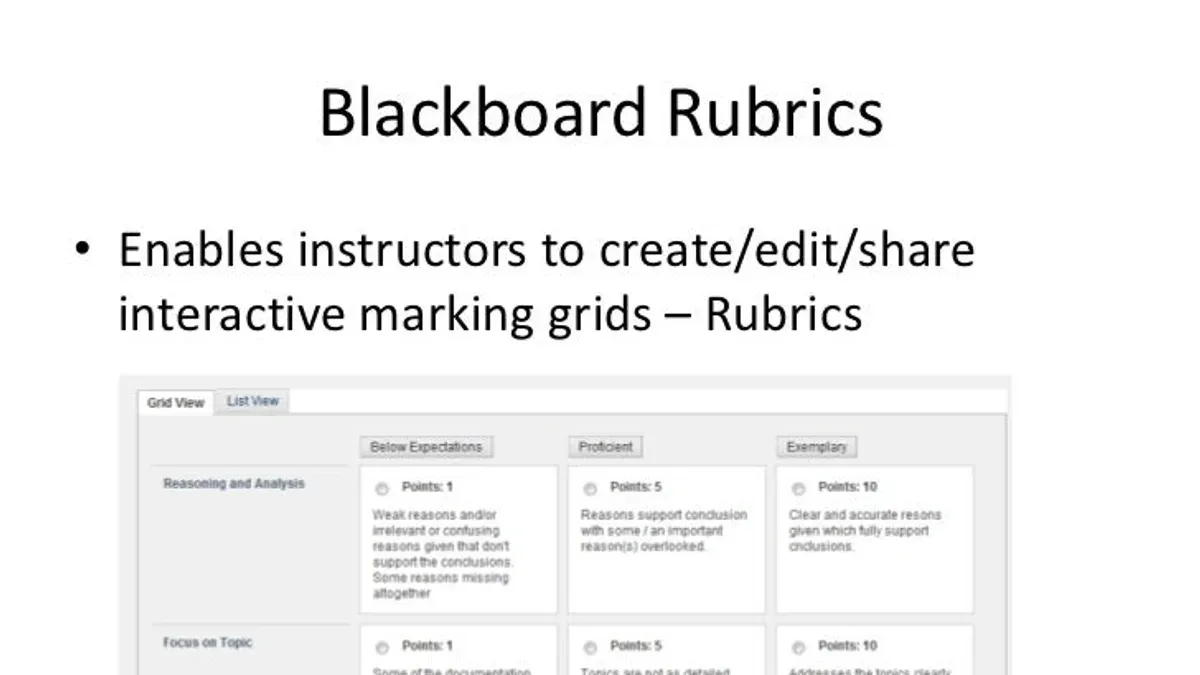
Choose the Copy function. Blackboard will create a duplicate of the rubric and prompt you to assign a new name. Use a descriptive name that reflects the new context to avoid confusion later. After copying, you can modify the rubric’s criteria or point values to suit the new assignment requirements.
Once updated, link the copied rubric to the appropriate assignment. This method streamlines grading setup and maintains consistency in assessment standards. For example, copying a detailed lab report rubric rather than creating a new one each semester can save you 15–30 minutes per course, especially when adjustments are minor.
- Open the Rubrics tool from your course menu. You should see a list of all rubrics in the course.
- Find the rubric to copy and click the dropdown arrow next to its name. A menu of options appears.
- Select Copy. Blackboard creates a duplicate and opens a dialog to rename the rubric.
- Enter a new, clear name for the copied rubric and save. The new rubric appears in your list.
- Edit the copied rubric as needed for the new assignment. Changes apply only to this copy.
- Link the copied rubric to your desired assignment. Confirm the rubric appears in the assignment’s grading options.
How to use rubrics to complete assignments and provide feedback
- Go to the Grade Center and open the submitted assignment. You should see the linked rubric icon next to the assignment submission.
- Click the rubric icon to open the rubric grading panel. The rubric criteria and levels will display clearly for scoring.
- Score each criterion by selecting the appropriate performance level. You can also add specific comments for each criterion to clarify your assessment.
- Review the rubric scores; Blackboard automatically calculates the total score based on your inputs and applies it to the overall grade for the assignment.
- Provide overall feedback in the comments box if desired, reinforcing strengths or suggesting improvements based on rubric performance.
- Save and submit your grading. The student will see the rubric scores, your comments aligned with each criterion, and the total grade.
Using rubrics ensures grading is transparent and consistent. The detailed comments linked to rubric levels help students understand exactly where they excelled or need improvement. For example, a criterion scored as "Proficient" with a comment like "Clear argument supported by evidence" gives actionable feedback beyond just a number.
| Criterion | Score | Comment |
|---|---|---|
| Thesis Statement | 4/5 | Strong thesis but could be more specific. |
| Evidence | 5/5 | Excellent use of sources. |
| Organization | 3/5 | Some paragraphs lack clear transitions. |
Tips for consistent use: Apply rubric criteria uniformly across all submissions, avoid vague comments, and update rubrics periodically to match assignment goals. This approach maximizes rubric effectiveness for grading and student learning.
- Access assignment and open rubric
- Score each criterion and add comments
- Review total grade calculated by Blackboard
- Provide overall feedback if needed
- Save and submit grading
How to print and export rubrics from Blackboard Ultra
Blackboard Ultra lets you export rubrics as PDF or Excel files, making it easy to create offline copies or share rubrics outside the platform. To export, open the rubric, select the menu icon (three dots), and choose "Export." You can then pick PDF for a formatted, print-ready version or Excel for a spreadsheet layout.
Printing rubrics is useful for face-to-face grading sessions or record keeping. The PDF export preserves the rubric’s visual structure closely, showing criteria, levels, and points clearly, though some interactive features like expandable comments won’t appear. Excel exports provide raw data that you can customize but lack Blackboard’s polished presentation.
Be aware that exported rubrics can look different from the Blackboard display. For example, in Blackboard, criteria and levels highlight dynamically, but the PDF shows a static grid. This difference means exports are best for reference and sharing rather than interactive grading.
For archiving or sharing, export the rubric as PDF to preserve layout and annotations. To collaborate with colleagues who prefer data manipulation, use the Excel export. Keep export files organized by course and assignment for easy retrieval.
- Open the rubric in Blackboard Ultra and click the menu (three dots) in the top right.
- Select "Export" and choose either PDF or Excel; download will start automatically.
- Open the exported file to verify formatting matches your needs—PDF for print-ready, Excel for data editing.
- Print the PDF file using your system print dialog for offline use or distribution.
- Save exported files in a dedicated folder labeled by course and assignment name for archiving.
How to customize Blackboard as a student to view rubrics and feedback
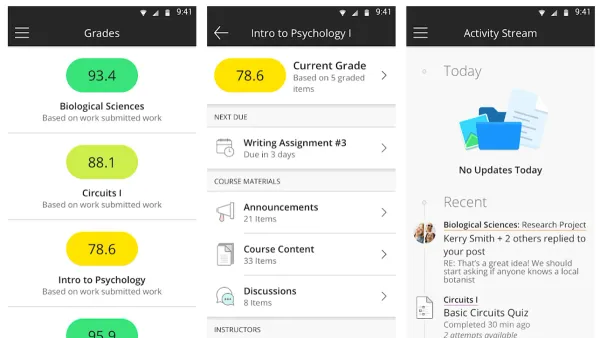
You can access rubrics linked to your assignments directly through the Course Content or Grades areas in Blackboard. Locate the specific assignment, then click on your grade or the rubric icon to open the detailed rubric view. This display shows the criteria, point values, and your earned score per criterion, along with any instructor comments attached to each section.
Interpreting rubric scores involves reviewing each criterion’s earned points compared to the total possible. Instructor comments provide context on strengths and areas for improvement. These comments are visible alongside rubric scores, helping you understand how your work was evaluated.
Use rubrics proactively by comparing your self-assessment against the instructor’s rubric feedback. This comparison highlights gaps and guides your revisions for future assignments. Note that some rubric elements, like total points and detailed feedback, are always visible, but the instructor’s internal notes or grading calculations remain hidden.
- Log into Blackboard and enter your course.
- Navigate to the Grades section or open the assignment from Course Content.
- Click on your grade or the rubric icon next to the assignment name to open the rubric.
- Review each criterion’s score and any instructor comments visible under the criteria.
- Use the rubric details to assess your performance and plan improvements.
Screenshot notes: The rubric view shows a grid of criteria and levels, with scores and comments displayed directly beneath each evaluated item for clarity.
Troubleshooting common issues when setting up rubrics in Blackboard
If rubrics don’t appear linked to assignments, first verify you have saved the rubric and attached it within the assignment settings under "Grading" > "Add Rubric." If the rubric still doesn’t show, clear your browser cache and refresh the page. Blackboard error messages like "Rubric not found" usually indicate a broken link or deleted rubric.
Score calculation errors or mismatched points often stem from inconsistent total points between the rubric and assignment. Check that the rubric’s total score matches the assignment’s point value exactly. If scores don’t sync, unlink and relink the rubric to the assignment.
When rubrics are locked or editing is restricted, verify your instructor permissions. Blackboard locks rubrics linked to graded assignments to preserve grades. To edit, unpublish the grades or create a copy of the rubric for editing purposes.
Export failures or formatting issues can occur if the rubric contains special characters or overly long descriptions. Simplify rubric content and try exporting as PDF or Excel again. If export errors persist, consult Blackboard’s support portal or system status page for known outages.
- Rubric not linked: Attach rubric in assignment grading settings and refresh browser.
- Score mismatch: Ensure rubric total points equal assignment points and relink rubric.
- Editing locked rubric: Unpublish grades or copy rubric to enable edits.
- Export failure: Simplify rubric content and retry export formats.
- Persistent errors: Contact Blackboard support with error message details.
Frequently asked questions
How to make a blackboard?
To make a physical blackboard, you need a smooth wooden or metal board painted with blackboard paint, which contains a mixture of latex and fine particles to create a writable surface. For a digital blackboard, such as in educational software, the term usually refers to an interactive whiteboard or a virtual workspace within a platform. Creating a physical blackboard involves surface preparation, applying multiple coats of blackboard paint, and allowing proper drying time.
How to design a rubric?
Design a rubric by first defining clear criteria aligned with your learning objectives. Break each criterion into performance levels, typically ranging from excellent to poor, with specific descriptors for each level. Assign point values or weights to each level to quantify assessments. Keep descriptions concise but specific to guide both grading and student understanding.
How to build a course in blackboard?
In Blackboard Ultra, start by creating a new course shell from the Admin or Instructor panel. Add course content modules, including folders, files, and learning modules, via the Content tab. Use the Course Management menu to configure settings such as enrollment, course tools, and grading policies. Incorporate assessments, discussion boards, and announcements to structure course interaction.
How to use blackboard?
Log in to your Blackboard account and access your courses from the dashboard. Navigate through content, submit assignments, participate in discussions, and check grades using the Course Content and My Grades tools. Use the calendar and notifications to keep track of deadlines. Familiarize yourself with the Ultra interface for streamlined navigation.
How to build a course in Blackboard using rubrics effectively?
When building a course, create rubrics early under the Course Tools > Rubrics menu to align grading with learning outcomes. Link rubrics directly to assignments and tests to provide transparent criteria for students. Customize rubrics based on assignment type, and reuse templates via copying to maintain consistency. Utilize rubric feedback to streamline grading and enhance student understanding of expectations.
Quick checklist
- Confirm access to Blackboard Ultra and course editing rights.
- Navigate to Course Tools > Rubrics to start creating your rubric.
- Use the "Create New Rubric" button and define criteria with points and descriptions.
- Edit rubrics anytime from the Rubrics page to refine criteria or points.
- Copy existing rubrics via the options menu for reuse in other courses.
- Apply rubrics directly to assignments when grading to provide clear feedback.
- Export rubrics as CSV files for offline review or sharing.
- Advise students to check the Grades and Feedback area to view rubric details.
- Consult Blackboard support if you encounter synchronization or visibility problems.
What this guide does not cover
This guide does not cover third-party rubric tools or integration outside Blackboard Ultra. If you use a legacy Blackboard version, expect interface differences and some features described here may not be available. For complex rubric analytics or LMS integrations, consult your institution’s IT or LMS support team.
Focus here is strictly on Blackboard Ultra’s native rubric features, including creation, editing, application, export, and student view customization.
For advanced needs like rubric sharing across institutions or automated gradebook syncing beyond Blackboard Ultra’s default capabilities, third-party tools or custom solutions will be necessary.
Your next step
Start by creating a simple rubric for an upcoming assignment to get comfortable with the interface. Define clear criteria and point ranges that match your grading standards. Apply the rubric during grading to see how it streamlines assessment and improves feedback clarity. Once you’ve mastered basic setup, explore exporting and copying rubrics to save time on future courses.
See also: How to Grade Student Work Efficiently in Blackboard · How to Leave Clear, Actionable Feedback on Student Work in Blackboard · How to Reopen a Closed Assignment in Blackboard: A Step-by-Step Guide