Create a Clear Document Camera Implementation Timeline That Works
Learn how to create a clear document camera implementation timeline to ensure smooth installation and maximize classroom impact.

Short answer: A successful document camera implementation timeline starts with assessing your educational needs, selecting the right technology, and planning installation and training phases that align with your school's schedule. This timeline ensures a smooth transition and maximizes the technology's impact on teaching and learning.
This article covers the evolution of document camera technology to help you understand why certain features matter for your classroom. It provides a clear, step-by-step implementation timeline tailored for educators and decision-makers, explaining the purpose behind each phase. You will also learn how to set up and operate a document camera effectively and avoid common pitfalls that can delay or diminish your rollout success.
Understand the Evolution of Document Camera Technology
Document cameras originated from overhead projectors, evolving through key technological milestones that shaped their current form and function. The transition from bulky analog devices to sleek digital cameras was driven by advancements in image sensors, connectivity, and software integration. Early document cameras relied on CCD (Charge-Coupled Device) sensors, which offered decent image clarity but limited flexibility.
The introduction of CMOS (Complementary Metal-Oxide-Semiconductor) sensors marked a significant shift, enabling higher resolution, faster frame rates, and lower power consumption. This shift improved usability in classroom settings by delivering clearer images and smoother live video feeds. For example, a document camera with a 5-megapixel CMOS sensor can capture fine print and intricate details, which earlier models struggled to display effectively.
Manufacturers like Canon contributed heavily to these advancements by developing high-quality optical lenses and sensor technologies originally designed for professional photography. These innovations filtered into document cameras, enhancing color accuracy and zoom capabilities. The timeline of camera sensor development—shifting from CCD to CMOS—and the integration of USB and wireless connectivity are crucial to understanding why modern document cameras offer the features educators rely on today, such as real-time annotation and easy sharing across devices.
How to Create an Implementation Timeline for Document Cameras
Start by assessing your current infrastructure, including network capacity, classroom layouts, and existing AV equipment compatibility. This evaluation ensures your timeline aligns with actual needs rather than assumptions.
Set clear goals for each deployment phase, such as pilot testing in a few classrooms, full rollout, and user training completion. Define milestones that mark these stages to maintain momentum and clarity.
Allocate realistic timeframes for procurement, setup, training, and troubleshooting. For example, plan two weeks for procurement, one week for physical setup per classroom, and another one to two weeks for staff training. Allow extra time for unexpected technical issues and adjustments.
Incorporate feedback loops by scheduling evaluation checkpoints after pilot and initial full deployments. Use these sessions to gather user input and make necessary tweaks before proceeding.
Consider a phased rollout schedule: Phase 1 - Infrastructure assessment and procurement (3-4 weeks); Phase 2 - Pilot deployment in 2-3 classrooms and training (3 weeks); Phase 3 - Full deployment and additional training (4-6 weeks); Phase 4 - Evaluation and troubleshooting (2 weeks).
This structure keeps the project manageable and responsive to real-world challenges, avoiding rushed or incomplete implementations.
- Evaluate current technology and infrastructure
- Define deployment goals and milestones
- Allocate time for procurement, setup, and training
- Schedule feedback and evaluation checkpoints
- Plan a phased rollout with clear durations
How to Set Up a Document Camera Correctly
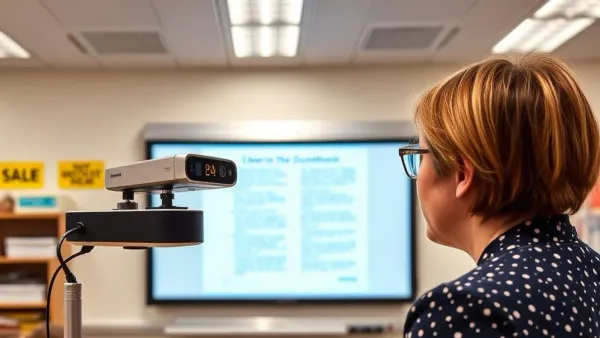
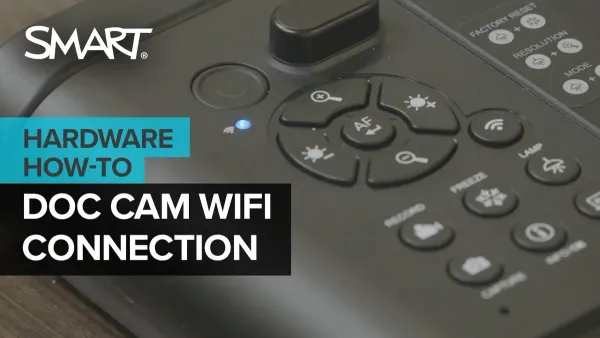
Begin by carefully unboxing the document camera, ensuring all components like power adapters, cables, and mounting hardware are present. Position the camera on a stable surface or mount it securely using the included bracket, avoiding locations with direct glare or shadows. Connect the camera to your display device using the recommended HDMI or USB cable; for network-connected models, follow the manufacturer's instructions to join your school's Wi-Fi or Ethernet network.
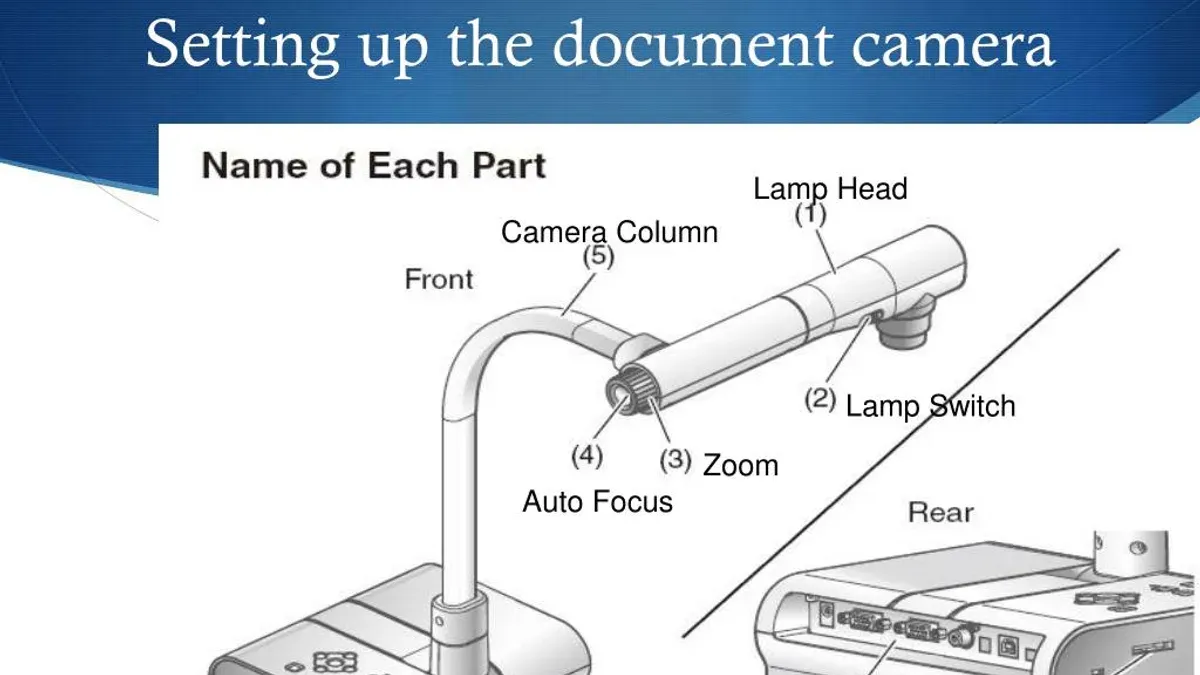
Power on the camera and access the settings menu, typically found under "Image Settings" or "Camera Setup." Adjust brightness and contrast to compensate for classroom lighting, and set the focus manually or enable auto-focus if available. Select a resolution that balances clarity and latency—1080p is common for crisp images without excessive delay.
Integrate the document camera with your classroom software by installing any required drivers or apps on your computer or interactive display. For example, linking to video conferencing platforms like Zoom often requires enabling the camera as a video source within the app's settings.
Common setup variations include using USB connections for standalone laptop use or network streaming for multi-device classrooms. If the image appears blurry, check lens cleanliness and reposition the camera. If connectivity issues arise, verify cable seating and network credentials.
- Unbox and verify all components
- Securely mount or place the camera avoiding glare
- Connect via HDMI, USB, or network as per model
- Adjust brightness, contrast, and focus in settings
- Select appropriate resolution (commonly 1080p)
- Install software/drivers and integrate with classroom apps
- Troubleshoot image clarity and connectivity promptly
How to Work a Document Camera for Effective Teaching
Begin by familiarizing yourself with the core controls: zoom, focus, brightness, and image rotation. Adjust these settings through the camera’s onboard menu or remote control, typically accessed via buttons labeled “Zoom +,” “Focus,” and “Brightness.” Maintaining sharp focus is critical—especially during close-ups of text or small objects.
Use the document camera to conduct live demonstrations, such as showing the steps of a science experiment or annotating a student’s handwritten work. For example, place a geometry problem under the camera and solve it step-by-step while students watch the process unfold in real time on the classroom display.
Leverage interactive lessons by inviting students to place their work under the camera for peer review or group discussion. This fosters engagement and allows for immediate feedback. Switching between the document camera and other inputs like a laptop can be done via your classroom AV system, often with a button labeled “Input” or “Source.”
To maintain performance during use, periodically check the lens for smudges and clean it with a microfiber cloth. Avoid sudden movements that can disrupt image stability, and keep cables organized to prevent accidental disconnections.
- Adjust zoom and focus for clear visibility
- Demonstrate problem-solving in real time
- Encourage student participation using live displays
- Switch inputs smoothly during lessons
- Clean lens and manage cables to ensure reliability
Avoid Common Mistakes During Document Camera Implementation
One frequent pitfall is underestimating the training required for teachers and staff. For example, a school that deployed new document cameras without dedicated training sessions saw low usage because educators struggled to navigate software menus like "Image Adjustment" and "Capture Settings." Without proper onboarding, user adoption stalls, limiting technology benefits.
Another critical mistake is ignoring compatibility with existing classroom tech. A district that purchased cameras incompatible with their interactive whiteboards experienced frequent connection failures. This disrupted lessons and frustrated both teachers and students.
Rushing procurement without thorough trial or evaluation risks investing in unsuitable models. One school ordered document cameras before testing image clarity and software responsiveness, only to find the cameras lacked necessary USB 3.0 ports, delaying integration and requiring costly replacements.
Lastly, neglecting ongoing maintenance and support plans can shorten device lifespan. Without scheduled firmware updates or a clear process for troubleshooting, some classrooms faced recurring image lag and hardware malfunctions, reducing instructional time.
- Plan and conduct comprehensive user training focusing on core functions and troubleshooting.
- Verify full compatibility with existing classroom hardware and software before purchase.
- Run pilot tests to evaluate device features and connectivity prior to large-scale orders.
- Establish maintenance schedules and clear support channels for timely issue resolution.
Read next
- Moving from Classroom Projector to Document Camera: Your Complete Checklist
- Switching from Promethean Board to Document Camera: A Clear Expert Guide
- Switching from SMART Board to Document Camera: A Practical Expert Guide
- Plan Your Classroom Projector Implementation Timeline with Confidence
Frequently asked questions
When was the camera developed?
The first practical camera was developed in the early 19th century, with the daguerreotype process introduced in 1839 marking a significant milestone. This innovation paved the way for capturing still images on light-sensitive surfaces.
When was the document camera developed?
Document cameras emerged in the late 20th century as an evolution of overhead projectors and visual presenters. They became widely adopted in classrooms during the 1990s, offering live image projection of documents and objects for instructional purposes.
What is the timeline of camera technology relevant to document cameras?
Key developments include the introduction of CCD (charge-coupled device) image sensors in the 1970s, which improved digital imaging quality. The 1990s saw the integration of digital cameras into document cameras, enabling real-time display and manipulation. Recent advances include HD resolution, USB connectivity, and wireless capabilities, enhancing usability and image clarity.
How do I set up a document camera for the first time?
Begin by connecting the document camera to a display device using HDMI or USB cables as specified by the manufacturer. Power on the camera and adjust the focus and zoom using built-in controls or software. Position the camera arm over the document or object, ensuring adequate lighting and a stable surface to avoid image shake.
How do I create an implementation timeline for deploying document cameras?
Start by assessing your institution's needs and the number of classrooms to equip. Allocate time for procurement, installation, and staff training phases. Incorporate buffer periods for troubleshooting and feedback collection to refine usage practices before full deployment.
Quick checklist
- Review current classroom technology infrastructure for compatibility with document cameras.
- Develop a phased timeline that includes pilot testing, staff training, and full deployment.
- Ensure all educators receive hands-on training with the document camera settings and software.
- Schedule regular maintenance checks and updates for document camera hardware and software.
- Gather feedback from users during the initial rollout to adjust support and training as needed.
What this advice does not cover
This guide focuses on typical educational settings; specialized environments or advanced technical integrations may require tailored approaches beyond this scope. For schools incorporating complex AV systems, distance learning platforms, or unique accessibility requirements, consulting with dedicated technology integration specialists is recommended.
Document camera implementation in large districts with diverse infrastructure may also need customized project management strategies.
The single most useful next step is to begin by assessing your current classroom setups and selecting a pilot group of educators to trial the document cameras. This approach helps you identify technical or training challenges early, ensuring the broader rollout proceeds smoothly and with confidence.