Moving from Document Camera to SMART Board: Your Expert Transition Checklist
A checklist to guide educators through a smooth transition from document camera to SMART Board, enhancing interactivity and classroom engagement.

Short answer: Successfully moving from document camera to SMART Board requires more than swapping hardware; it demands careful planning to integrate interactive features and enhance classroom engagement. A moving from document camera to SMART Board checklist ensures you address technical setup, educator training, and classroom dynamics to make the transition smooth and effective.
This article guides you through the critical steps of this upgrade, focusing on understanding the shift from a simple display device to an interactive hub. You will learn how to assess your current technology environment, plan seamless technical integration, empower educators with targeted training, implement best classroom practices, and avoid common pitfalls. The goal is to help you maximize the educational impact of your SMART Board investment while ensuring a fluid transition from your existing document camera setup.
Understand the Shift: From Display Device to Interactive Hub
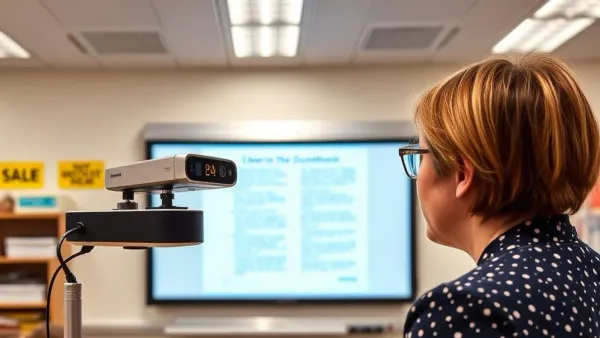
A document camera primarily functions as a visual presenter, projecting physical documents, objects, or handwritten notes onto a screen for the whole class to see. Its main strength lies in displaying static or live visuals clearly but interaction remains limited to the presenter controlling the camera.
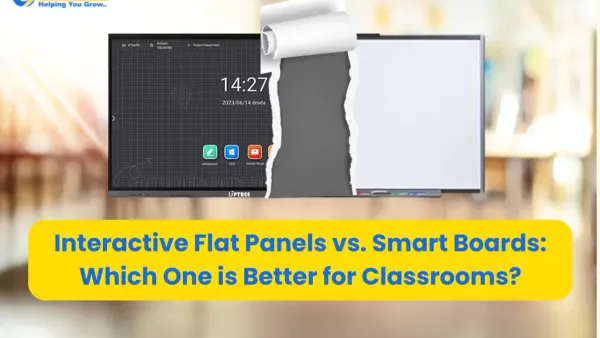
In contrast, a SMART Board is a multi-touch interactive display that integrates with educational software, allowing you and your students to write, draw, manipulate objects, and collaborate directly on the screen. It supports dynamic lessons by combining touch input with multimedia content, real-time feedback, and seamless integration with apps like SMART Notebook.
This upgrade transforms classroom dynamics: instead of a passive viewing experience, you foster active participation and engagement. For example, instead of simply showing a math problem with the document camera, you can invite students to solve it together on the SMART Board, moving pieces or drawing directly to explore concepts.
| Feature | Document Camera | SMART Board |
|---|---|---|
| Primary Function | Visual display of physical items | Interactive touch display with software integration |
| Interactivity | None or presenter-controlled only | Multi-user touch input, annotation, collaboration |
| Software Integration | Minimal or none | Extensive (lesson software, apps, cloud) |
| Classroom Use | Teacher-centered demonstration | Student-centered participation |
Assess Your Current Setup and Classroom Needs
Start by taking inventory of your existing classroom technology. Check projector compatibility with the SMART Board’s display requirements; some older projectors may not support the resolution or connectivity needed. Review your computer systems for USB ports and available drivers that integrate with SMART Boards smoothly. Network bandwidth is another critical factor—interactive features like real-time collaboration require stable, high-speed Wi-Fi or wired connections.
Next, gauge teacher comfort with interactive technology. Use a simple readiness survey asking about experience with touchscreen devices, software installation, and digital lesson planning. For example, if most teachers rely heavily on traditional lectures and have minimal interaction with technology, plan additional training and gradual feature introduction.
Finally, align your transition goals with curriculum and student engagement objectives. If the curriculum emphasizes group work and problem-solving, focus on SMART Board tools that support collaboration and dynamic content manipulation.
- Complete a classroom tech audit: list projectors, computers, network specs
- Conduct a teacher readiness survey assessing tech skills and preferences
- Match SMART Board features to curriculum goals and student engagement needs
Plan the Technical Setup and Integration
Installing a SMART Board requires careful attention to power, mounting, and connectivity, which differ significantly from a document camera setup. Unlike the typically portable and low-power document camera, SMART Boards demand a dedicated power outlet near the mounting location and sturdy wall mounting that accommodates the board’s weight and size, often around 77 inches diagonal for standard classroom models.
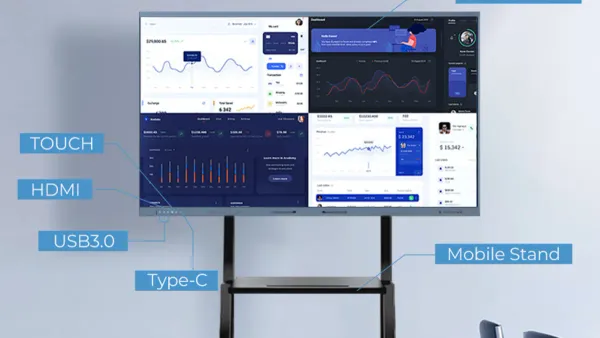
For connectivity, SMART Boards commonly use USB connections for touch input and HDMI or DisplayPort for video signals. For example, in a typical classroom wiring plan, the SMART Board mounts on the front wall above the teacher’s desk, connected via a USB cable to the teacher’s laptop and an HDMI cable to the classroom’s AV receiver. This receiver then routes video to the projector or display, maintaining compatibility with existing devices.
Configuring SMART Board software involves installing the SMART Notebook application and ensuring it integrates with your existing learning management system (LMS), such as Google Classroom or Canvas. Confirm that your SMART Board’s firmware and software support single sign-on (SSO) or LTI integration for seamless content access. Often, enabling network connectivity through Wi-Fi or Ethernet is essential for syncing resources and updates.
- Ensure a dedicated power outlet near the board’s mounting location.
- Use wall anchors rated for the board’s weight for secure mounting.
- Connect the SMART Board via USB for touch and HDMI for video to the teacher’s device or AV system.
- Install SMART Notebook software and update firmware before first use.
- Verify LMS compatibility and configure SSO or LTI integration if available.
- Test network connectivity for updates and cloud content access.
Train Educators to Leverage SMART Board Features
Effective professional development is essential to help teachers move beyond using the SMART Board as a simple display. Focus training on interactive tools like the SMART Ink toolbar, the collaborative Whiteboard app, and the Lesson Activity Builder, which enable dynamic, student-centered lessons. For example, teachers should learn to use the "Screen Shade" feature to reveal answers gradually, promoting active participation rather than immediate answer display.
Lesson planning strategies should include integrating digital annotations, embedding multimedia, and designing activities that involve multiple students simultaneously. A common pitfall is rushing through basic hardware operation without demonstrating these pedagogical applications, which leaves teachers underprepared to maximize engagement.
A sample training agenda might start with 30 minutes of hands-on exploration of core tools, followed by 45 minutes of guided lesson creation incorporating interactive features, and conclude with a 15-minute Q&A. Post-training surveys typically show a marked increase in teacher confidence, with many moving from uncertain to comfortable using at least three new SMART Board functions.
- Begin with hands-on practice of SMART Ink and Whiteboard app
- Demonstrate embedding multimedia and interactive activities
- Guide teachers in creating a sample lesson using Lesson Activity Builder
- Highlight common mistakes, such as overloading slides or underusing interactive tools
- Collect feedback and schedule follow-up coaching
Implement Classroom Practices That Maximize Impact
To fully benefit from your SMART Board, adapt teaching methods to encourage collaboration and maintain focus. For example, use interactive group activities where students collectively solve problems or annotate texts on the board. This shifts the dynamic from passive listening to active participation, enhancing engagement.
Managing transitions between traditional and interactive lessons is crucial. Set clear routines for switching modes—such as pausing group work to switch inputs or organize materials—and use built-in SMART Board features like the Quick Settings menu to streamline transitions smoothly. This minimizes downtime and keeps students attentive.
Minimize distractions by establishing guidelines on board use and reinforcing focus during interactive tasks. For instance, assign roles like “board operator” or “discussion leader” to students, giving structure and purpose that reduce off-task behavior.
Consider a classroom where the teacher integrates SMART Notebook lessons with real-time student responses. Students take turns using the interactive pen tool to highlight key points while classmates discuss ideas, fostering a lively, focused environment that blends technology with active learning.
- Plan collaborative activities using SMART Board tools like digital whiteboarding and annotation.
- Establish clear transition routines between traditional and interactive teaching modes.
- Assign student roles to guide board use and maintain engagement.
- Use SMART Board quick-access features to streamline lesson flow.
Avoid Common Mistakes During Transition
One common error is underestimating the time and support educators need to become proficient with SMART Boards. Research shows that technology adoption often fails when training is rushed or insufficient, leaving teachers frustrated and underprepared. For example, scheduling a single one-hour workshop instead of multiple hands-on sessions can hinder confidence and limit effective use.
Ignoring necessary infrastructure upgrades is another frequent pitfall. SMART Boards demand stable power sources, compatible computers, and reliable network connections. Overlooking these needs can cause frequent technical issues that disrupt lessons, such as lagging touch response or connectivity errors.
Lastly, failing to align technology use with clear pedagogical goals reduces the SMART Board to just a flashy replacement for the document camera. Without intentional integration into lesson plans that emphasize interaction and collaboration, the technology's potential remains untapped.
- Allocate ample, ongoing training time with practical exercises.
- Audit and upgrade classroom infrastructure before installation.
- Define clear pedagogical objectives for SMART Board use.
Maintain and Evaluate Your SMART Board Investment
Maintaining your SMART Board starts with a routine schedule to preserve functionality and prevent downtime. Clean the screen weekly using a microfiber cloth and manufacturer-approved cleaner, avoiding abrasive materials. Check cables and connections monthly to ensure USB, HDMI, and power cords are secure and undamaged. For troubleshooting, familiarize yourself with the SMART Board’s built-in diagnostic tools accessed via the settings menu under "Device Diagnostics." Common issues like calibration drift can be corrected through the calibration wizard found in the same menu.
To evaluate the impact of your SMART Board, establish clear metrics such as frequency of interactive lesson use, student participation rates during SMART Board activities, and teacher feedback on lesson effectiveness. Collect this data through observation checklists and post-lesson surveys. For example, track the percentage of lessons incorporating SMART Board tools over a month and correlate this with engagement scores reported by students.
Creating a feedback loop with educators ensures continuous improvement. Schedule quarterly reviews to discuss maintenance issues and share best practices. Use a simple evaluation framework:
- Monthly maintenance: clean screen, check cables, run diagnostics
- Weekly user feedback: short surveys on usability and engagement
- Quarterly impact review: analyze usage data and engagement metrics, adjust training or support accordingly
This approach keeps your SMART Board reliable and maximizes its positive effect on teaching and learning.
Read next
- Moving from Document Camera to Promethean Board: Your Expert Checklist
- Moving from Promethean Board to SMART Board: Your Complete Checklist Guide
- Moving from Classroom Projector to SMART Board: Your Essential Checklist
- SMART Board Implementation Timeline: A Step-by-Step Guide for Educators
Frequently asked questions
What are the main advantages of SMART Boards compared to document cameras?
SMART Boards transform a passive display into an interactive workspace, allowing you to write, draw, and manipulate digital content directly on the screen. Unlike document cameras that only project static images, SMART Boards integrate multimedia, collaborative apps, and real-time annotation. This interactivity enhances student engagement and supports diverse teaching methods.
How much training do teachers typically need to use SMART Boards effectively?
Effective use usually requires a few focused training sessions, often totaling 4 to 8 hours, depending on prior tech experience. Training should cover basic operation, software navigation like SMART Notebook, and classroom management features. Ongoing support and refresher sessions help teachers progress from basic use to leveraging advanced interactive tools.
Can SMART Boards work with existing classroom projectors and computers?
Yes, most SMART Boards are designed to integrate smoothly with your current projectors and computers. They typically connect via USB and HDMI cables and support Windows, macOS, and some Linux systems. Ensuring compatibility involves checking input/output ports and installing the appropriate SMART software drivers on your devices.
What are common challenges when switching from document cameras to SMART Boards?
Common challenges include the learning curve for teachers unfamiliar with interactive software, potential compatibility issues with old hardware, and the need to reconfigure classroom layouts for optimal board visibility and accessibility. Additionally, initial setup can require technical expertise to ensure calibration and network connectivity are properly configured.
What this advice does not cover
This article does not cover replacing document cameras with other interactive flat panel brands or non-SMART Board solutions. If you are considering alternatives such as Promethean, Google Jamboard, or other interactive displays, consult resources and guides specific to those platforms to ensure proper setup and training.
Quick checklist
- Recognize the SMART Board as an interactive hub, not just a display device.
- Evaluate your current classroom technology and connectivity.
- Plan for network integration, power supply, and mounting requirements.
- Schedule hands-on training sessions focused on SMART Board software tools.
- Develop lesson plans that incorporate interactive features like multi-touch and digital ink.
- Set clear protocols to avoid common pitfalls such as ignoring calibration or skipping updates.
- Establish a maintenance routine including regular firmware checks and cleaning.
The most effective next step is to organize a hands-on training session with your educators that emphasizes interactive features and classroom management strategies unique to SMART Boards. This builds confidence and ensures the technology enhances learning rather than simply replacing old hardware.