Switching from Document Camera to Classroom Projector: Your Expert Guide
Discover how switching from document camera to classroom projector enhances classroom engagement and visibility with expert setup and teaching strategies.

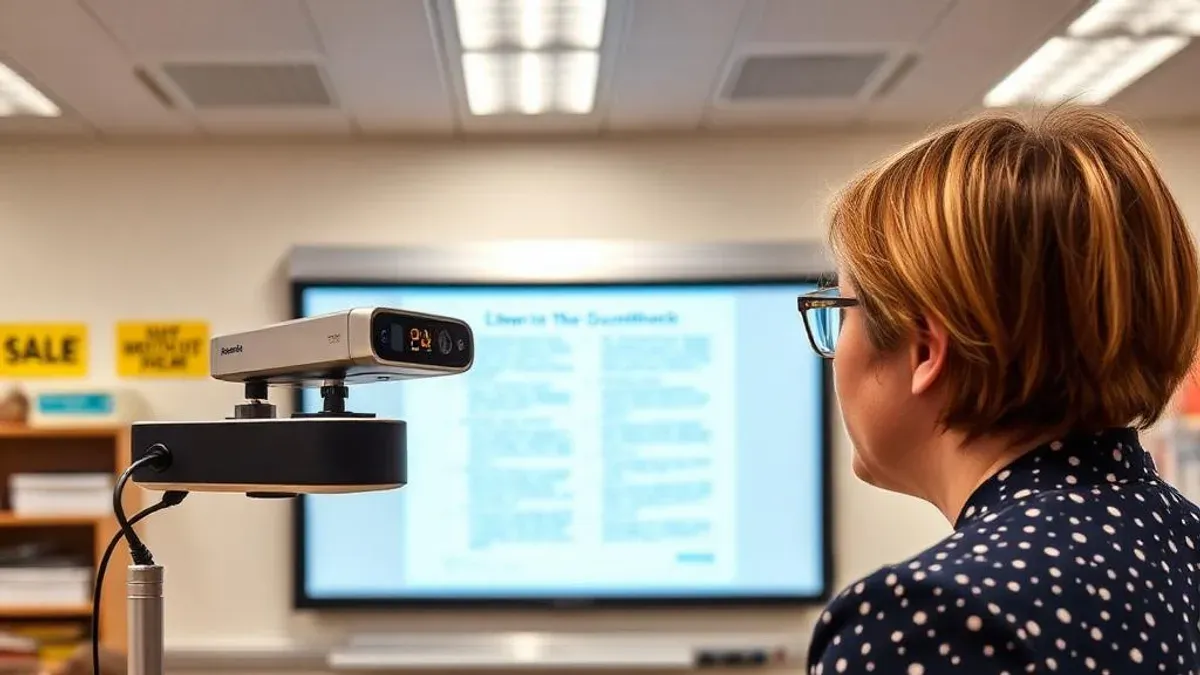
Short answer: Switching from document camera to classroom projector involves reevaluating how you display and share materials to enhance visibility and engagement. Projectors excel at presenting digital content to larger groups, offering flexibility in media types and easier integration with modern teaching tools.
This guide covers the strategic decision-making process behind switching from document camera to classroom projector, helping you understand their key differences, assess your classroom needs, and set up your projector effectively. You will also learn how to adapt your teaching methods to leverage projector strengths, avoid common transition mistakes, and maintain your equipment for consistent performance.
Understand the Key Differences Between Document Cameras and Classroom Projectors
Document cameras capture real-time images of physical objects or documents and display them on a screen, allowing teachers to showcase detailed content like textbook pages, student work, or 3D objects. Classroom projectors, on the other hand, display digital content from connected devices such as laptops or tablets onto large surfaces, enabling multimedia presentations and dynamic lesson delivery.
Projectors excel in scenarios where engaging a large group with vibrant visuals or videos is essential—such as displaying interactive slides, streaming educational content, or projecting digital whiteboards. Document cameras are limited by their fixed capture area and lower resolution compared to digital files, which can hamper visibility and interactivity in bigger classrooms.
| Feature | Document Camera | Classroom Projector |
|---|---|---|
| Core Function | Live capture of physical documents and objects | Display digital content from connected devices |
| Best Use | Zooming in on printed text or 3D items in small groups | Large-scale presentations with multimedia and interactive elements |
| Output Quality | Dependent on camera resolution; limited by ambient light | High brightness and resolution suitable for varied lighting |
| Interactivity | Physical manipulation visible, but limited digital interaction | Supports interactive tools and software integration |
Imagine you want to display a student’s handwritten essay to the entire class. A document camera will show the paper clearly but may struggle with glare or distance visibility. A projector connected to a scanned digital copy can present the essay crisply and allow you to annotate or zoom easily, enhancing engagement.
Assess Your Classroom Needs Before Making the Switch
Before transitioning to a classroom projector, evaluate your teaching environment carefully. Consider the size of your classroom—larger spaces benefit more from projectors due to their ability to display sizeable, clear images visible from the back rows. Assess ambient lighting: rooms with abundant natural light or bright overhead fixtures require projectors with higher lumens, typically above 3,000, to maintain image clarity.
Reflect on the types of content you frequently present. If your lessons rely heavily on multimedia presentations, videos, or interactive digital resources, projectors offer a distinct advantage. However, if your focus remains on static documents or live demonstrations, a document camera might still serve better.
Budget and infrastructure readiness are crucial. Installing a projector demands proper mounting, power sources, and possibly upgraded connectivity like HDMI ports or wireless adapters. For instance, a classroom with outdated wiring or limited wall space may incur additional setup costs.
Imagine a mid-sized classroom with moderate daylight and a curriculum rich in slideshows and video content. Switching to a projector here can amplify engagement, provided the room supports the installation.
- Measure classroom size and note seating arrangement
- Evaluate ambient lighting and projector brightness needs
- List primary content types used in lessons
- Check existing infrastructure for projector installation
- Compare installation and maintenance costs to budget limits
Set Up Your Classroom Projector for Optimal Use
Position your projector to avoid shadows and glare: mount it centrally on the ceiling or place it on a stable table about 6 to 10 feet from the screen. Choose a matte white or gray screen to reduce reflections and enhance contrast. If wall projection is necessary, ensure the surface is smooth and clean.
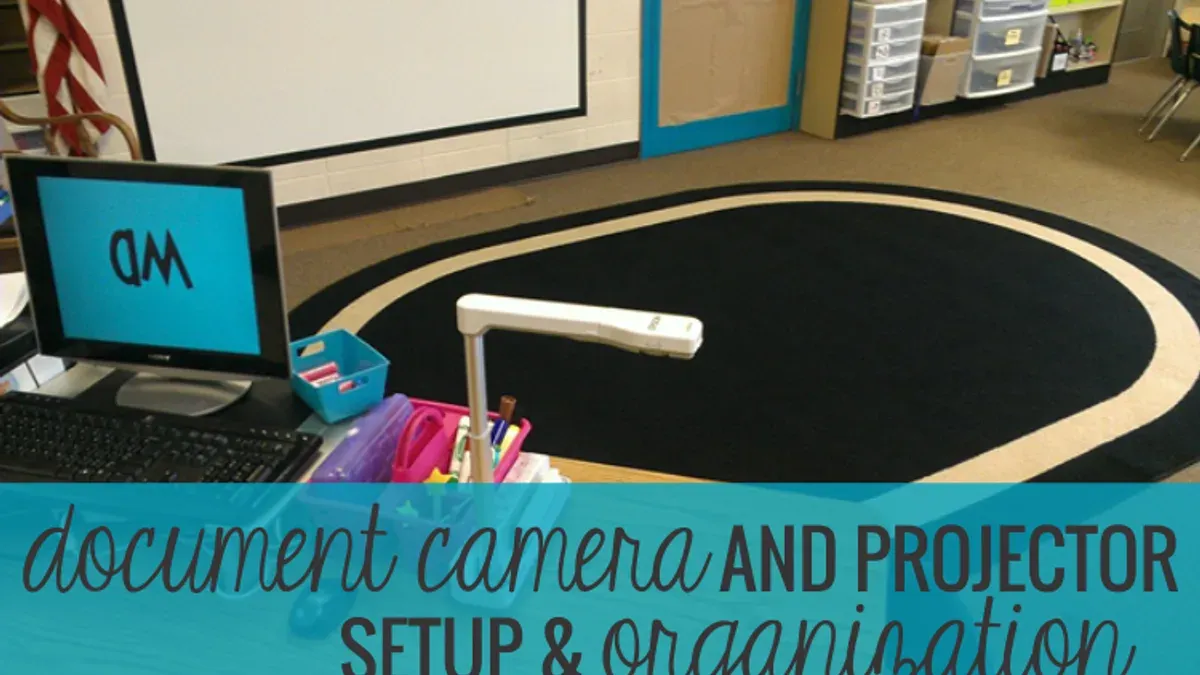
Connect your projector using HDMI for the best video and audio quality; VGA is an alternative for older devices but lacks audio support. Confirm compatibility by checking your laptop or tablet output ports and using adapters if needed. Test wireless presentation options if your projector supports them, but keep a wired backup handy.
Calibrate the image by adjusting focus, keystone correction, and brightness settings. Access the projector menu, navigate to "Image Settings," and set brightness around 2500 to 3500 lumens depending on ambient light. Use keystone correction sparingly to avoid distortion; physically reposition the projector if possible. Adjust color temperature to "Standard" or "Warm" for true-to-life colors.
- Mount the projector centrally, 6-10 feet from screen
- Select matte white or gray projection surface
- Use HDMI connection; check ports and adapters
- Test wireless options, keep wired backup
- Adjust focus, brightness (2500-3500 lumens), and keystone
- Set color temperature to Standard or Warm
Adapt Your Teaching Methods to Leverage Projector Strengths
To maximize the benefits of classroom projectors, you need to shift from static presentations to dynamic, interactive lessons. Start by incorporating multimedia elements such as videos, animations, and interactive quizzes directly into your slides using software like Microsoft PowerPoint’s "Insert" tab or Google Slides’ "Insert > Video" function. This keeps students visually engaged and reinforces concepts through varied media.
Encourage collaboration by projecting shared workspaces, such as an editable Google Doc or a digital whiteboard (like Jamboard), where students can contribute ideas in real time. This method fosters group problem-solving and discussion centered on visible, collective content rather than individual handouts.
Balance digital and physical materials by projecting core visual content while supplementing with hands-on activities. For example, during a science lesson on plant anatomy, display detailed diagrams and videos via the projector, then pass around physical plant samples or worksheets to reinforce tactile learning.
A worked example: For a history lesson on ancient civilizations, project a timeline with embedded images and audio clips. Pause to ask students to add sticky notes on a physical timeline chart placed nearby, connecting digital content with tangible materials. This hybrid approach maintains engagement and deepens understanding.
- Embed multimedia to diversify presentation styles
- Use collaborative cloud tools projected for group work
- Combine projected content with physical materials strategically
- Design lessons that alternate between digital display and hands-on interaction
Avoid Common Mistakes When Transitioning to a Classroom Projector
One frequent mistake is neglecting ambient light control, which can wash out the projected image. For instance, classrooms with large windows often require blackout curtains or blinds to maintain image clarity during daytime lessons. Without such adjustments, text and visuals become difficult to read, undermining the projector’s benefits.
Another common oversight is ignoring routine maintenance. Projector bulbs dim over time and eventually fail, causing unexpected interruptions. Scheduling regular bulb checks and replacements prevents sudden failures. Additionally, cleaning air filters and vents ensures proper cooling, extending the projector’s lifespan.
Failing to train staff on new projector features and operation can lead to underutilization or technical difficulties in lessons. Providing hands-on training sessions or quick-reference guides helps educators confidently operate input selection, keystone correction, and basic troubleshooting.
- Use blackout curtains or blinds to control ambient light.
- Establish a maintenance schedule for bulb replacement and cleaning.
- Conduct staff training focused on projector operation and troubleshooting.
Maintain and Troubleshoot Your Projector for Long-Term Success
Routine maintenance is essential to keep your projector functioning smoothly and avoid unexpected downtime. Clean the air filters monthly to prevent dust buildup, which can cause overheating. Ensure ventilation grilles remain unobstructed; proper airflow helps maintain optimal internal temperatures. Use a soft, lint-free cloth with a mild cleaner to wipe the lens quarterly, improving image clarity.
Basic Troubleshooting Steps
If your projector fails to power on, first check the power cable and outlet. For image issues like flickering or dim projection, verify the input source and cable connections under the "Input" or "Source" menu. Reset the projector to factory settings if problems persist. A common oversight is neglecting lamp hours; monitor the lamp usage via the on-screen display menu and replace the lamp as recommended to prevent sudden blackouts.
Consider this flow: start with power and cable checks, followed by input settings review, then lamp hours inspection. If issues remain unresolved, proceed to more specific diagnostics or professional help.
When to Seek Professional Support
Complex problems such as persistent overheating, color distortion after cleaning, or mechanical failures require expert attention. Contact certified technicians if the projector exhibits unusual noises, error codes, or does not respond to resets.
Below is a maintenance schedule template and a troubleshooting flowchart to guide your care routine:
| Task | Frequency |
|---|---|
| Air filter cleaning | Monthly |
| Lens cleaning | Quarterly |
| Ventilation check | Monthly |
| Lamp usage check | After every 100 hours of use |
| Issue | Step 1 | Step 2 | Step 3 |
|---|---|---|---|
| Projector won’t power on | Check power cable and outlet | Try a different outlet | Contact professional support |
| Image flickering/dim | Verify input source and cables | Reset to factory settings | Check lamp hours or replace lamp |
Read next
- Moving from Classroom Projector to Document Camera: Your Complete Checklist
- Moving from Classroom Projector to Interactive Flat Panel: Your Expert Checklist
- Create a Clear Document Camera Implementation Timeline That Works
- Switching from Promethean Board to Classroom Projector: A Practical Guide
Frequently asked questions
What are the main advantages of a classroom projector over a document camera?
A classroom projector offers a larger display area suitable for group viewing, enabling content to be shared with the entire class simultaneously. It supports diverse digital media formats, including videos and interactive presentations, unlike document cameras which primarily display physical documents or objects. Projectors also allow flexible placement and screen size adjustment, enhancing visibility in different classroom layouts.
Can I use both a document camera and projector together effectively?
Yes, combining a document camera with a projector can be effective for varied teaching needs. The document camera captures and projects real-time images of physical materials, while the projector displays digital content from a computer. To use them together, connect the document camera to the projector via HDMI or VGA, then switch inputs as needed to present different content types seamlessly.
What should I consider when choosing a projector for my classroom?
Focus on brightness, resolution, and connectivity options. A projector with at least 3,000 lumens ensures clear images in well-lit rooms. Opt for a resolution of 1080p or higher to maintain image sharpness. Check for multiple input ports like HDMI, USB, and VGA to support various devices. Also, consider throw distance and lens shift features to fit your classroom’s size and layout.
How do I handle technical issues that arise with projectors?
Start by checking basic connections: ensure cables are secure and the correct input source is selected. Clean the projector lens regularly to avoid image distortion. If overheating occurs, verify that vents are unobstructed and the internal fan is functioning. For persistent issues, consult the user manual’s troubleshooting section or contact manufacturer support for specific error codes and repair guidance.
What This Guide Does Not Cover
This guide does not cover switching to interactive whiteboards or flat panels, which involve different considerations such as touch interface integration, software ecosystems, and installation requirements. If your classroom technology plans include these options, consult resources specific to those devices to address their unique setup, usage, and maintenance challenges.
Quick checklist
- Review your classroom’s lighting and seating to optimize projector placement and visibility.
- Adjust projector settings: brightness to around 2500 lumens and contrast to enhance text clarity.
- Use HDMI input over VGA for better image quality and sound transmission.
- Prepare lesson materials in high-resolution digital formats for crisp projection.
- Train staff on basic projector troubleshooting: lamp replacement, lens cleaning, and input source selection.
- Test audio output compatibility with classroom speakers or external sound systems.
Start by evaluating your current teaching goals and the specific benefits projectors bring to your environment—such as larger display size and multimedia integration—and plan a trial run focusing on these advantages. This deliberate step ensures your transition enhances engagement without disrupting established workflows.