How to Make Course Content Accessible in Brightspace: A Step-by-Step Guide
Follow this step-by-step guide to make your course content accessible in Brightspace using built-in tools and universal accessibility principles.

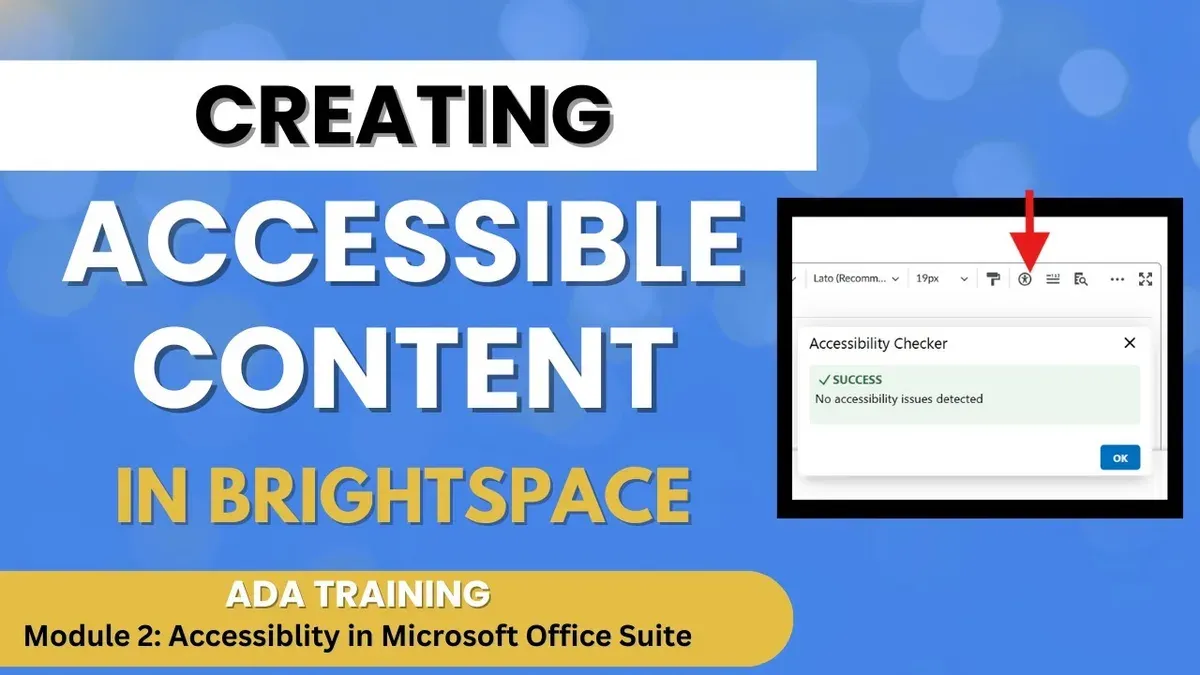
Short answer: To make course content accessible in Brightspace, use the platform’s built-in accessibility checker, apply alternative text to images, ensure proper heading structure, add captions to multimedia, and organize content with clear navigation tools. Combining Brightspace-specific features with universal accessibility principles ensures compliance and improves user experience for all students.
This guide covers how to prepare your materials for accessibility, use Brightspace’s tools effectively, and apply step-by-step methods to text, images, and multimedia content. You will also learn how to structure your course for better navigation, troubleshoot common accessibility issues, and verify compliance before publishing. By following these focused steps, you’ll balance legal requirements with practical usability, making your course inclusive and easy to use.
Before you start: What do you need to prepare for making Brightspace content accessible?
You need an active Brightspace course with content ready for review or creation. Confirm you have editing permissions to access the content editor and the accessibility checker found under the "Manage Files" and content editing areas. Familiarity with accessibility standards like WCAG 2.1 is crucial; these guidelines help you identify barriers such as insufficient color contrast, missing alternative text, or improper heading structure. Prepare a list of common accessibility barriers students face, including screen reader issues and keyboard navigation challenges. Understanding or testing with assistive technologies like screen readers (NVDA, JAWS) or keyboard-only navigation will improve your ability to spot and fix problems.
Accessibility boosts student engagement by making content usable for everyone and ensures compliance with legal requirements that protect learner rights. This preparation aligns your mindset with both usability and regulation demands.
- Verify you have editing access to your Brightspace course. You should see the “Content” tool in your course navigation menu.
- Review the WCAG 2.1 guidelines focusing on text alternatives, keyboard accessibility, and readable structure. You should be able to identify compliance checkpoints relevant to your course.
- Locate the Brightspace accessibility checker in the content editor toolbar under “Check Accessibility.” It should open an interface highlighting potential issues.
- Prepare or gather assistive technology tools or guides to test your course content. You should be able to simulate or experience your course as users relying on these technologies do.
How do you use Brightspace’s built-in accessibility checker effectively?
Access the accessibility checker within the Brightspace content editor by clicking the “Accessibility Checker” button in the toolbar. When you run it, a panel opens showing detected issues organized by severity. Typical flags include missing alternative text on images, insufficient color contrast, and improperly structured headings.
Interpret the feedback by prioritizing errors marked as critical, such as missing alt text, which directly impact screen reader users. Warnings like low contrast require attention but may depend on your design choices. The tool also suggests fixes, such as adding descriptions or adjusting colors.
Automated checks catch many common issues but cannot verify context or usability, so complement this with manual review. For example, it won’t assess if alt text meaningfully describes an image. Run the checker after every content update to maintain accessibility standards consistently.
- Open your Brightspace course and navigate to the module or topic you want to edit. The content editor should load.
- Click the “Accessibility Checker” icon on the editor toolbar. A sidebar with issues will appear.
- Review the list of issues, grouped by severity. Select any item to jump to the problematic content.
- Apply suggested fixes like adding alt text or modifying headings. Confirm the issue disappears from the list.
- Close the checker once no critical issues remain, then save your content.
Using this tool regularly reduces common accessibility errors, but always perform a manual check for context and user experience.
What are the step-by-step methods for making text and multimedia accessible in Brightspace?
- Insert descriptive alt text for every image by clicking the image in the HTML editor, selecting the "Properties" icon, and entering meaningful descriptions in the "Alternate Text" field. You should see screen readers convey the image's purpose rather than just "image" or a filename.
- Use the HTML editor's heading styles (Heading 1, Heading 2, etc.) to structure text content properly. Highlight section titles, then apply heading tags from the style dropdown. This creates a logical content hierarchy that assistive technologies can navigate easily.
- Ensure color contrast meets accessibility standards by choosing text and background colors with sufficient difference. Avoid relying solely on color to convey information; add text labels or patterns instead. Use Brightspace’s color contrast tool or external checkers to confirm compliance.
- Caption videos by uploading or creating captions in the Brightspace video media player. Access the video settings, navigate to "Captions," and upload an accurate transcript file (e.g.,.vtt). This allows deaf or hard-of-hearing students to access spoken content effectively.
- Provide transcripts for all audio materials by uploading text versions in the same content module or linking them clearly. This supports users who cannot hear audio and aids comprehension.
- Embed documents in accessible formats like tagged PDFs or Word files with proper headings and alt text. Alternatively, offer accessible alternative formats linked nearby. This ensures document content is readable with assistive technologies.
- Test multimedia accessibility by previewing content using screen readers or keyboard-only navigation tools. Confirm captions sync correctly and alt text describes images adequately. Student feedback often highlights if captions are accurate and if navigation is intuitive.
Before and after examples: An image previously labeled "IMG_1234" becomes "Diagram showing the water cycle stages." A video without captions gains synchronized subtitles, improving comprehension for all learners.
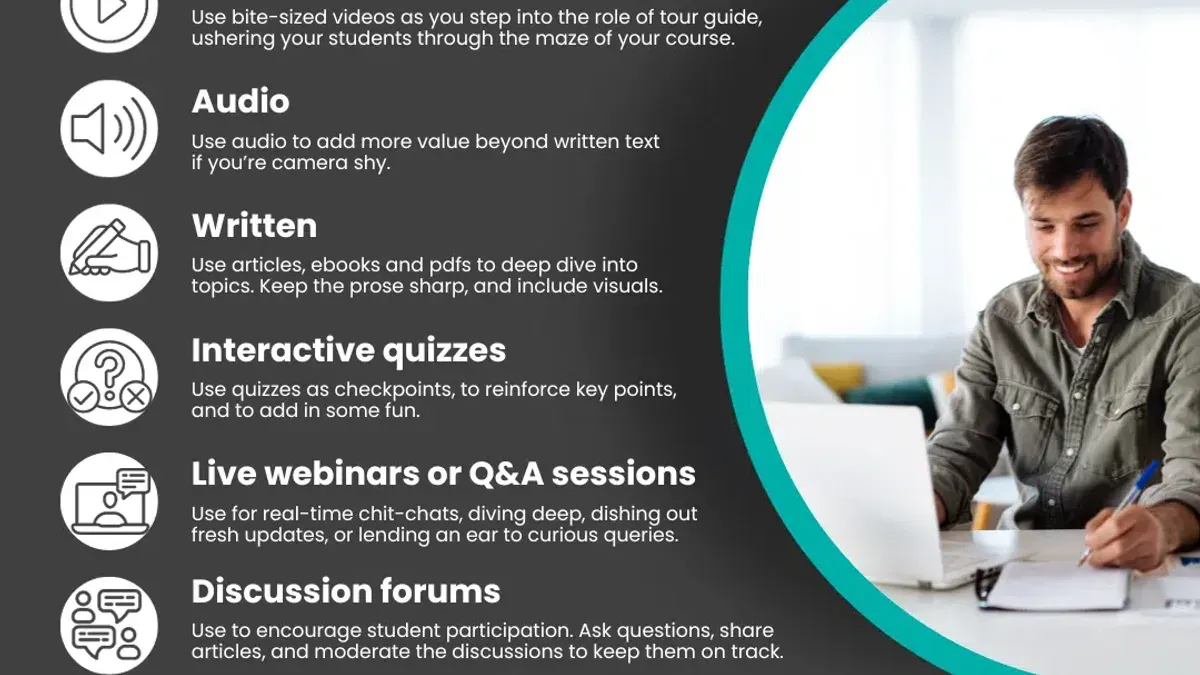
Captioning comparison: Auto-generated captions often contain errors; manual captions uploaded via Brightspace’s caption editor ensure accuracy and clarity, reducing student confusion.
How can you organize course content to enhance accessibility and navigation?
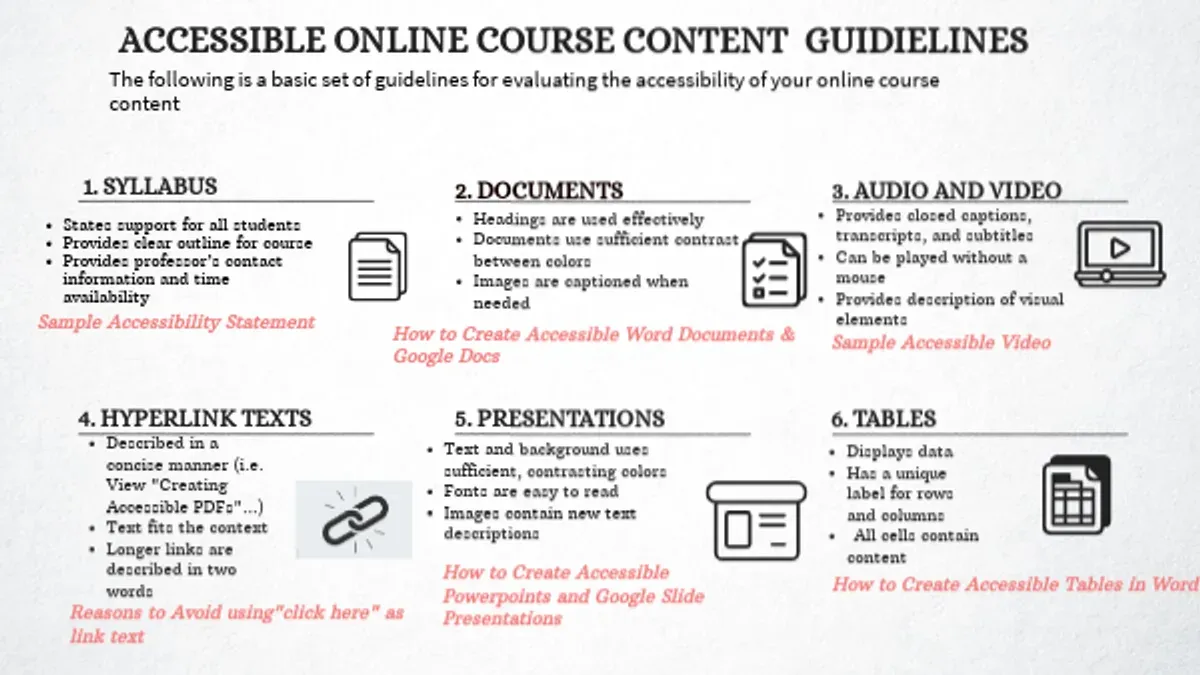
Organize your Brightspace course with consistent page layouts and clear navigational aids to help all learners, especially those using screen readers or keyboard navigation. Break content into small, manageable sections with descriptive titles that reflect the subject matter clearly. Use ordered and unordered lists to present information logically, and implement tables only for tabular data with proper headers to ensure screen readers interpret them correctly.
Avoid multi-column or complex grid layouts that can confuse assistive technologies and disrupt reading order. Set a logical tab order by using the Brightspace Content tool’s structure and testing keyboard navigation for seamless movement through links, buttons, and form fields. Landmarks such as header, nav, main, and footer roles should be used appropriately within HTML or Brightspace blocks to guide screen reader users effectively.
Students using screen readers report frustration with dense, unstructured pages but appreciate clear headings and predictable navigation. Well-organized content helps them focus on learning rather than figuring out how to move through the course.
- Use the Brightspace Content tool to create modules with consistent layout templates; when done, you should see uniform structure across pages.
- Divide content into sections with clear, hierarchical headings; screen readers will announce these headings, confirming proper structure.
- Implement lists via the editor’s list buttons rather than manual formatting; this ensures correct semantic markup.
- Insert tables only for data, adding header rows using the table properties; screen readers will recognize headers when tabbing through cells.
- Test keyboard navigation by tabbing through the page; the focus should move in a logical order following content flow.
What are the common accessibility issues instructors face in Brightspace and how do you troubleshoot them?
Alt text sometimes fails to save or display correctly due to browser caching or editor glitches. To fix this, clear your browser cache, re-enter the alt text via the HTML editor under the image properties, and save changes. You should see the alt text appear in the image’s "Alternate Text" field and verify it by inspecting the image’s HTML tag for the alt attribute.
Video captions may fall out of sync or be unavailable if the caption file format isn’t supported or improperly linked. Ensure captions are uploaded as.vtt files via the Video Editor's caption tab. Once uploaded, play the video with captions enabled; synced captions should display accurately in time with the audio.
Color contrast warnings might persist even after edits if custom CSS overrides or theme settings conflict with text colors. Test color contrast with external tools like the WebAIM Contrast Checker outside Brightspace. Adjust either your Brightspace theme settings or inline styles until you get passing contrast ratios above 4.5:1 for normal text.
Third-party content and embeds often lack accessibility features because you cannot modify their code. Provide alternative accessible resources or transcripts alongside the embed. Use the “Add Alternate Content” option in the HTML editor or insert a descriptive link explaining the content’s purpose and accessibility limitations.
The built-in accessibility checker may miss issues such as complex table structures or unclear link text. Conduct manual reviews by tabbing through your page to verify logical navigation order and by reading link text aloud to confirm clarity. Use screen reader software to test content presentation and fix any confusion found.
How do you verify accessibility compliance before publishing your Brightspace course?
- Conduct a manual review using a detailed checklist aligned with WCAG 2.1 guidelines. Use lists that cover text alternatives, keyboard navigation, color contrast, and multimedia accessibility. A successful review means no checklist items remain unchecked.
- Test your course content with multiple assistive technologies such as NVDA or JAWS screen readers and screen magnifiers like ZoomText. Confirm that all interactive elements are accessible and content reads logically. Effective testing results in smooth navigation and clear content interpretation.
- Arrange a peer review or expert audit focused on accessibility. Invite colleagues or accessibility specialists to assess your course and provide feedback. Completion is indicated by actionable recommendations and validation of your compliance efforts.
- Utilize Brightspace’s reporting tools and reputable third-party accessibility validation tools like WAVE or Axe. Compare reports for consistent issue identification and resolution. A clean or near-clean report confirms readiness.
- Document all accessibility efforts, including the checklist outcomes, assistive technology tests, peer review notes, and any known limitations or exceptions. Use a simple format listing dates, tools used, issues found, and fixes applied. Proper documentation ensures transparency and supports compliance audits.
Frequently asked questions
What makes Brightspace content accessible to students with disabilities?
Brightspace content is accessible when it uses semantic HTML structure, includes alt text for images, provides captions or transcripts for multimedia, and follows WCAG guidelines integrated into the platform. Features like the Brightspace Accessibility Checker help identify missing alt attributes, insufficient color contrast, and improper heading levels. Proper use of these tools combined with thoughtful course design ensures content is navigable and usable for all students.
Can I rely solely on Brightspace’s accessibility checker to fix issues?
No, the Brightspace Accessibility Checker is a useful tool but not comprehensive. It identifies common issues like missing alt text and color contrast problems but doesn’t catch every accessibility barrier, such as complex table structures or video caption accuracy. You should supplement it with manual reviews and, if possible, screen reader testing to ensure full compliance.
How do I add captions to videos uploaded in Brightspace?
To add captions, upload your video file via the Manage Files tool, then open it in the Video Note or Brightspace Video tool. Use the “Captions” tab to upload a supported caption file format, like.vtt or.srt. If you don’t have caption files, use third-party services to generate them before uploading. Always verify captions for accuracy within Brightspace’s player.
What should I do if third-party content in my course isn’t accessible?
First, check if the third-party tool or content provider offers accessible alternatives or captioned versions. If not, provide supplemental accessible materials, such as transcripts or summaries, within Brightspace. Inform students about any limitations and consider contacting the vendor to request accessibility improvements. Avoid relying solely on inaccessible content to meet course requirements.
Quick checklist
- Prepare alternative text for all images before uploading.
- Run Brightspace’s Accessibility Checker after adding or editing content.
- Use headings consistently to structure your text clearly.
- Ensure all multimedia has captions or transcripts.
- Organize content with modules and clear navigation labels.
- Test keyboard navigation and screen reader compatibility.
- Fix issues flagged by the Accessibility Checker promptly.
- Verify final content meets WCAG standards before publishing.
What this guide does not cover and who should look elsewhere
This guide does not cover accessibility adjustments for real-time synchronous sessions or external LMS platforms. It focuses solely on course content within Brightspace’s content tools. If your course heavily involves live sessions or uses third-party tools outside Brightspace, consult specialized resources or accessibility experts for those components. Also, this guide assumes basic familiarity with Brightspace navigation and editing functions.
Start with running Brightspace’s Accessibility Checker regularly as you build your content. This immediate feedback highlights issues that are often overlooked and saves time later. Addressing accessibility progressively during course development ensures compliance and improves the learning experience for all students.
See also: How to Create and Manage Assignments in Brightspace: A Step-by-Step Guide · How to Grade Student Work in Brightspace: A Clear Step-by-Step Guide · How to Leave Clear, Effective Feedback on Student Work in Brightspace · How to Build and Manage a Quiz in Brightspace: A Step-by-Step Guide