Switching from Basecamp to Airtable: A Practical Transition Guide
This guide provides a practical, step-by-step approach to successfully switching from Basecamp to Airtable, ensuring a smooth and efficient data migration.

Airtable charges per collaborator, starting at $20 per month billed annually, offering a scalable model for growing teams.
Airtable’s relational databases, multiple view types, and automation editor provide powerful options to replicate and expand your workflows. The challenge lies in moving your data and automations safely, avoiding common pitfalls around third-party sync tools and adapting to Airtable’s structure. This guide walks you through the exact operational differences and step-by-step migration to succeed in your transition.
Every limit and setting name below comes from LaunchNotes, AppSage, LOW/CODE Agency (full list at the end), as of November 2026.
How to access Basecamp and prepare your data for export
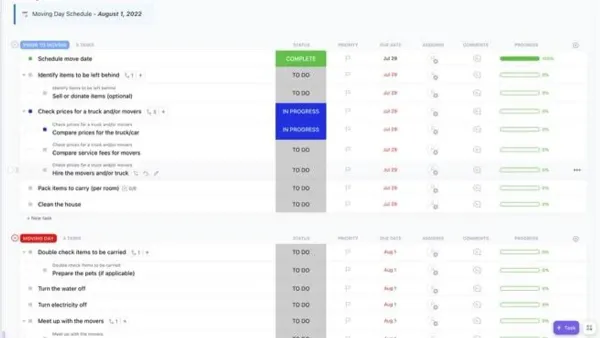
Begin by logging into your Basecamp account via the web interface. Navigate to the specific project you want to export data from. In the project dashboard, locate the To-Dos section by selecting Project → To-Dos. Here, you can view task lists, create new to-dos, assign tasks, and set due dates.
To prepare your data for migration, export task lists by manually copying or using available export options, noting that Basecamp does not support bulk export in common spreadsheet formats directly. For files, find the Docs & Files area within the same project dashboard. Download each file individually or in small batches since Basecamp lacks a built-in feature for mass file export.
Keep in mind Basecamp’s free plan restricts you to one project and up to 20 users. This limit shapes the scope of your data export: if your workflows span multiple projects or involve more users, you must upgrade to a paid plan or export data project by project. The Pro Unlimited plan, priced at $299 monthly, removes these limits but may not be necessary if your team fits within the free plan’s constraints.
Download your files from the Docs & Files tab and export task lists from To-Dos before starting the migration. Remember, Basecamp’s export capabilities are basic, so prepare to organize data in Airtable manually or with third-party tools after export.
- Log into Basecamp and open your project dashboard
- Navigate to To-Dos and Docs & Files sections to view tasks and files
- Download all necessary files manually and copy your task lists
How to install Basecamp and set up your workspace for migration
To start, visit the official Basecamp website to use the web version or download the app from your device’s app store.
Once installed, create a new project to organize your migration. Within your project, navigate to Project → To-Dos → Create new to-do or list. This path lets you build the basic task structure you’ll be exporting. Assign tasks by selecting the task and choosing an assignee, then set due dates to track deadlines. These tasks reflect Basecamp’s simple, linear structure that you will need to translate into Airtable’s more flexible environment.
There are no complex dependencies or automation natively. This clarity helps you plan how to map these elements into Airtable’s tables, records, and fields, which allow far more customization and automation capabilities.
Knowing this, you can anticipate creating a base in Airtable with tables for campaigns, tasks, and team members, linking records appropriately.
- Download and install Basecamp app or open the web version
- Create a project and navigate to To-Dos
- Build task lists, assign responsibilities, and set due dates
Note that Basecamp’s free plan limits you to one project and up to 20 users, which can restrict your workspace setup if you exceed these limits.
How does Basecamp work: core features you’ll leave behind
Unlike Airtable, Basecamp has no built-in automation, no Gantt chart views, and no AI assistants to help manage or predict project flows.
In contrast, Airtable enables flexible task modeling with statuses, dependencies, and automation, though it requires effort to set up and maintain.
Picture a project where you must track multiple dependencies and prioritize tasks dynamically. Basecamp’s flat to-do lists won't capture these complexities, while Airtable’s database structure scales to those needs.
| Feature | Basecamp | Airtable |
|---|---|---|
| Collaboration tools | To-dos, message boards, schedules, file sharing | Flexible tables, views, forms, rich collaboration |
| Task assignment | Single assignee only | Multiple assignees, statuses, priorities |
| Automation | None built-in | Native automation workflows |
| Advanced planning | No Gantt charts, no AI assistants | Supports Gantt views, AI integrations |
How to add a base and move tables in Airtable after migration
Start by creating a new base in Airtable to serve as the container for your migrated data. Click the “Add a base” button on your dashboard, choose “Start from scratch,” and name it clearly to reflect the project or workflow you’re migrating from Basecamp.
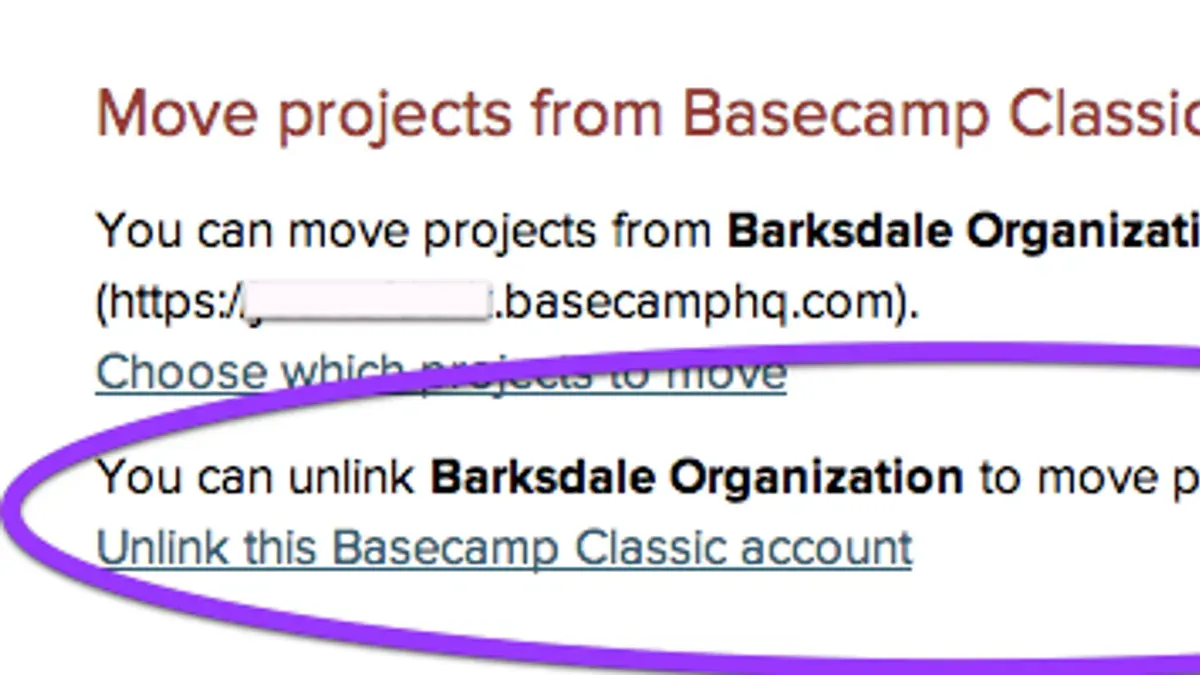
Next, import your data tables exported from Basecamp. Since Basecamp exports typically come as CSV files, use Airtable’s “Add a table” option within your base, then select “Import a spreadsheet.” Upload the CSV file that corresponds to a task list or file directory from Basecamp.
Once imported, you need to rebuild the relationships between tables, as these do not transfer automatically. For example, if you had tasks linked to specific team members or milestones in Basecamp, create linked record fields in Airtable to replicate those connections.
Set up views in Airtable to mirror your workflow organization. Use Grid view for detailed lists, Calendar view for deadlines, Kanban for task progress, and Timeline for project phases. These customizable views replace Basecamp’s fixed layouts and enhance your ability to track work visually.
Finally, configure Airtable’s built-in automation workflows to replace any manual updates you had in Basecamp. Automations can notify team members, update statuses, or trigger integrations without third-party tools, providing a dynamic workspace.
Because Basecamp’s custom views and relationships don’t carry over, plan to spend time rebuilding these in Airtable. This investment pays off in flexibility and scalability for your project management.
How to use the Box in Basecamp and replicate file management in Airtable
You access it from your project’s sidebar under the “Docs & Files” section. To migrate, you must manually download files from The Box since Basecamp does not offer a bulk export tool. Organize these files on your local system before importing them.
Airtable handles file attachments differently. Each record can include attachments, but these are limited in size and number compared to Basecamp’s unified file repository. Large files or many attachments per record can slow down your base and complicate collaboration. Instead, use Airtable’s integration with Google Drive or other cloud storage services to host large files externally and link them within Airtable records.
For example, if your Basecamp project has a folder of design assets in The Box, download them all, upload them to a shared Google Drive folder, then insert the shared links as attachment fields in Airtable records. This keeps your Airtable base lightweight and accessible. Properly naming files and structuring folders in Drive helps the team locate assets quickly, replicating Basecamp’s file management feel.
How to back up your Airtable base after migration
Losing your data or configurations can disrupt workflows and cost time to restore.
Start with Airtable’s built-in export options. Open your base, click the dropdown arrow next to the table name, and select Download CSV to export each table individually. For a broader snapshot, use the Snapshot feature found under the base menu, which saves the entire base state, including records, views, and field configurations.
Schedule regular backups to avoid data loss. Airtable itself does not automate backups on a recurring schedule, so use third-party tools like Zapier or Make to export CSV files periodically. Automate these exports to a secure cloud storage or your local system to protect against accidental changes or automation errors.
If an automation misfires or a collaborator deletes a record, a recent backup allows you to restore your base quickly without rebuilding from scratch.
Backup frequency depends on your activity level. High-change environments should back up daily or weekly, while more stable bases might require monthly snapshots. This discipline safeguards your investment in Airtable’s advanced capabilities like custom views, relational links, and built-in AI assistants.
How to use Basecamp tutorial features to ease team transition
Spend the tutorial period focusing on tasks like creating to-dos, assigning tasks, and setting due dates by following the path: Project → To-Dos → Create new to-do or list → Assign task → Set due date. This hands-on practice will help your team understand what workflows they will leave behind and what to expect in Airtable’s more complex environment.
Mastering these Basecamp basics first reduces confusion when you switch. For example, your team might be used to Basecamp’s straightforward task assignments without relational data, but Airtable requires setting up linked tables and views. Use the tutorial phase to export and organize your data carefully. This preparation ensures smoother data import and rebuild in Airtable, avoiding common errors like missing task assignments or due dates.
During this period, encourage your team to document any workflows or habits they rely on in Basecamp. This documentation will guide rebuilding processes in Airtable’s database-driven system. Proper use of Basecamp tutorials also helps identify which collaboration features your team values most, aiding in prioritizing Airtable setup.
- Review Basecamp’s official tutorials and onboarding materials online
- Practice creating and assigning to-dos with due dates in Basecamp
- Export and organize your Basecamp data while learning the app
Avoid common pitfalls when automating your Basecamp to Airtable workflow
Basecamp lacks native automation capabilities, so you must rely on third-party platforms like Zapier, Make, or Unito to sync tasks and updates between Basecamp and Airtable. Attempting to transfer all Basecamp data at once without defining clear field mappings results in unreliable syncs and data conflicts. Plan your field mappings carefully before starting automation to ensure smooth data flow.

Use gatekeeper fields in Airtable, such as a ‘Ready for Basecamp’ checkbox, to control when records trigger automation actions back into Basecamp. Without this, incomplete or draft records can cause accidental task creation or unwanted updates, disrupting your workflow.
For example, syncing a new to-do from Basecamp as an Airtable record requires configuring the automation to update statuses, due dates, and assignees explicitly, rather than expecting Basecamp to handle these automatically.
This floods your project with irrelevant items and wastes team time. Properly sequencing your automation steps—mapping fields first, then activating controlled triggers—prevents these errors.
Choose the right tool for your team: Basecamp simplicity vs Airtable flexibility
Choosing between Basecamp and Airtable hinges on your team’s size, project complexity, and automation needs. Basecamp fits small to midsize teams that require straightforward communication and minimal setup. If your team values fast onboarding and predictable collaboration without needing complex workflows, Basecamp’s minimal learning curve and essential features make it the right choice.
Conversely, Airtable excels when your projects demand customizable workflows, relational database capabilities, and automation. Teams managing intricate data structures or that rely heavily on automated processes will find Airtable’s no-code platform better suited to their needs.
| Team Scenario | Recommended Platform | Deciding Factor |
|---|---|---|
| Small team with a few straightforward projects and simple task tracking | Basecamp | Minimal setup, essential collaboration features |
| Midsize team managing multiple complex projects needing data relationships | Airtable | Configurable workflows and database management |
| Team requiring automated syncing and custom notifications | Airtable | Built-in automation and integration capabilities |
| Team prioritizing ease of use and quick team adoption | Basecamp | Simple interface and minimal training required |
If their main goal is to keep communication clear and tasks visible without diving into complex setups, Basecamp will keep things simple and effective. However, if the same team needs to track content assets linked to campaigns, automate reminders, and integrate with other tools for analytics, Airtable becomes necessary.
Review your team’s size and workflow complexity honestly. Opt for Basecamp if simplicity and direct communication are your priorities. Choose Airtable if your projects require flexible data models and automation to scale efficiently.
Read next
- Switching from Asana to Basecamp: Expert Steps and Insights
- Basecamp Rollout Plan for Corporate Trainers: A Clear Action Path
- Moving from Airtable to Basecamp Checklist: A Clear Expert Guide
- Airtable Rollout Plan for New Employees: A Practical Expert Guide
Frequently asked questions
how to back up your airtable base
Backing up your Airtable base requires exporting your data manually or using third-party automation tools. You can export tables as CSV files via the "Download CSV" option in the view's dropdown menu. For a comprehensive backup, consider syncing your base with cloud storage through automation platforms like Zapier or Make, since Airtable lacks a built-in full backup feature.
how to access basecamp
You access Basecamp by logging into your account at basecamp.com through a web browser or by using the Basecamp mobile app available on iOS and Android. Ensure you have your login credentials handy; if your organization uses single sign-on, follow that process. After logging in, you can navigate to your projects and export data as needed for migration.
basecamp how to use
For an overview of Basecamp’s core features and usage, refer to the section “How does Basecamp work: core features you’ll leave behind” in the article. It details Basecamp’s project management tools, user limits per plan, and the absence of advanced automation features, helping you understand what you’ll need to replicate or improve upon after switching to Airtable.
Sources checked
- Basecamp vs Airtable: Features, Pricing, and Best Fit [2026] — LaunchNotes
- Basecamp vs Airtable: Pricing, Features & 2026 Verdict | AppSage — AppSage
- Airtable vs Basecamp: 12 Factors Compared | LOW/CODE — LOW/CODE Agency
- Connect Basecamp To Airtable For Workflow Automation (Zapier/Make/Unito Options) For Project Teams — Thủ thuật ứng dụng
- Basecamp vs Airtable: Full breakdown — ProofHub