Switching from Pear Deck to Microsoft Forms: A Practical Educator’s Guide
This guide helps educators transition from Pear Deck to Microsoft Forms by explaining key differences and best practices for interactive student assessments.

Short answer: Switching from Pear Deck to Microsoft Forms involves adapting to a different set of interactive tools focused more on data collection and quizzes than live classroom engagement. Microsoft Forms integrates seamlessly within the Microsoft 365 ecosystem, offering streamlined workflows but requires rethinking how you design and deliver interactive content compared to Pear Deck’s slide-based approach.
This article guides you through the core differences between Pear Deck and Microsoft Forms, explores how Pear Deck works with Microsoft tools, and details how to recreate interactive features within Microsoft Forms. You’ll also find best practices for managing student participation and the common pitfalls to avoid, helping you make a smooth transition while maximizing Microsoft Forms’ capabilities.
Understand the core differences between Pear Deck and Microsoft Forms
Pear Deck centers on creating interactive, slide-based formative assessments that seamlessly integrate with Google Slides and PowerPoint. It allows you to embed questions directly onto slides, encouraging real-time student engagement during presentations. Microsoft Forms, by contrast, is designed primarily for building surveys, quizzes, and polls within the Microsoft 365 ecosystem, focusing more on standalone forms rather than embedding within presentations.
This distinction affects how you engage your students and collect data: Pear Deck’s interactive slides promote in-the-moment participation, while Microsoft Forms gathers responses asynchronously or synchronously but outside the slide context. For example, Pear Deck enables students to draw or drag elements on a slide, a feature that Microsoft Forms does not replicate.
| Feature | Pear Deck | Microsoft Forms |
|---|---|---|
| Primary Use | Interactive formative assessments within slides | Quizzes, surveys, and polls as standalone forms |
| Integration | Google Slides, PowerPoint add-in | Microsoft 365 apps, Teams, Excel data export |
| Student Interaction | Embedded on-slide questions with drawing and dragging | Multiple choice, text, rating but no embedded slide interaction |
| User Interface | Slide-based, presenter-led | Form-based, respondent-led |
Understanding these differences clarifies why some Pear Deck features—such as slide annotations or draggable responses—lack direct equivalents in Microsoft Forms. This impacts how you design lessons and collect formative data when making the switch.
Does Pear Deck work with Microsoft? Exploring integration possibilities
Pear Deck offers native integrations primarily with Google Slides and PowerPoint, allowing you to add interactive questions directly within these presentation platforms. When using Microsoft tools, Pear Deck integrates best through its PowerPoint add-in, which you can enable via the Insert tab under My Add-ins. This allows you to embed Pear Deck interactive slides within your PowerPoint presentations seamlessly.
However, Pear Deck’s integration with Microsoft Teams and Microsoft Forms is limited. You cannot directly import Pear Deck content into Forms, nor does Pear Deck embed within Teams as a standalone app. Instead, educators often employ complementary workflows, such as running Pear Deck sessions through PowerPoint while using Teams for communication and Microsoft Forms for separate quizzes or surveys.
For example, you might present an interactive lesson using Pear Deck slides in PowerPoint during a Teams meeting, then follow up with a Microsoft Forms quiz to collect detailed responses. Additionally, Pear Deck allows exporting session data as CSV files, which you can upload into Microsoft Excel within the Microsoft 365 suite for further analysis.
Microsoft’s official documentation acknowledges Pear Deck as a PowerPoint add-in, but it does not list direct integration with Forms or Teams as supported features. Understanding these boundaries helps you design workflows that leverage Pear Deck’s interactivity alongside Microsoft Forms’ data collection strengths.
- Enable Pear Deck add-in within PowerPoint via Insert > My Add-ins
- Use Pear Deck slides in live PowerPoint presentations during Teams meetings
- Complement with Microsoft Forms for standalone quizzes or surveys
- Export Pear Deck session data as CSV for Microsoft Excel analysis
- Recognize no direct Pear Deck integration exists within Microsoft Teams or Forms
How to add Pear Deck to PowerPoint for interactive presentations
Start by opening PowerPoint and navigating to the Insert tab. Click on Get Add-ins to open the Office Add-ins store. Search for "Pear Deck" and select it from the results, then click Add to install the add-on directly into PowerPoint.

Once installed, a Pear Deck tab appears in the PowerPoint ribbon. Use this tab to insert interactive slides such as draggable, multiple choice, or drawing slides directly into your presentation. For example, you might add a multiple-choice question after an instructional slide to check understanding.
To manage a Pear Deck session, click Start Lesson from the Pear Deck tab. This generates a unique join code your students will use to participate in real-time. Keep this code visible or share it via your learning management system.
After the session, you can export the presentation with embedded Pear Deck activities as a PDF or share it via a link for asynchronous access. Note that while the interactive elements work live only within Pear Deck sessions, exporting preserves the slide content.
- Insert > Get Add-ins > Search "Pear Deck" > Add
- Use Pear Deck tab to add interactive slides
- Click Start Lesson to generate student join code
- Share code with students for live interaction
- Export or share presentation for review
Recreating Pear Deck interactive features in Microsoft Forms
To replicate Pear Deck’s interactive engagement in Microsoft Forms, leverage Forms’ multiple question types. For example, a Pear Deck multiple-choice slide asking "What is the capital of France?" can be recreated by adding a "Choice" question in Forms with options like Paris, London, Berlin, and Madrid.
Incorporate branching logic to guide students based on answers. After a wrong choice, use "Add branching" to provide tailored feedback or direct students to review sections. Microsoft Forms also supports real-time feedback by enabling "Show results automatically" so students see correct answers immediately upon submission.
However, Microsoft Forms lacks slide-based interactivity and synchronous session control found in Pear Deck. You cannot present questions live or pause the session for discussions. To maintain engagement, design Forms quizzes with varied question types such as "Text" for short answers and "Ranking" for ordering tasks, keeping the flow dynamic.
For example, recreate a Pear Deck slide that asks students to rank historical events by date using the "Ranking" question type in Forms. This approach captures student participation effectively despite the different format.
- Use Choice, Text, and Ranking question types to mimic Pear Deck interactions
- Apply branching logic for personalized feedback paths
- Enable automatic results to provide immediate feedback
- Design quizzes with varied question types to sustain engagement
- Accept the lack of live session control and adjust workflow accordingly
Best practices for managing student access and participation with Microsoft Forms
When switching from Pear Deck, you’ll notice that student joining and sign-in workflows differ significantly. Pear Deck uses join codes that students enter to access a live session, requiring minimal sign-in and allowing real-time participation tracking. Microsoft Forms, however, relies on shareable links or QR codes to distribute quizzes or surveys.
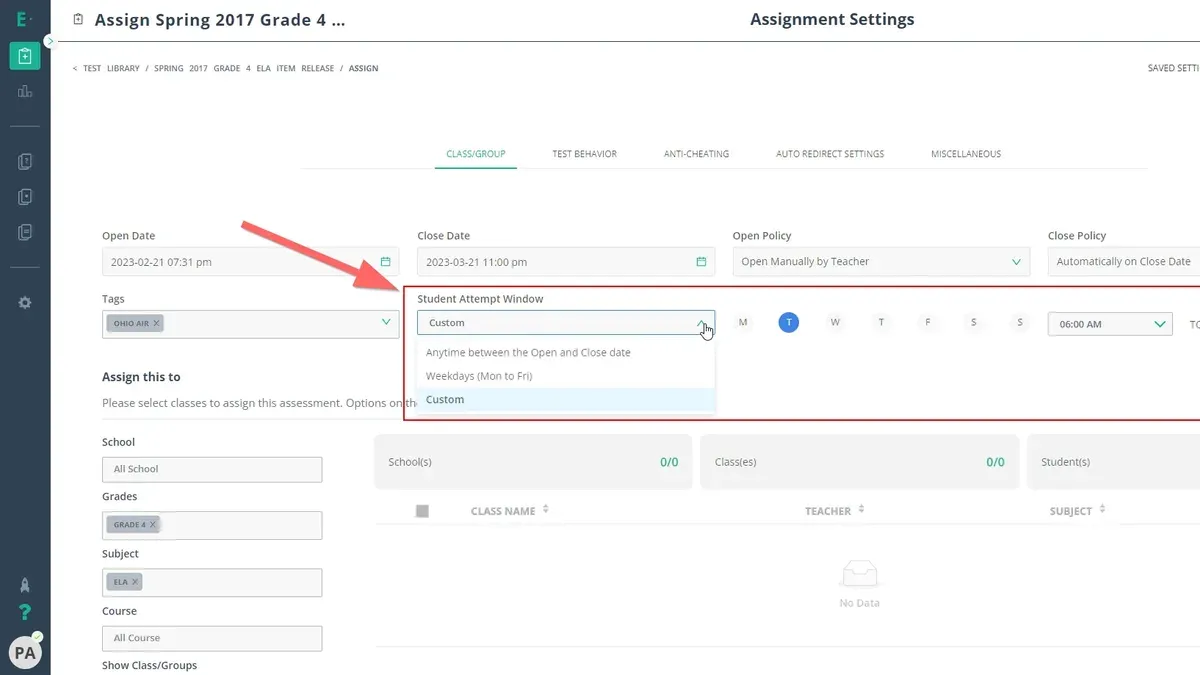
To share your Microsoft Form, generate a direct link via the “Send” button in the Forms editor and optionally create a QR code for easy scanning. Decide if you want to restrict responses to users within your organization by enabling “Only people in my organization can respond” under the “Settings” menu, which requires sign-in. Alternatively, allow anonymous responses by leaving this unchecked, though this limits tracking individual participation.
Tracking responses is done through the “Responses” tab, where you can view summaries, individual answers, or export data to Excel for deeper analysis. Unlike Pear Deck’s live session control, Microsoft Forms collects responses asynchronously, so you won’t see participation in real time but gain detailed post-completion data.
For example, if you share a Form link in a class chat, students sign in with their Microsoft 365 accounts (if required) before submitting. This sign-in step ensures accurate tracking but adds friction compared to Pear Deck’s quick join code entry.
- Generate and share Forms links or QR codes via the “Send” button.
- Set sign-in requirements under “Settings” > “Who can fill out this form.”
- Track and export responses from the “Responses” tab.
- Compare Pear Deck’s join codes for instant access with Forms’ sign-in or anonymous options.
Common mistakes to avoid when switching from Pear Deck to Microsoft Forms
One frequent mistake is assuming every Pear Deck interactive feature has a direct Microsoft Forms equivalent. For example, Pear Deck’s live slide control and instant student pacing cannot be replicated in Forms, which runs asynchronously. This difference often surprises educators expecting real-time interaction during lessons.
Another pitfall is overlooking Microsoft Forms’ slide integration limitations. Unlike Pear Deck’s seamless PowerPoint add-in, Forms operates independently, which means you can’t embed Forms questions directly into presentation slides. This requires adjusting your workflow to alternate between presentation and form completion.
Failing to clearly communicate the change in student access procedures can disrupt participation. Pear Deck uses join codes for live sessions, while Microsoft Forms relies on shared links or QR codes, sometimes with mandatory sign-in. Educators have reported student confusion when these differences aren’t explicitly explained ahead of time.
For example, a middle school teacher transitioned to Microsoft Forms for quizzes but did not inform students about the sign-in requirement. Many students submitted responses anonymously or were locked out, causing delays and frustration.
- Do not expect live session control features in Microsoft Forms.
- Plan for separate presentation and form phases, not slide-embedded questions.
- Communicate clearly how students will access and submit forms.
- Test the sign-in settings before deploying to students.
Read next
- Switching from Pear Deck to Gimkit: A Practical Educator’s Guide
- Switching from Pear Deck to Edpuzzle: A Confident Educator’s Guide
- Switching from Pear Deck to Blooket: A Practical Educator’s Guide
Frequently asked questions
Add Pear Deck extension: how do I install and use it?
To install the Pear Deck extension, open the Google Chrome Web Store and search for "Pear Deck for Google Slides". Click "Add to Chrome" and confirm the installation. Once installed, open a Google Slides presentation, and you'll see the Pear Deck sidebar on the right, allowing you to add interactive questions and activities directly into your slides.
Join my Pear Deck: how do students join a Pear Deck session?
Students join a Pear Deck session by navigating to joinpd.com on any device. They enter the unique session code provided by the educator, which connects them to the live interactive presentation. This process requires no account creation, enabling quick and easy access during class.
Pear Deck join sign in: what are the sign-in options for students?
Students can join Pear Deck sessions either anonymously or by signing in with a Google or Microsoft account, depending on the session settings chosen by the educator. If sign-in is required, students must use their school-provided accounts to maintain privacy and track participation.
Join Pear Deck code: how to generate and share the join code with students?
The join code is automatically generated when you start a Pear Deck session from your presentation. It appears at the top of your screen and can be shared verbally, displayed on a projector, or sent via chat or email. This unique code is active only during the live session, ensuring controlled student access.
What this guide does not cover
This guide does not cover switching from Pear Deck to Microsoft Forms in environments without Microsoft 365 access or where third-party add-ons are restricted. If your institution uses Google Workspace exclusively or blocks add-ins in Microsoft PowerPoint, you may need to explore alternative tools or consult your IT administrators for tailored solutions.
Quick checklist
- Confirm your Microsoft 365 subscription includes Forms and PowerPoint add-in capabilities.
- Review your current Pear Deck features and identify which interactions need recreation in Forms.
- Install the Pear Deck add-in for PowerPoint if you still want to use Pear Deck features alongside Microsoft tools.
- Set up Microsoft Forms with branching logic and quizzes to mimic Pear Deck’s interactivity.
- Configure form settings to manage student access, such as requiring sign-in and limiting responses.
- Test the entire workflow in your Microsoft environment before full rollout.
- Avoid attempting to replicate Pear Deck’s slide-based live interaction exactly, as Forms is primarily asynchronous.
Start by creating a Microsoft Form that matches your most common Pear Deck activity. Focus on quizzes and branching questions to capture interactivity, then embed or link this form within your PowerPoint or Teams environment. This step grounds your transition in practical use and uncovers any workflow adjustments needed before scaling to your full course.