Switching from Promethean Board to Classroom Projector: A Practical Guide
This guide helps you switch from a Promethean board to a classroom projector while maintaining teaching effectiveness and engaging students.

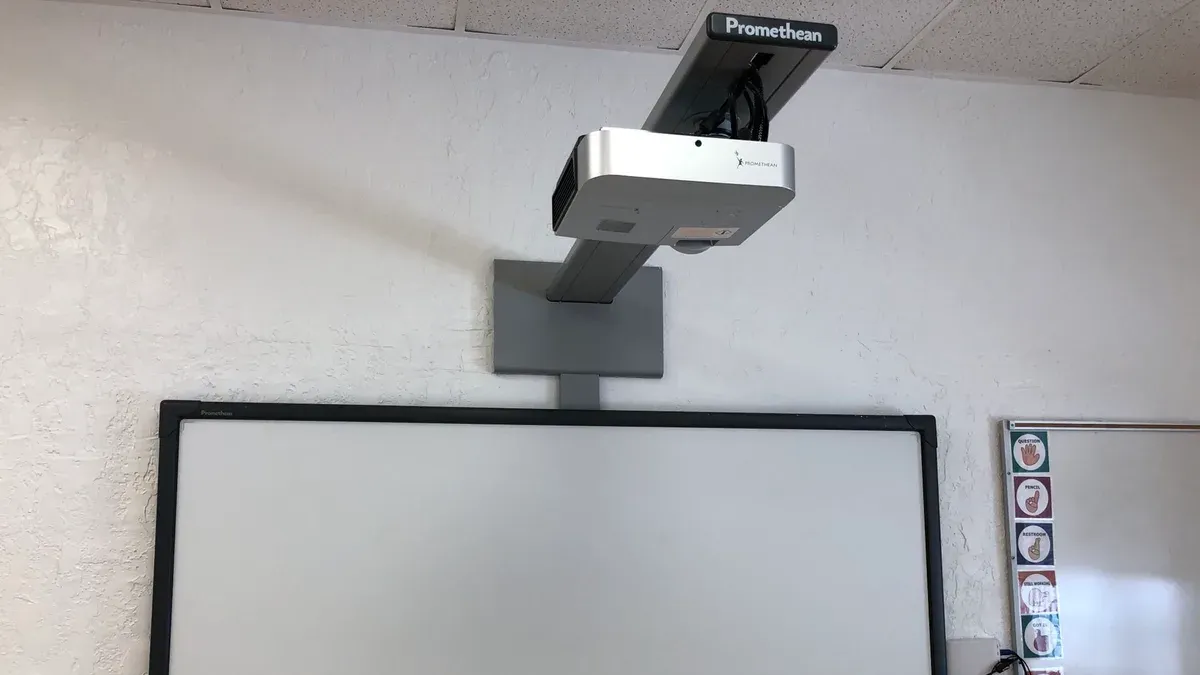
Short answer: Switching from Promethean board to classroom projector involves trading interactive touch features for flexible, large-scale display options. You can maintain teaching effectiveness by carefully selecting projector placement, optimizing image quality, and adjusting lesson plans to engage students without direct screen interaction.
This guide covers the key differences between Promethean boards and projectors, evaluates reasons why a projector might better suit your classroom, and provides step-by-step advice to set up and adapt your teaching methods. You will also find troubleshooting tips and common pitfalls to avoid, helping you make a smooth transition without losing instructional impact.
Understand the Differences Between Promethean Boards and Projectors
Promethean boards are interactive displays that combine touch sensitivity with digital content, allowing you and your students to write, draw, and manipulate objects directly on the screen. They often include built-in software for lesson creation and real-time collaboration, enabling a hands-on approach to teaching.
By contrast, classroom projectors primarily serve as display devices, projecting images from a connected computer or tablet onto a screen or wall. Unlike Promethean boards, projectors do not inherently support touch interaction, so you will rely on peripherals like wireless keyboards, mice, or tablets to control content.
The integration of projectors with other classroom technology is flexible. You can connect them to laptops, document cameras, or interactive whiteboards to maintain some interactive features, but the central display remains non-touch. For example, instead of directly annotating on the projected image, you might use a tablet to write notes that appear on the screen.
| Feature | Promethean Board | Classroom Projector |
|---|---|---|
| Touch Interaction | Yes, multi-touch support | No, requires external devices |
| Built-In Software | Included for lesson control | No, depends on connected device |
| Display Size | Fixed screen size (typically 55-86 inches) | Variable, depends on projection surface |
| Portability | Mounted, less portable | Often portable or ceiling-mounted |
| Cost | Higher initial cost | Generally lower initial cost |
Imagine you previously used the Promethean board to let students solve math problems by dragging objects on the screen. With a projector, you’ll shift to having students use tablets or laptops to interact digitally, while the projector simply shows the content. This requires adapting your lesson flow but can increase flexibility in device use.
Assess Why Moving to a Projector Makes Sense for Your Classroom
Switching from a Promethean board to a classroom projector often begins with a practical evaluation of costs. Projectors typically require a lower initial investment than interactive boards, and their maintenance—mainly bulb replacements and occasional cleaning—can be more affordable over time. For example, a school purchasing multiple units might find the total cost of ownership for projectors significantly less, freeing budget for other resources.
Space constraints also play a crucial role. Projectors can be ceiling-mounted or placed on shelves, freeing wall space and accommodating classrooms where wall installation is limited or where flexible room layouts are needed. In one typical classroom layout, a ceiling-mounted projector projects onto a pull-down screen at the front, allowing desks to be arranged in clusters rather than fixed rows.
Technical support and reliability matter too. Projectors often have simpler hardware and fewer points of failure compared to interactive boards. This can translate into less downtime and reduced dependence on specialized tech support, especially in schools with limited IT staff.
Compatibility with existing devices and software is another consideration. Since projectors display output from laptops or tablets, they generally work seamlessly with most software platforms already in use, avoiding the need for additional licenses or software updates tied to interactive board systems.
- Compare upfront and ongoing costs of projectors versus interactive boards within your budget.
- Evaluate your classroom’s physical layout for projector placement options.
- Assess your support team’s capacity to handle device maintenance and repairs.
- Confirm that your current teaching devices and software are compatible with projector display setups.
Set Up Your Classroom Projector for Optimal Use
Choosing the right projector depends on your classroom size and lighting conditions. For a medium-sized room (20 by 30 feet) with moderate ambient light, a projector with at least 3,500 lumens brightness and 1080p resolution ensures clear, sharp images. If the room has large windows or bright lights, prioritize higher lumens to combat glare.
Mount the projector on the ceiling or a high shelf, centered to the screen or wall, aiming to minimize glare and shadows. Use an adjustable mount to fine-tune angle and distance; a typical throw distance for a 100-inch diagonal screen ranges from 10 to 15 feet. Avoid placing it where students or teachers can block the beam.
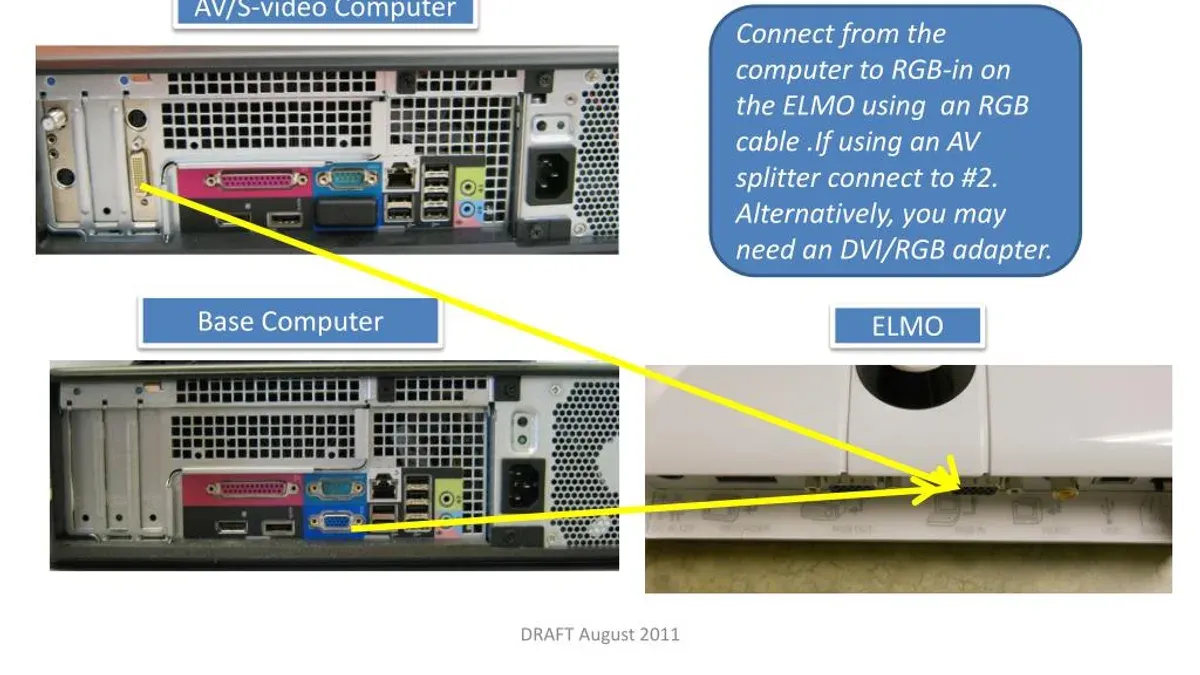
Connect your primary device—laptop or desktop—via HDMI or VGA. Use the projector’s menu to select the correct input and adjust settings: start with preset modes like "Presentation" or "Cinema" for balanced color and brightness. Manually calibrate by adjusting brightness, contrast, and color temperature to suit your lighting; for example, increase brightness by 10-15% if the image appears dull.
Calibration should include setting color temperature to around 6500K for natural whites and verifying sharpness on text-heavy slides. Check for keystone correction to fix any trapezoidal distortion but keep it minimal to avoid image degradation.
- Choose projector with ≥3,500 lumens and 1080p resolution for typical classrooms
- Mount projector centered, high, and adjustable to avoid glare and shadows
- Connect device via HDMI/VGA and select correct input
- Use preset modes and manually adjust brightness, contrast, and color temperature
- Minimize keystone correction for best image quality
Adapt Your Teaching Techniques for a Non-Interactive Display
Transitioning to a projector means losing direct touch interaction, but you can maintain engagement by integrating wireless devices like tablets or laptops. For example, using apps such as Kahoot! or Nearpod lets students respond in real-time through their devices, preserving interactivity without the board itself being touch-sensitive.
Incorporate interactive software compatible with projectors by casting your teacher’s device screen and encouraging students to participate verbally or physically. A science teacher might display a virtual lab simulation via a projector while students manipulate physical models or answer questions aloud, fostering engagement through multiple channels.
Prepare lesson materials with clear, high-contrast visuals optimized for projection, avoiding cluttered slides that hinder visibility. For instance, converting interactive board activities into printable worksheets or digital quizzes accessible on tablets ensures smooth transitions between projected content and hands-on tasks.
One middle school teacher shared adapting a math lesson by projecting problem sets while students used tablets to submit their answers, allowing immediate feedback without interactive board input. This approach keeps class dynamics active and inclusive.
- Use wireless devices and apps like Kahoot! for student participation
- Combine projected content with verbal and physical interaction
- Design clear, simple visuals optimized for projection
- Convert interactive board activities into complementary hands-on or digital tasks
Troubleshoot Common Issues When Transitioning to Projectors
One frequent challenge is ambient light reducing image visibility. To counter this, position the projector opposite windows or use blackout curtains. Increasing brightness settings in the projector's menu, often found under Image > Brightness, can also help but may shorten bulb life.
Speaking of bulb life, projector bulbs typically last between 2,000 to 5,000 hours depending on usage and mode. Replacement bulbs can cost hundreds of dollars. For example, a standard high-brightness bulb might run $200-$400, so budgeting for periodic replacements is essential.
Connectivity issues often arise when connecting multiple devices. Ensure cables support required resolutions (e.g., HDMI 2.0 for 4K). If the projector lacks sufficient ports, consider a powered HDMI switcher. Also, verify device settings to output video correctly, such as selecting Duplicate or Extend display modes in Windows Display Settings.
Many projectors lack built-in speakers or have low-quality audio. Integrate external speakers by connecting via the projector’s audio out port or directly to the source device. Check the audio settings menu to confirm the correct output device is selected.
- Control ambient light with room adjustments and projector brightness.
- Plan for bulb replacement costs and monitor usage hours.
- Use compatible cables and consider HDMI switchers for multiple devices.
- Connect external speakers and configure audio output properly.
Avoid These Mistakes When Switching from Promethean Board to Projector
One school district replaced Promethean boards with projectors but overlooked teacher training and failed to test the setup before class. Teachers struggled with unfamiliar remote controls and incompatible software, leading to lost instructional time and frustration. This example shows how neglecting preparation can derail your transition.
Skipping comprehensive training leaves educators unprepared to use the projector's features effectively. Without hands-on practice, even simple tasks like adjusting image focus or switching input sources can cause delays.
Testing your projector setup before the first lesson is critical. Check connections, image alignment, and ambient lighting conditions to avoid surprises that disrupt teaching.
Underestimating the need for supplemental interactive tools is a common pitfall. Since projectors lack built-in interactivity, plan for tools like wireless tablets or interactive software to keep students engaged.
Ignoring maintenance schedules and budget for consumables such as replacement bulbs or filters leads to unexpected downtime and increased costs. Regular upkeep extends projector life and ensures consistent performance.
- Provide thorough teacher training on projector operation and software integration.
- Run full setup tests before classroom use to identify and fix issues.
- Invest in supplemental interactive tools to compensate for lost touch features.
- Establish a maintenance plan and budget for consumables like bulbs and filters.
Read next
- Moving from Promethean Board to SMART Board: Your Complete Checklist Guide
- Promethean Board Rollout Plan for After-School Programs: A Practical Guide
Frequently asked questions
Can I retain some interactive features when using a projector instead of a Promethean board?
Yes, you can retain some interactivity by pairing your projector with an interactive whiteboard overlay or using a digital pen and compatible software. Devices like interactive pens or touch frames can simulate touch inputs on a projected image, but they require additional setup and may not be as seamless as a Promethean board's built-in capabilities.
What are the key cost savings when switching to a classroom projector?
Projectors typically have lower upfront costs compared to interactive boards and incur fewer maintenance expenses, such as reduced repair or calibration needs. Additionally, replacement parts like lamps and filters are generally less expensive, and the flexibility to replace projectors independently can spread out costs over time.
How do I ensure good image quality in bright classrooms with a projector?
To maintain image clarity in bright rooms, choose a projector with at least 3,000 lumens brightness and consider using high-gain or ambient light rejecting screens. Position the projector to minimize glare and use room lighting controls, such as dimmable lights or blackout curtains, to improve visibility without sacrificing comfort.
What additional equipment do I need to replace the interactivity of a Promethean board?
You will need interactive accessories like a touch frame or an interactive pen system along with compatible software installed on your connected computer. A document camera or wireless presentation system can also enhance interaction by enabling real-time annotations and media sharing, compensating for the lack of built-in interactivity.
What This Guide Does Not Cover
This guide does not cover switching to other interactive display technologies or projectors with built-in interactive features. It assumes a basic projector setup without touch capabilities and does not address advanced integration with classroom management software or specialized hardware. If your classroom requires interactive touch functionality or you plan to use interactive projectors, seek resources tailored to those technologies.
Quick checklist
- Evaluate whether your teaching style can adapt to a non-interactive display
- Confirm projector placement and ambient lighting to optimize image quality
- Use the projector’s menu to adjust brightness and contrast for clear visibility
- Prepare lesson plans that incorporate verbal and physical engagement instead of touch interaction
- Test all cables and connections before class to avoid technical delays
- Have a backup plan for technical issues, such as alternative display devices or printed materials
- Avoid relying solely on interactive features when planning lessons to ease the transition
The most useful next step is to pilot the projector setup in a real classroom session before fully committing. This allows you to identify and address practical challenges like image placement, sound synchronization, and student engagement techniques. Use this experience to refine your approach and ensure the switch supports effective teaching without interruption.